

Which Caulk for Which Job? A Practical Guide to Caulking and Sealing Around the Home
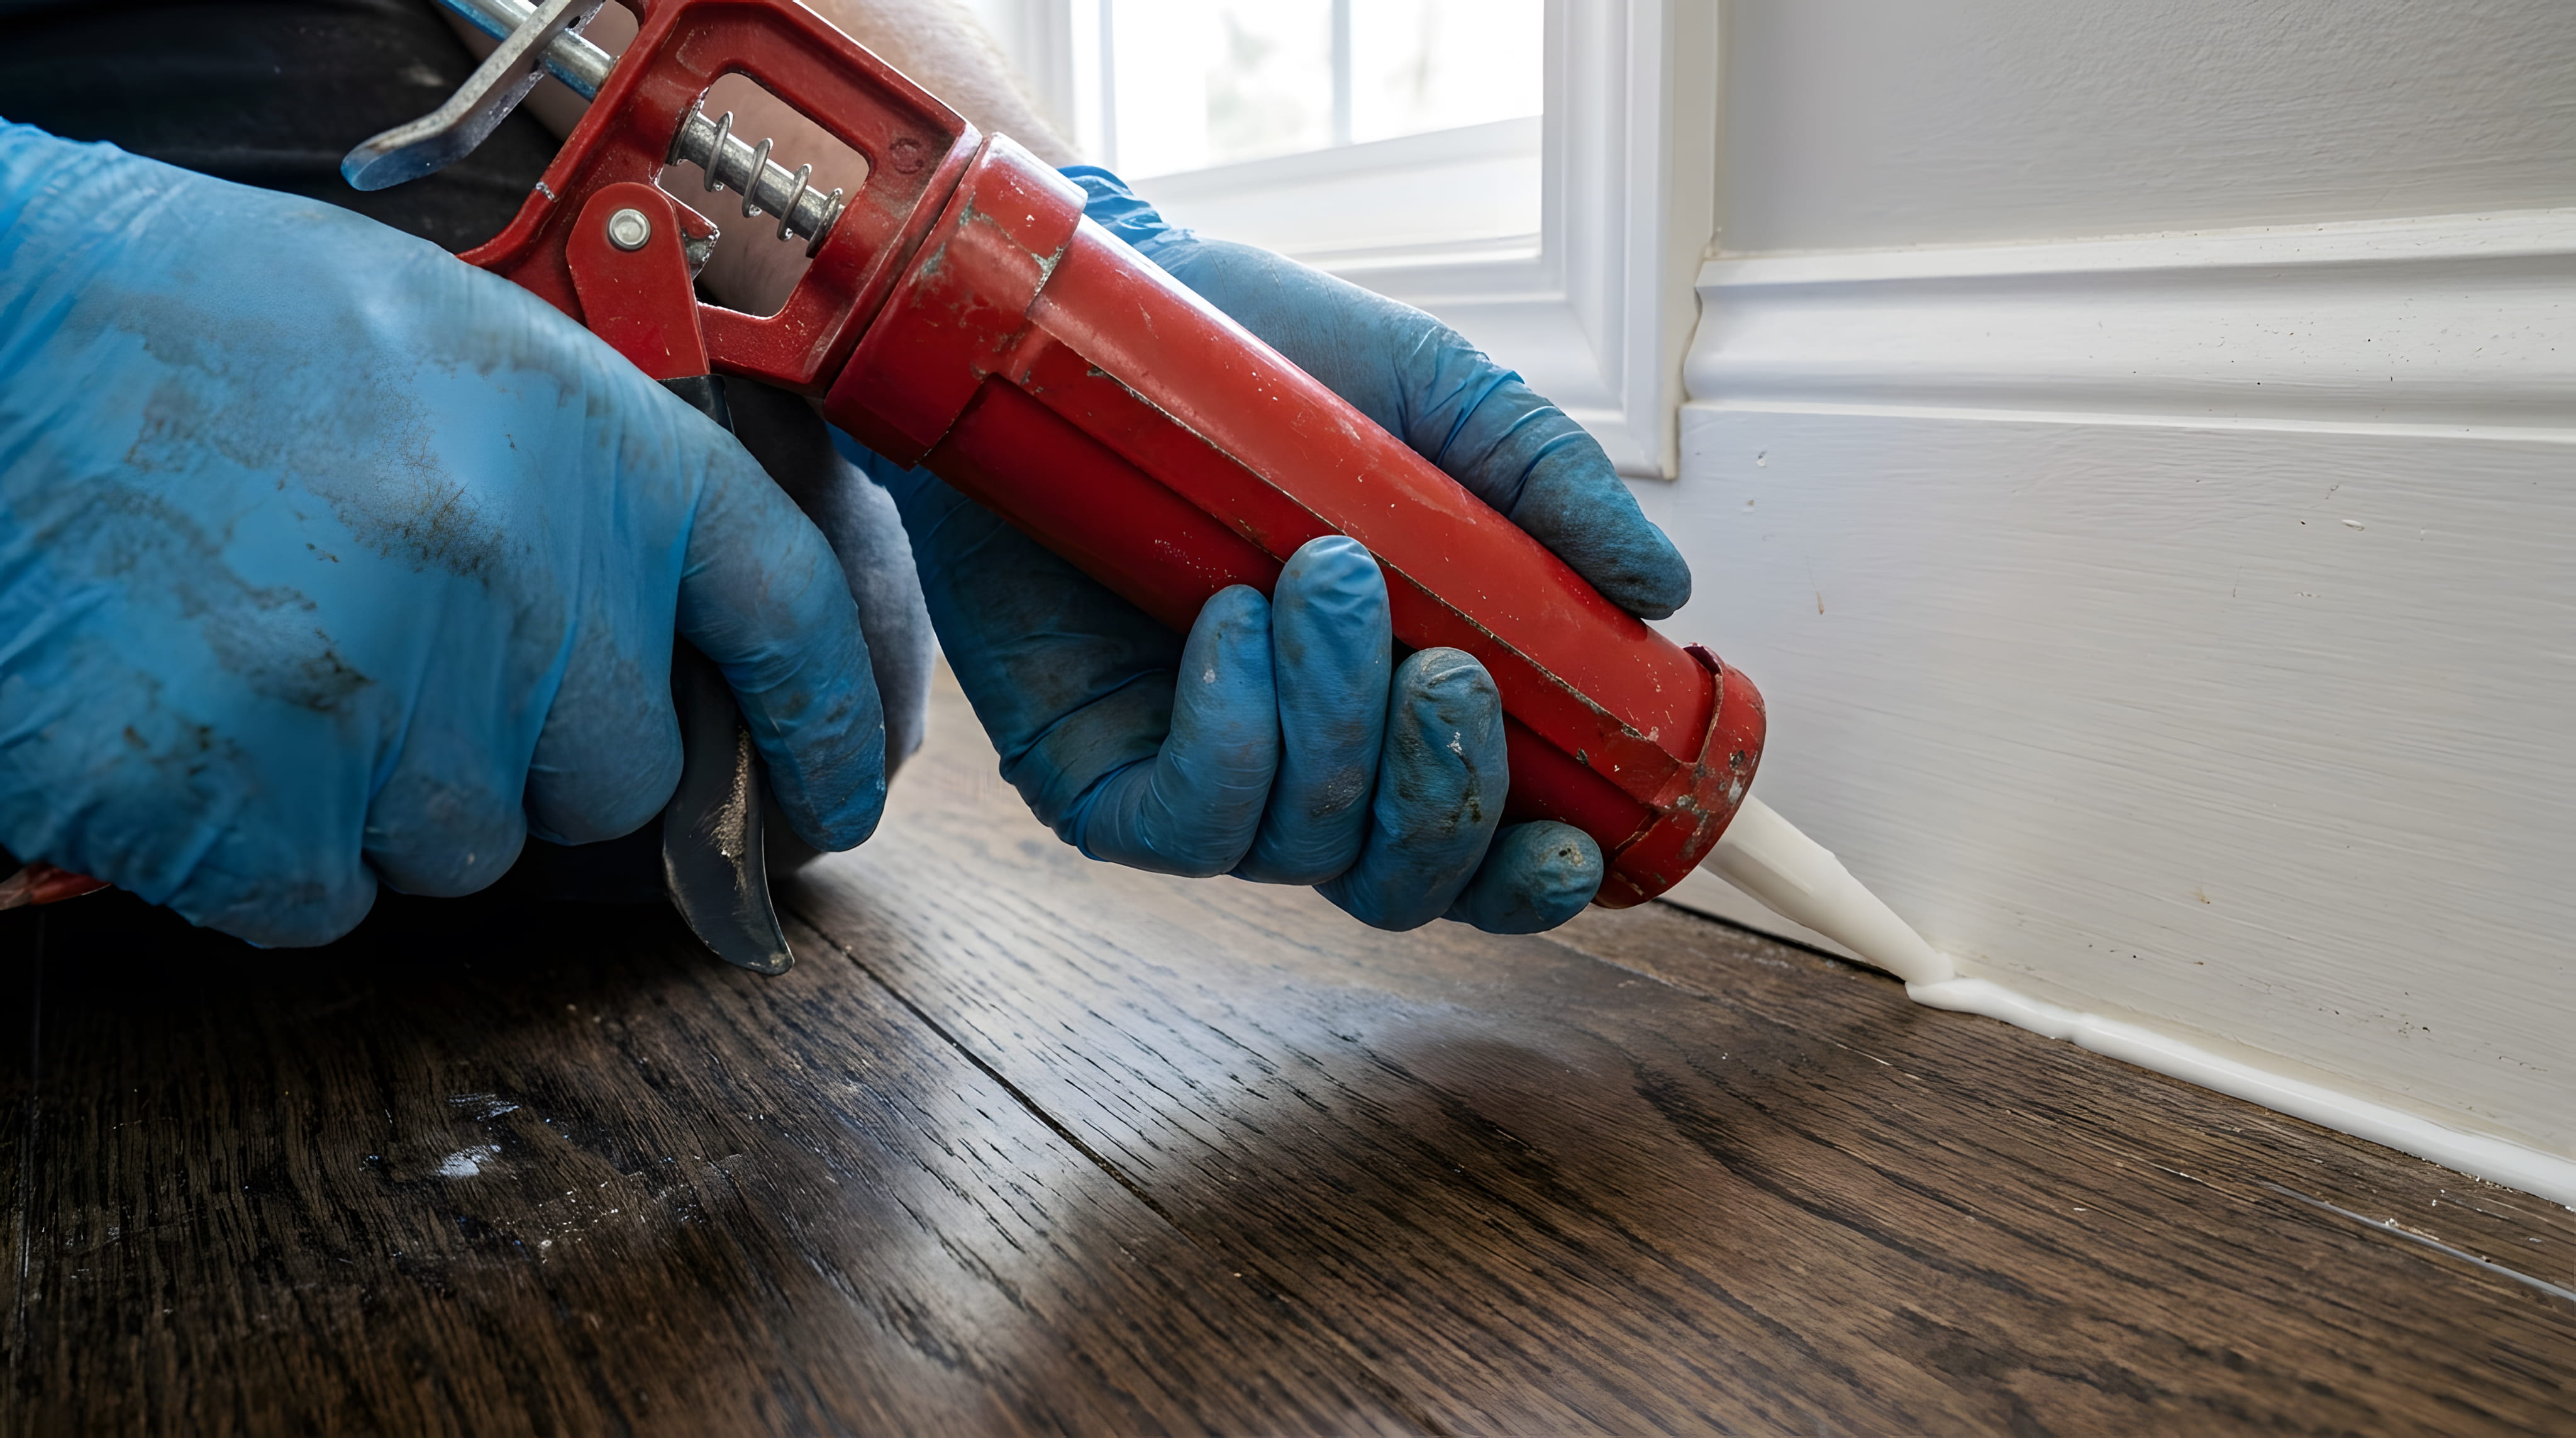
Caulk is one of the cheapest, most useful products in a home, and one of the most commonly misused. The wrong caulk in the wrong place cracks, peels, grows mold, or refuses to take paint, and a poorly applied bead looks sloppy and fails early. Gaps around tubs, windows, doors, trim, and siding are the first line of defense against water, drafts, and pests, so a good caulk job pays for itself many times over. Choosing the right product for each job, preparing the joint properly, and applying the bead neatly are skills a handyman uses every day. Here's how it works.
Why Caulk Matters
Caulk seals gaps and joints to keep out water, air, insects, and dust. It also finishes the look of trim and tile. Failed caulk lets moisture into walls, causing rot and mold, and lets air leak in and out, raising energy bills. Maintaining caulk is a simple, high-value task.
Caulk Isn't All the Same
Caulks differ in flexibility, adhesion, durability, paintability, and moisture resistance. Using interior acrylic caulk in a shower or outdoor trim joint will fail quickly, while using silicone where you plan to paint will leave a mess. Matching the product to the job is the key.
Acrylic Latex Caulk
Acrylic latex caulk is easy to apply, cleans up with water, and can be painted. It's well suited to interior trim, baseboards, crown, and small gaps in walls. It's not ideal for constant moisture or wide-movement joints, and it can shrink and crack over time.
Siliconized Acrylic
Siliconized acrylic adds silicone for better flexibility and water resistance while remaining paintable. It's a good all-purpose option for some interior and exterior trim joints. Quality varies, so check the label for the intended uses.
100 Percent Silicone Caulk
Silicone is highly flexible, waterproof, and durable, which makes it the standard for tubs, showers, sinks, and kitchen backsplashes. It resists mildew when formulated for kitchens and baths. Most silicone can't be painted, and it can be messy to apply and remove.
Polyurethane Caulk
Polyurethane caulk is strong and flexible, with excellent adhesion to many exterior materials. It's often used on siding, window and door perimeters, and masonry joints. It can be painted, but it's harder to tool and may yellow in sunlight depending on the product.
Hybrid and MS Polymer Sealants
Hybrid sealants combine properties of silicone and polyurethane, with strong adhesion, flexibility, and paintability. They work on a wide range of surfaces, including damp ones. They cost more but are valued for versatility.
Butyl Rubber Caulk
Butyl rubber caulk is sticky and durable, and it's used for gutters, flashing, and roof-related joints. It adheres well to metal and masonry. It's not for use where you need a clean, paintable finish.
Fire-Rated and High-Temperature Sealants
Fire-rated sealants close gaps around penetrations in fire-rated walls and floors, and high-temperature products are used near chimneys, flues, and fireplaces. These are specialty products with specific code and safety requirements. Use only as directed, and consult professionals for fire-rated assemblies.
Painter's Caulk
Painter's caulk is a paintable acrylic made for filling gaps between trim and walls before painting. It's easy to tool and sands smooth. Using it before painting gives trim a seamless, finished look.
Caulking Tubs and Showers
Use 100 percent silicone designed for kitchens and baths, with mildew resistance. Remove all old caulk, clean and dry the joint, and apply a continuous bead. Good caulk stops water from reaching walls and subfloors. Allow the proper cure time before using the shower.
Caulking Sinks and Backsplashes
Silicone seals the joint between sinks, countertops, and backsplashes, resisting water and cleaning products. Apply neatly, since kitchen caulk is highly visible. Keep the joint clean and dry before applying.
Caulking Interior Trim
Painter's caulk and acrylic latex fill gaps between trim and walls, hiding imperfections and giving a crisp finish. Apply a thin bead, smooth with a damp finger or tool, and wipe away excess. Paint after the caulk skins over.
Caulking Windows and Doors
Exterior window and door perimeters need flexible, durable sealants such as polyurethane or hybrids. Interior trim can use paintable acrylic. Keep weep holes and drainage paths open. Don't seal over parts designed to drain water.
Caulking Siding and Exterior Trim
Gaps around trim, corners, and penetrations on siding should be sealed with exterior-grade, paintable sealants. Don't seal the bottom edges of lap siding in ways that trap water. Allow moisture to escape from behind siding.
Foundation and Masonry Joints
Hairline cracks and joints in masonry can be sealed with masonry sealants or polyurethane. Wide or moving cracks may need structural evaluation. Sealant won't fix underlying movement.
Gaps Around Pipes and Penetrations
Gaps around plumbing, electrical, and vent penetrations let in air and pests. Use suitable sealants or foam, depending on size and location. Fire-rated areas require approved products.
Wide Gaps and Backer Rod
Gaps wider than a bead of caulk can span need a foam backer rod pushed into the joint first, so the caulk bridges properly and doesn't sag. Backer rod also controls the depth of the sealant, which improves flexibility and lifespan.
Prepare the Joint
Remove old caulk completely, clean the surfaces, and make sure they're dry. Dirt, soap scum, and old sealant prevent adhesion. A clean, dry, sound joint is the foundation of a lasting seal. Skipping prep is the most common cause of failure.
Removing Old Caulk
Use a sharp caulk remover or utility knife to cut and peel old caulk, then scrape residue. Silicone residue may need a solvent made for it. Don't leave remnants, since new caulk won't bond to old silicone.
Cutting the Nozzle
Cut the tip at a slight angle, with an opening matching the width of the joint. A smaller hole gives better control. Puncture the inner seal, and test on a scrap before starting.
Applying the Bead
Apply steady pressure, and move at an even pace, pushing or pulling the gun consistently. Fill the joint fully without overfilling. Work in manageable sections so the caulk doesn't skin over before tooling.
Tooling and Smoothing
Tool the bead with a caulk tool, a wet finger, or a smoothing tool, pressing the caulk into the joint and creating a neat, concave profile. Wipe away excess promptly. For silicone, use a tooling solution or soapy water as recommended.
Using Painter's Tape
Masking both sides of a joint with painter's tape gives sharp, clean lines, especially in tubs and tile. Apply caulk, tool it, and remove the tape while the caulk is still wet. Tape is a pro trick for a neat finish.
Cure Times
Caulk skins over in minutes but cures fully over hours to days. Water-exposed areas need the full cure time before use. Painting over caulk should wait until it's ready. Follow the label.
Temperature and Weather
Most caulks have minimum and maximum application temperatures, and exterior work should avoid rain and extreme cold. Cold, damp conditions interfere with adhesion and curing. Choose a suitable day.
Common Caulking Mistakes
Using the wrong caulk, skipping prep, applying too thin or too thick, leaving gaps, caulking over mold, and sealing weep holes are common mistakes. Each leads to failure or hidden damage. A little care prevents them.
Mold and Mildew in Caulk
Black spots in caulk indicate mildew growth, often from constant moisture. Clean minor spots, but if mold is embedded, remove and replace the caulk. Persistent mold suggests ventilation or leak problems that need attention.
How Long Caulk Lasts
Quality silicone in a bathroom can last for years, while acrylic in a high-movement joint may last a shorter time. Exterior caulk faces sun and weather and needs periodic inspection. Replace caulk as soon as it cracks or peels.
Storing Leftover Caulk
Seal the nozzle, or use a nail or screw in the tip, and store cartridges in a cool, dry place. Leftover caulk may harden, so write the date on the tube. Using fresh caulk gives better results.
When to Call a Pro
Caulk can't fix structural gaps, active leaks, or failing flashing. If water stains, soft wood, or recurring leaks appear, find the cause before sealing. A handyman can inspect and advise, and call specialists when needed.
Caulk Color Choices
Caulk comes in white, clear, and a range of colors to match grout, trim, and siding. Match the color to the surfaces for a seamless look. Clear caulk can yellow or show dirt, so some prefer color-matched options. Check a sample before buying.
Caulking Around Fixtures and Countertops
Gaps between countertops and walls, around faucets, and at fixtures collect moisture and debris. Sealing them keeps water out and makes cleaning easier. Choose a product suited to kitchens and baths, and keep joints dry as you apply.
Sealing Gaps for Energy Savings
Caulking around window and door frames, baseboards on exterior walls, and wall penetrations reduces drafts and helps lower energy costs. Combine caulk with weatherstripping where doors and operable windows are involved. A walk-through on a windy day shows where air leaks.
Safety and Ventilation While Caulking
Some caulks and solvents have strong fumes. Ventilate the area, wear gloves and eye protection, and read labels. Keep products away from children and pets. Dispose of rags and cartridges according to local rules.

Cracked, moldy, or missing caulk letting water and drafts in? Our handyman team removes old sealant, cleans and preps each joint, picks the right caulk for tubs, windows, siding, and trim, and tools a clean, lasting bead, then tells you honestly when a leak needs a specialist. Request your free handyman estimate today.

Karter & Co


