

What to Expect During a Trim and Finish Carpentry Project
Knowing how a trim project unfolds helps you prepare your home, plan your schedule, and recognize when things are on track. While timelines vary with the size of the project, most finish carpentry jobs follow a similar sequence from the first walk-through to the final touch-ups.
Step One: Walk-Through and Measuring
The process begins with a visit to your home. The contractor looks at each room, notes ceiling heights, wall conditions, existing trim, and flooring, and measures the linear footage needed. This is the time to discuss style, height, and materials, and to ask questions.
Step Two: Design Decisions
You'll choose profiles, heights, and finishes. Samples help you visualize the result. Coordinating baseboard, casing, and crown so they work together is key. If you're also painting, this is the time to decide on colors and sheen.
Step Three: Detailed Quote and Scheduling
A clear written quote lists materials, labor, finishing, and timeline. Once approved, the project is scheduled. Material availability can affect timing, especially for special profiles or longer lead items.
Step Four: Material Delivery and Acclimation
Materials are delivered and, where appropriate, allowed to acclimate to the home's humidity. This helps reduce movement after installation. Some products are primed before installation to speed finishing.
Step Five: Preparing the Space
Furniture is moved away from walls, floors are protected, and the work area is organized. If old trim is being replaced, it's removed carefully, and wall surfaces are inspected. Minor wall repairs are made as needed.
Step Six: Installation
Carpenters measure and cut pieces, then fasten them to studs or blocking with finish nails and sometimes adhesive. Inside corners are coped or mitered, outside corners are mitered, and runs are fitted to follow the wall and floor. Crown molding and wainscoting require extra care.
Step Seven: Filling and Caulking
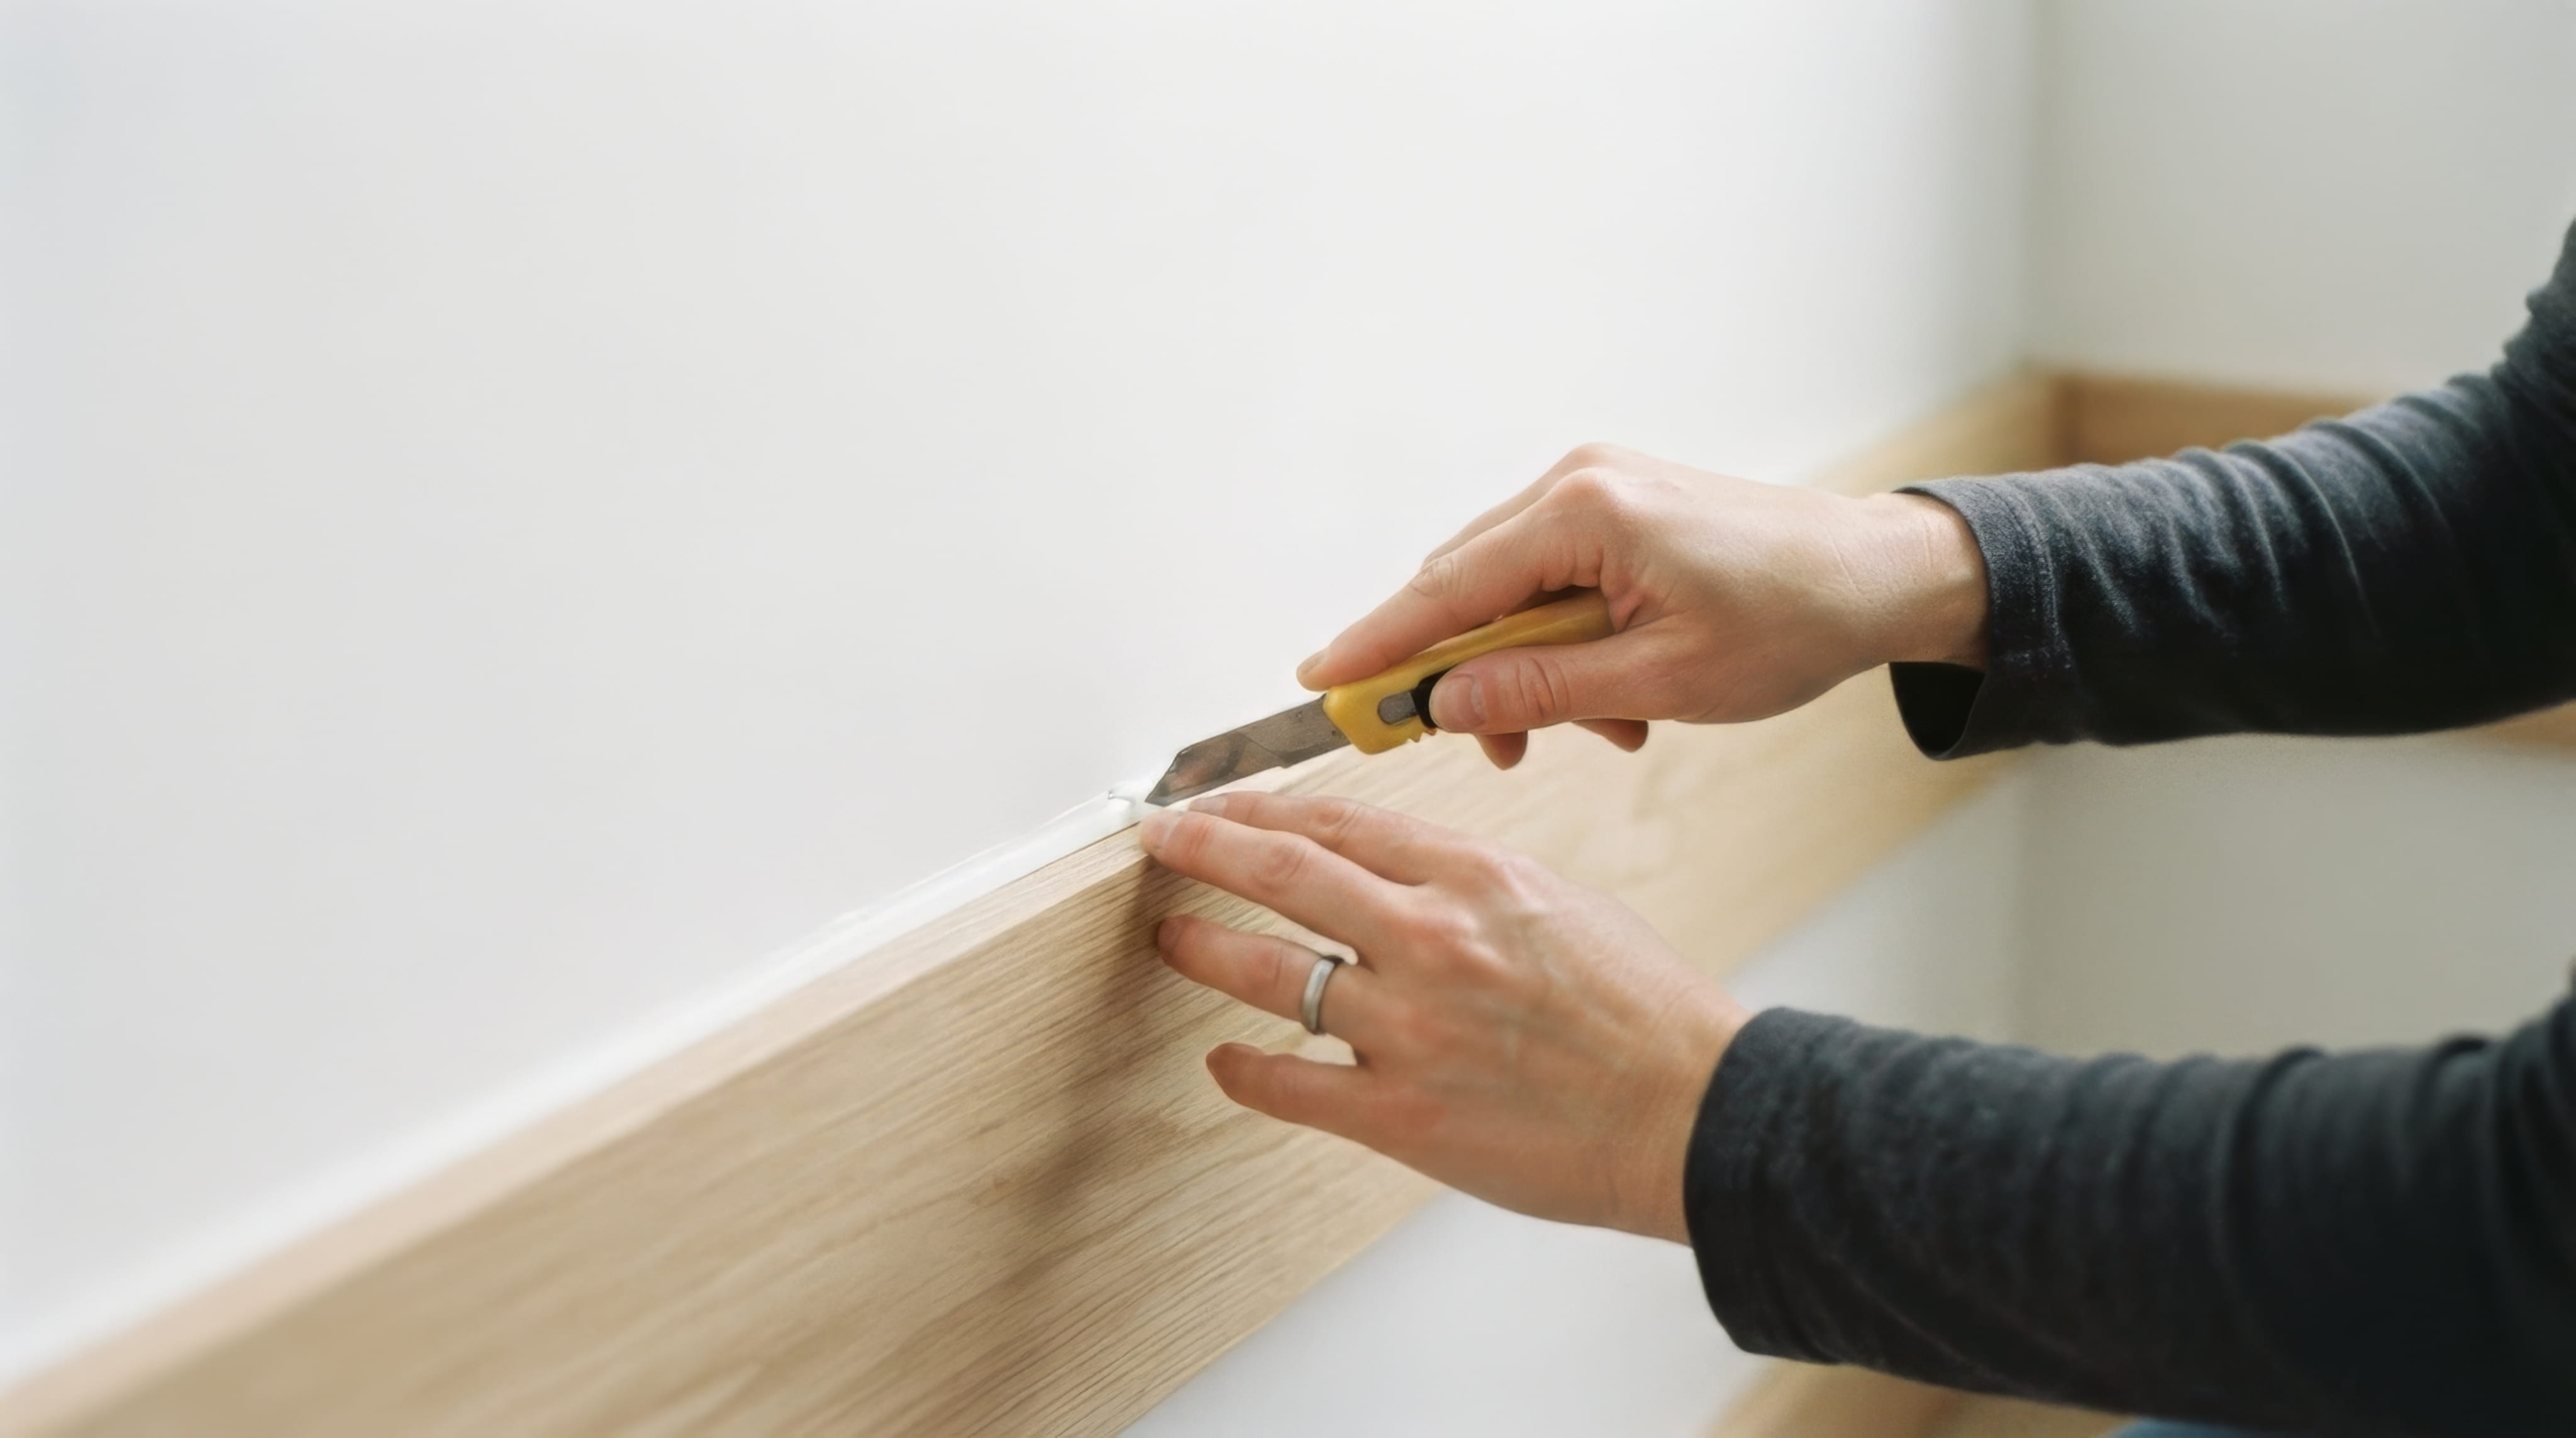
Nail holes are filled, and seams between trim and wall are caulked. Joints are smoothed, and surfaces are sanded where needed. This step creates the seamless look after painting.
Step Eight: Priming and Painting
Trim is primed where needed and painted with finish coats. Painting is done carefully to avoid getting paint on walls or floors, and coats are given time to dry. Semi-gloss or satin finishes are common.
Step Nine: Cleanup
The crew vacuums dust, removes debris, and restores furniture where appropriate. A clean work site is part of professional service.
Step Ten: Final Walkthrough
Together you review the finished work, checking joints, reveals, caulk lines, and paint. Any small touch-ups are noted and completed. This is your opportunity to raise concerns.
How Long Does It Take?
A single room can often be completed in a day or two, while a whole house can take a week or more depending on size and complexity. Painting adds time because of drying between coats. Complex work like crown molding, wainscoting, and stain-grade finishes takes longer.
What Affects the Timeline
The amount of trim, number of corners, condition of walls, whether old trim must be removed, and whether painting is included all influence duration. Weather can matter if materials are being stored or finished in humid conditions.
How to Prepare Your Home
Clear furniture and décor away from walls, remove wall hangings, and make sure the crew has access. Plan for noise and some dust, and decide how pets and children will be kept away from the work area.
Living in the Home During the Project
Trim work is relatively contained, and you can usually remain at home. Expect saw noise and temporary rearrangement of rooms. Rooms may be unusable for part of a day while painting is wet.
Aftercare
New paint can be soft for a few days, so avoid scrubbing or bumping trim. Small hairline gaps may appear as the house settles and humidity changes, and a conscientious contractor will address them.

Knowing the process makes planning easy. Our team keeps you informed from measuring through the final walkthrough, so there are no surprises. Request your free trim carpentry estimate and get a clear timeline.

Karter & Co


