

Subfloor Preparation: The Hidden Step That Decides How Your New Floor Performs
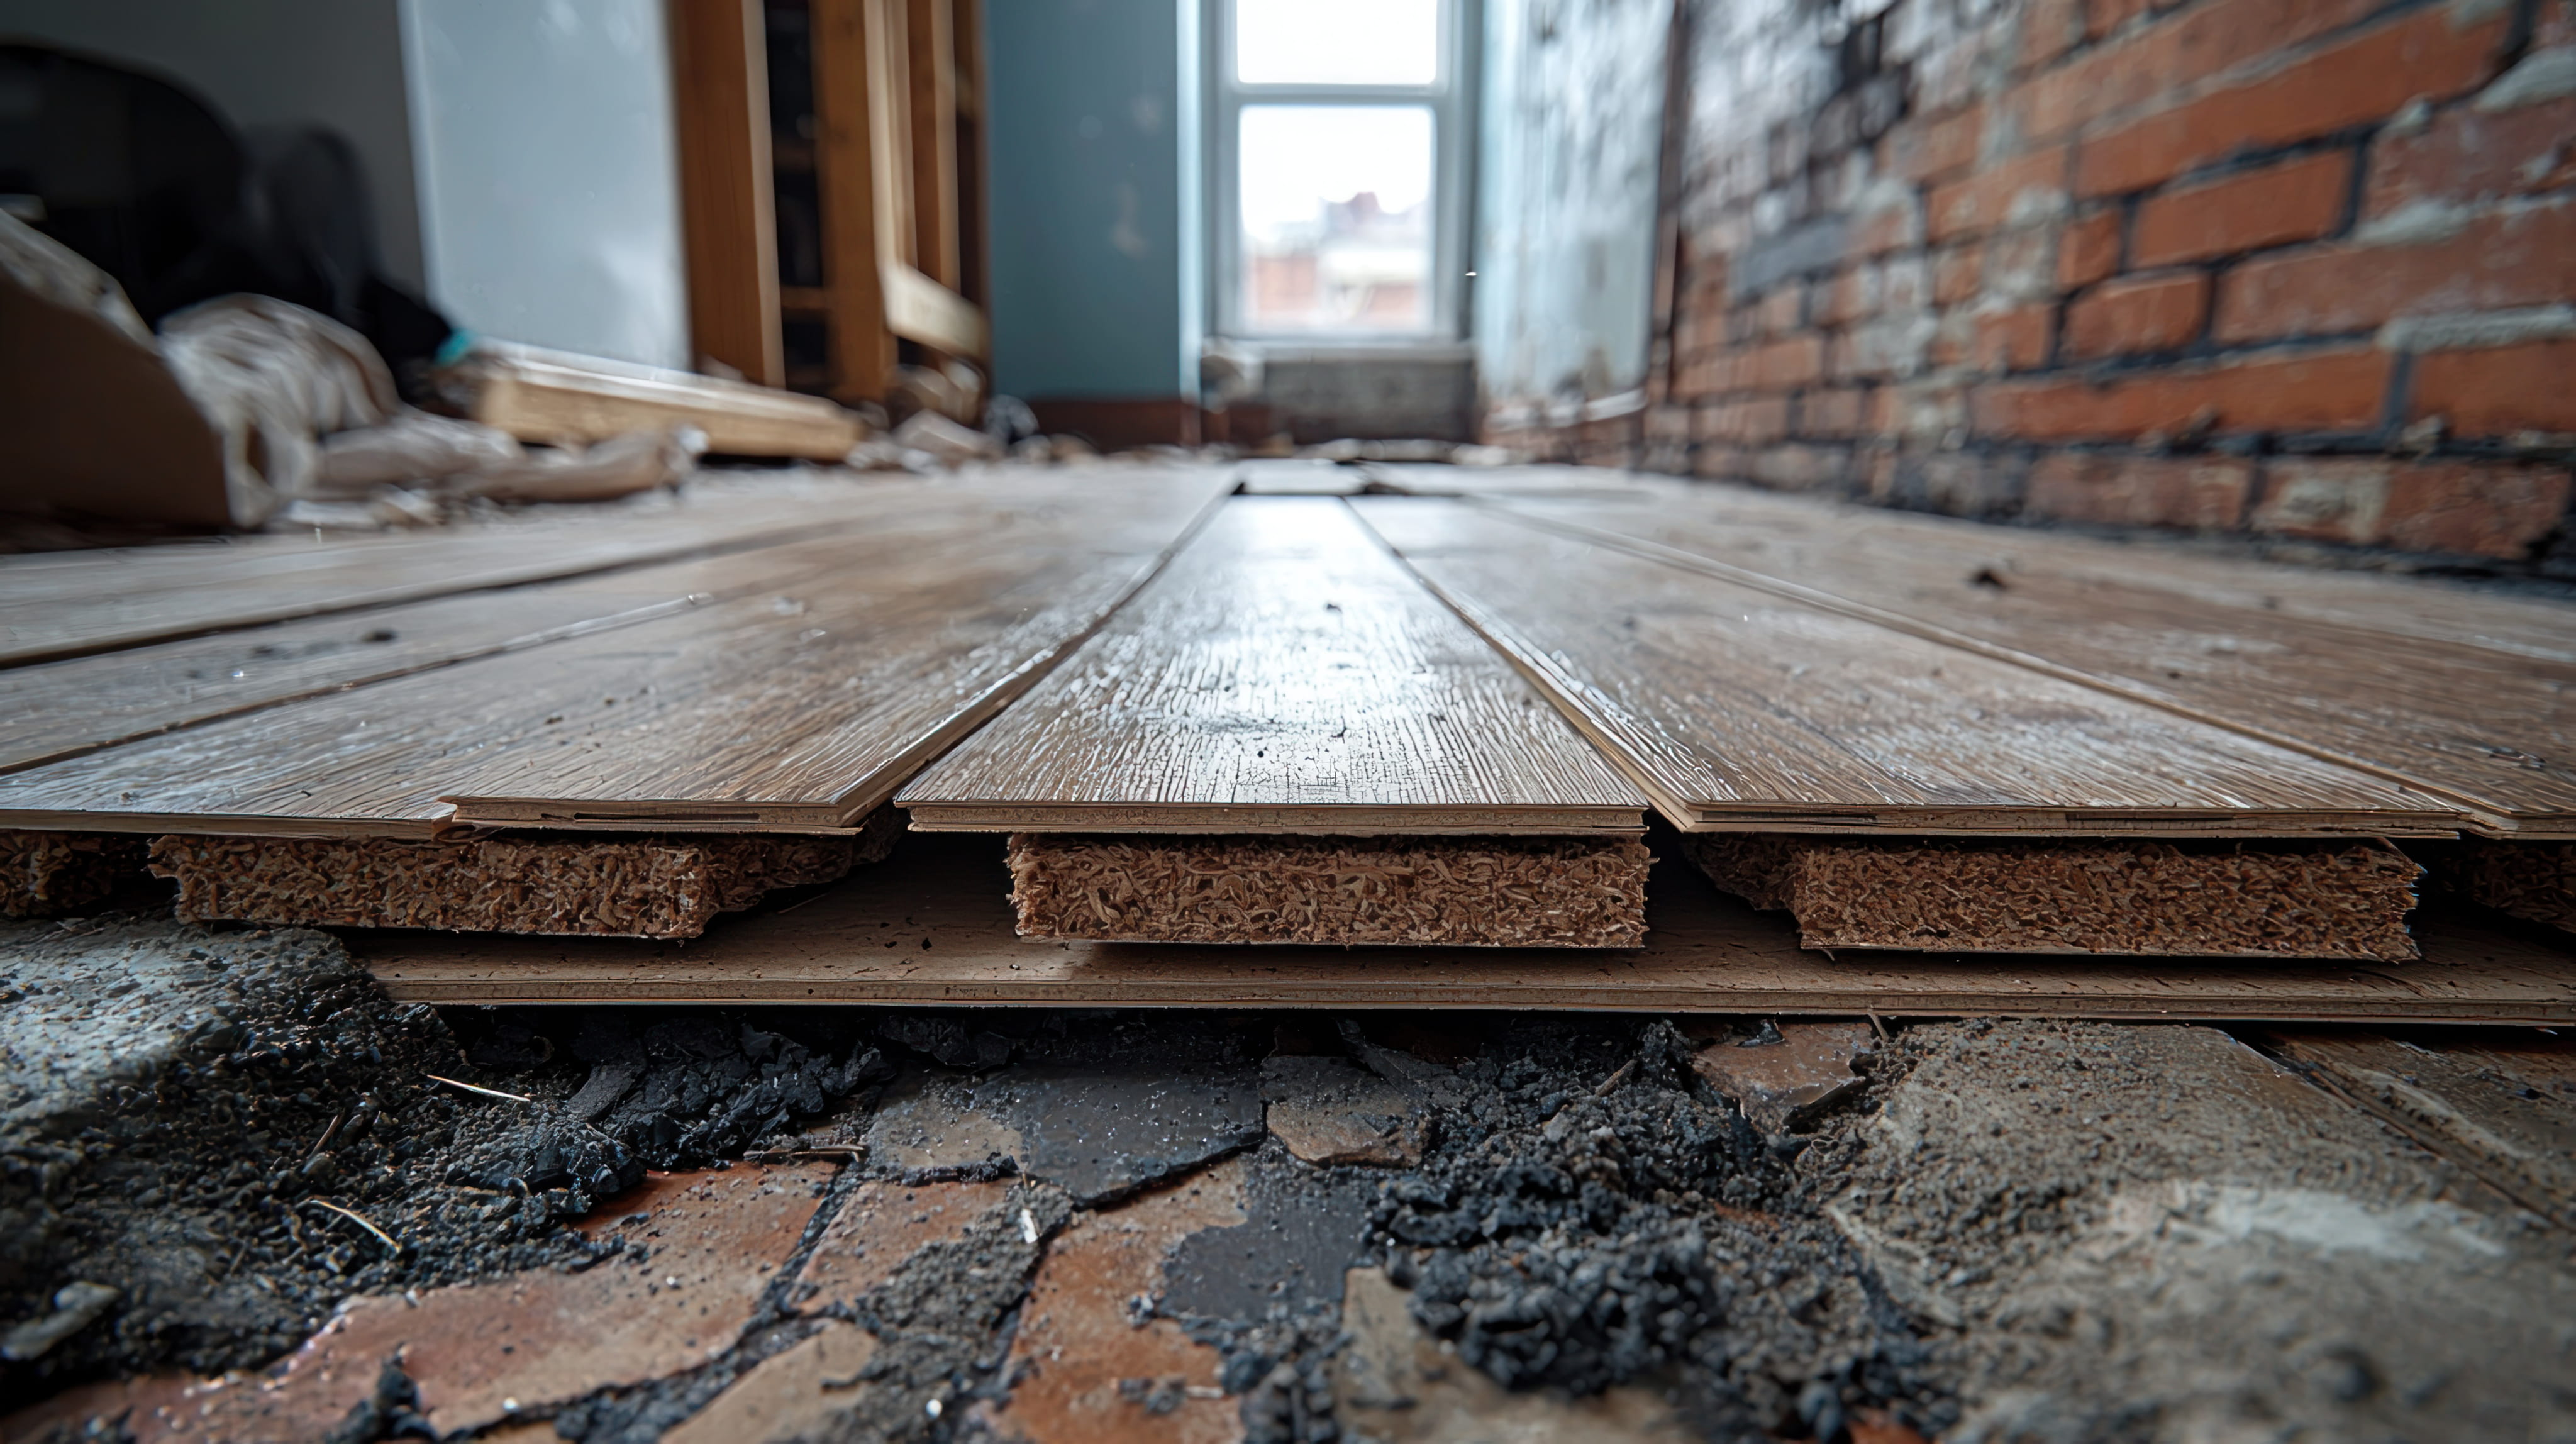
New flooring gets all the attention, but what lies beneath it decides how it looks and how long it lasts. A beautiful hardwood, vinyl, tile, or laminate floor installed over a bumpy, damp, or loose subfloor will squeak, crack, gap, or fail early, and most warranties exclude damage from a poor substrate. Subfloor preparation is the unglamorous work of making the surface flat, dry, clean, and solid before installation. It's often left out of rough quotes, which is why understanding it helps you compare bids fairly and avoid surprises.
What the Subfloor Is
The subfloor is the structural layer under your finished flooring. In many homes it's plywood or oriented strand board over joists, and in others, it's a concrete slab. Different flooring types have different requirements, but all need a stable, flat, clean, and dry surface.
Why Preparation Matters
Flooring materials, especially floating floors and tile, can't hide subfloor problems. Dips and humps telegraph through and cause gaps and weak joints. Moisture causes warping, mold, and adhesive failure. Loose subfloor panels create squeaks and movement. Preparation prevents these problems.
Inspect Before You Order
A thorough inspection of the subfloor before choosing flooring reveals what work is needed. Check for squeaks, soft spots, moisture, damage, old adhesive, and uneven areas. Knowing the condition helps you budget and choose materials suited to the substrate.
Checking Flatness
Flooring manufacturers specify how flat a subfloor must be, often measured over a span of several feet. A long straightedge or laser level reveals high and low spots. Floating floors and tile are especially sensitive. Excessive variation must be corrected.
Grinding and Sanding High Spots
Humps in wood subfloors can be planed or sanded, and high spots in concrete can be ground down. This brings the surface closer to level. Dust control is important when grinding concrete.
Filling Low Spots With Leveling Compound
Self-leveling underlayment is a cement-based product poured into low areas, where it flows level and cures to a smooth surface. Patching compounds fill smaller dips. Proper priming and mixing are essential to avoid cracking or bond failure.
Moisture Testing
Moisture is the most common cause of flooring failure. Concrete slabs and wood subfloors can hold moisture, and flooring installed over damp surfaces can warp, cup, delaminate, or grow mold. Testing tells you if conditions are acceptable.
Testing Concrete
Concrete moisture is measured with relative humidity probes or calcium chloride tests, following industry procedures. Results are compared with the flooring manufacturer's limits. Surface moisture meters can give quick readings but aren't always reliable for concrete.
Testing Wood Subfloors
Wood moisture meters measure the moisture content of plywood and joists. Flooring manufacturers specify acceptable ranges and differences between the subfloor and flooring. Excess moisture needs to be corrected before installation.
Fixing Moisture Problems
Moisture may come from leaks, poor drainage, high humidity, or vapor moving through concrete. Solutions include fixing leaks, improving drainage, adding vapor barriers or moisture-mitigating coatings, dehumidifying, and allowing materials to dry. Don't install over a moisture problem.
Vapor Barriers and Underlayment
Many installations require vapor barriers or underlayments to protect flooring from moisture and improve sound control. The right product depends on the flooring and subfloor. Using incompatible products can cause problems.
Dealing With Squeaks and Loose Panels
Loose subfloor panels should be fastened to joists with screws or ring-shank nails. Squeaks are best addressed before flooring goes down, when the subfloor is exposed. This prevents noise and movement later.
Replacing Damaged Subfloor
Water-damaged, rotted, or delaminated plywood must be replaced. Sections are cut out, new plywood installed and secured to joists, and seams offset. If damage extends to joists, repairs may be needed. Fix the source of moisture first.
Old Adhesive and Flooring Residue
Old glue, tile adhesive, and flooring residue prevent new flooring from bonding. Scraping, grinding, or chemical removal may be needed. Some old adhesives and tiles contain asbestos, so test before disturbing them in older homes.
Removing Old Flooring
Removing old flooring can reveal hidden damage. Plan time and budget for repairs. Careful removal avoids damaging the subfloor. Dispose of materials properly.
Nails, Staples, and Fasteners
Protruding nails, staples, and screws must be removed or set below the surface. They can puncture new flooring or telegraph through. A thorough sweep with a magnet and visual inspection helps.
Cleaning the Subfloor
Dust, debris, and contaminants interfere with adhesives and underlayment. Vacuuming and cleaning the subfloor thoroughly before installation is essential. A clean surface ensures a strong bond.
Acclimating Materials
Flooring materials, especially wood, need time to adjust to the home's temperature and humidity before installation. Follow the manufacturer's instructions on acclimation. Installing without acclimation can lead to gaps or buckling.
Special Considerations for Concrete
Concrete slabs may have cracks, curing compounds, sealers, or moisture. Cracks should be repaired, and surfaces profiled for adhesives. Concrete over heated slabs requires special handling.
Special Considerations for Radiant Heat
Radiant heating systems require specific underlayments, temperature limits, and installation methods. Follow manufacturer instructions for both the system and flooring. Turn heat off or follow ramp-up schedules as directed.
Stairs and Transitions
Preparation includes checking stairs and transitions for height differences. New flooring may raise the floor and affect doors and thresholds. Plan adjustments before installation.
Cost of Subfloor Prep
Preparation adds cost, depending on the extent of leveling, repairs, and moisture mitigation. It's often a smaller line item than the flooring itself, but it determines success. Ask for prep to be itemized in your quote.
What to Ask Your Installer
How will you check flatness? Will you test for moisture? What leveling products do you use? How will you handle squeaks and damaged areas? Does the quote include prep? Clear answers show a careful installer.
Why Skipping Prep Is Expensive
Floors installed over poor substrates often need to be redone, costing far more than doing it right initially. Warranty claims may be denied. Investing in preparation protects the investment in the flooring.
Concrete Slab Flatness and Grinding Costs
Uneven concrete slabs may require grinding or leveling over large areas, which can be one of the biggest prep expenses. Measuring early helps you budget. Some flooring types, such as thicker vinyl planks or glue-down products, tolerate less variation than others, so the flooring choice interacts with prep cost.
Choosing Flooring Based on Subfloor Condition
If the subfloor has minor flaws or moisture concerns, some flooring types handle them better than others. Waterproof vinyl and tile can tolerate moisture, while solid hardwood is sensitive. An installer can recommend materials that suit your conditions and budget.
Basements and Below-Grade Floors
Basement slabs are prone to moisture and temperature swings. Testing, vapor barriers, and appropriate flooring types are essential. Raised subfloor systems and dimpled membranes can provide a dry, comfortable base.
Documenting Conditions
Photos and test results taken before installation show the condition of the subfloor. If a problem appears later, documentation helps determine responsibility and supports warranty claims. Keep records with your project file.
Timing and Scheduling Prep Work
Leveling compound and moisture mitigation need drying time, which can extend the schedule. Plan prep early so installation isn't delayed. Rushing preparation to meet a deadline often leads to problems.
Coordinating With Other Trades
Plumbing, electrical, and HVAC work should be completed before flooring so the subfloor isn't disturbed afterward. Coordinating trades avoids rework and damage. Share the schedule with all contractors so prep and installation go smoothly.
Warranty and Manufacturer Requirements
Flooring manufacturers publish substrate requirements, and failing to meet them can void warranties. Keep the installation guide, and ask your installer to document how requirements were met. This protects you if a problem arises.
Noise and Comfort Improvements
Subfloor preparation is a good time to add sound-dampening underlayment, insulation, or radiant heating. These upgrades are easier before the finished floor goes down. Consider comfort improvements while the floor is open.
Safety and Dust Control During Prep
Grinding, sanding, and mixing leveling compounds produce dust. Professionals use dust control, protective gear, and ventilation. Seal off the work area to protect the rest of your home, especially if old materials may contain hazardous substances.
Planning for Future Access
If plumbing or wiring runs beneath a floor, consider access points or label locations before covering them. A little planning makes future repairs easier and avoids tearing up new flooring.
Typical Prep Timeline
Simple prep might take a few hours, while leveling a large slab can take a day or more with drying time. Moisture mitigation can take longer. Ask your installer to build prep into the schedule so flooring isn't rushed.
Recognizing When Prep Is Beyond Basic
If the floor slopes noticeably, feels spongy, shows mold, or has persistent dampness, the issue goes beyond ordinary prep. A structural or moisture specialist may need to evaluate the problem first. Addressing the root cause prevents wasted flooring dollars.

Great floors start under the surface. We check flatness, test for moisture, tighten and repair the subfloor, level low spots, and clean everything before installation, and we itemize prep in your quote, so your new floor looks right and lasts. Request your free flooring estimate today.

Karter & Co


