

Staining New Pressure-Treated Wood: When to Wait and What to Use
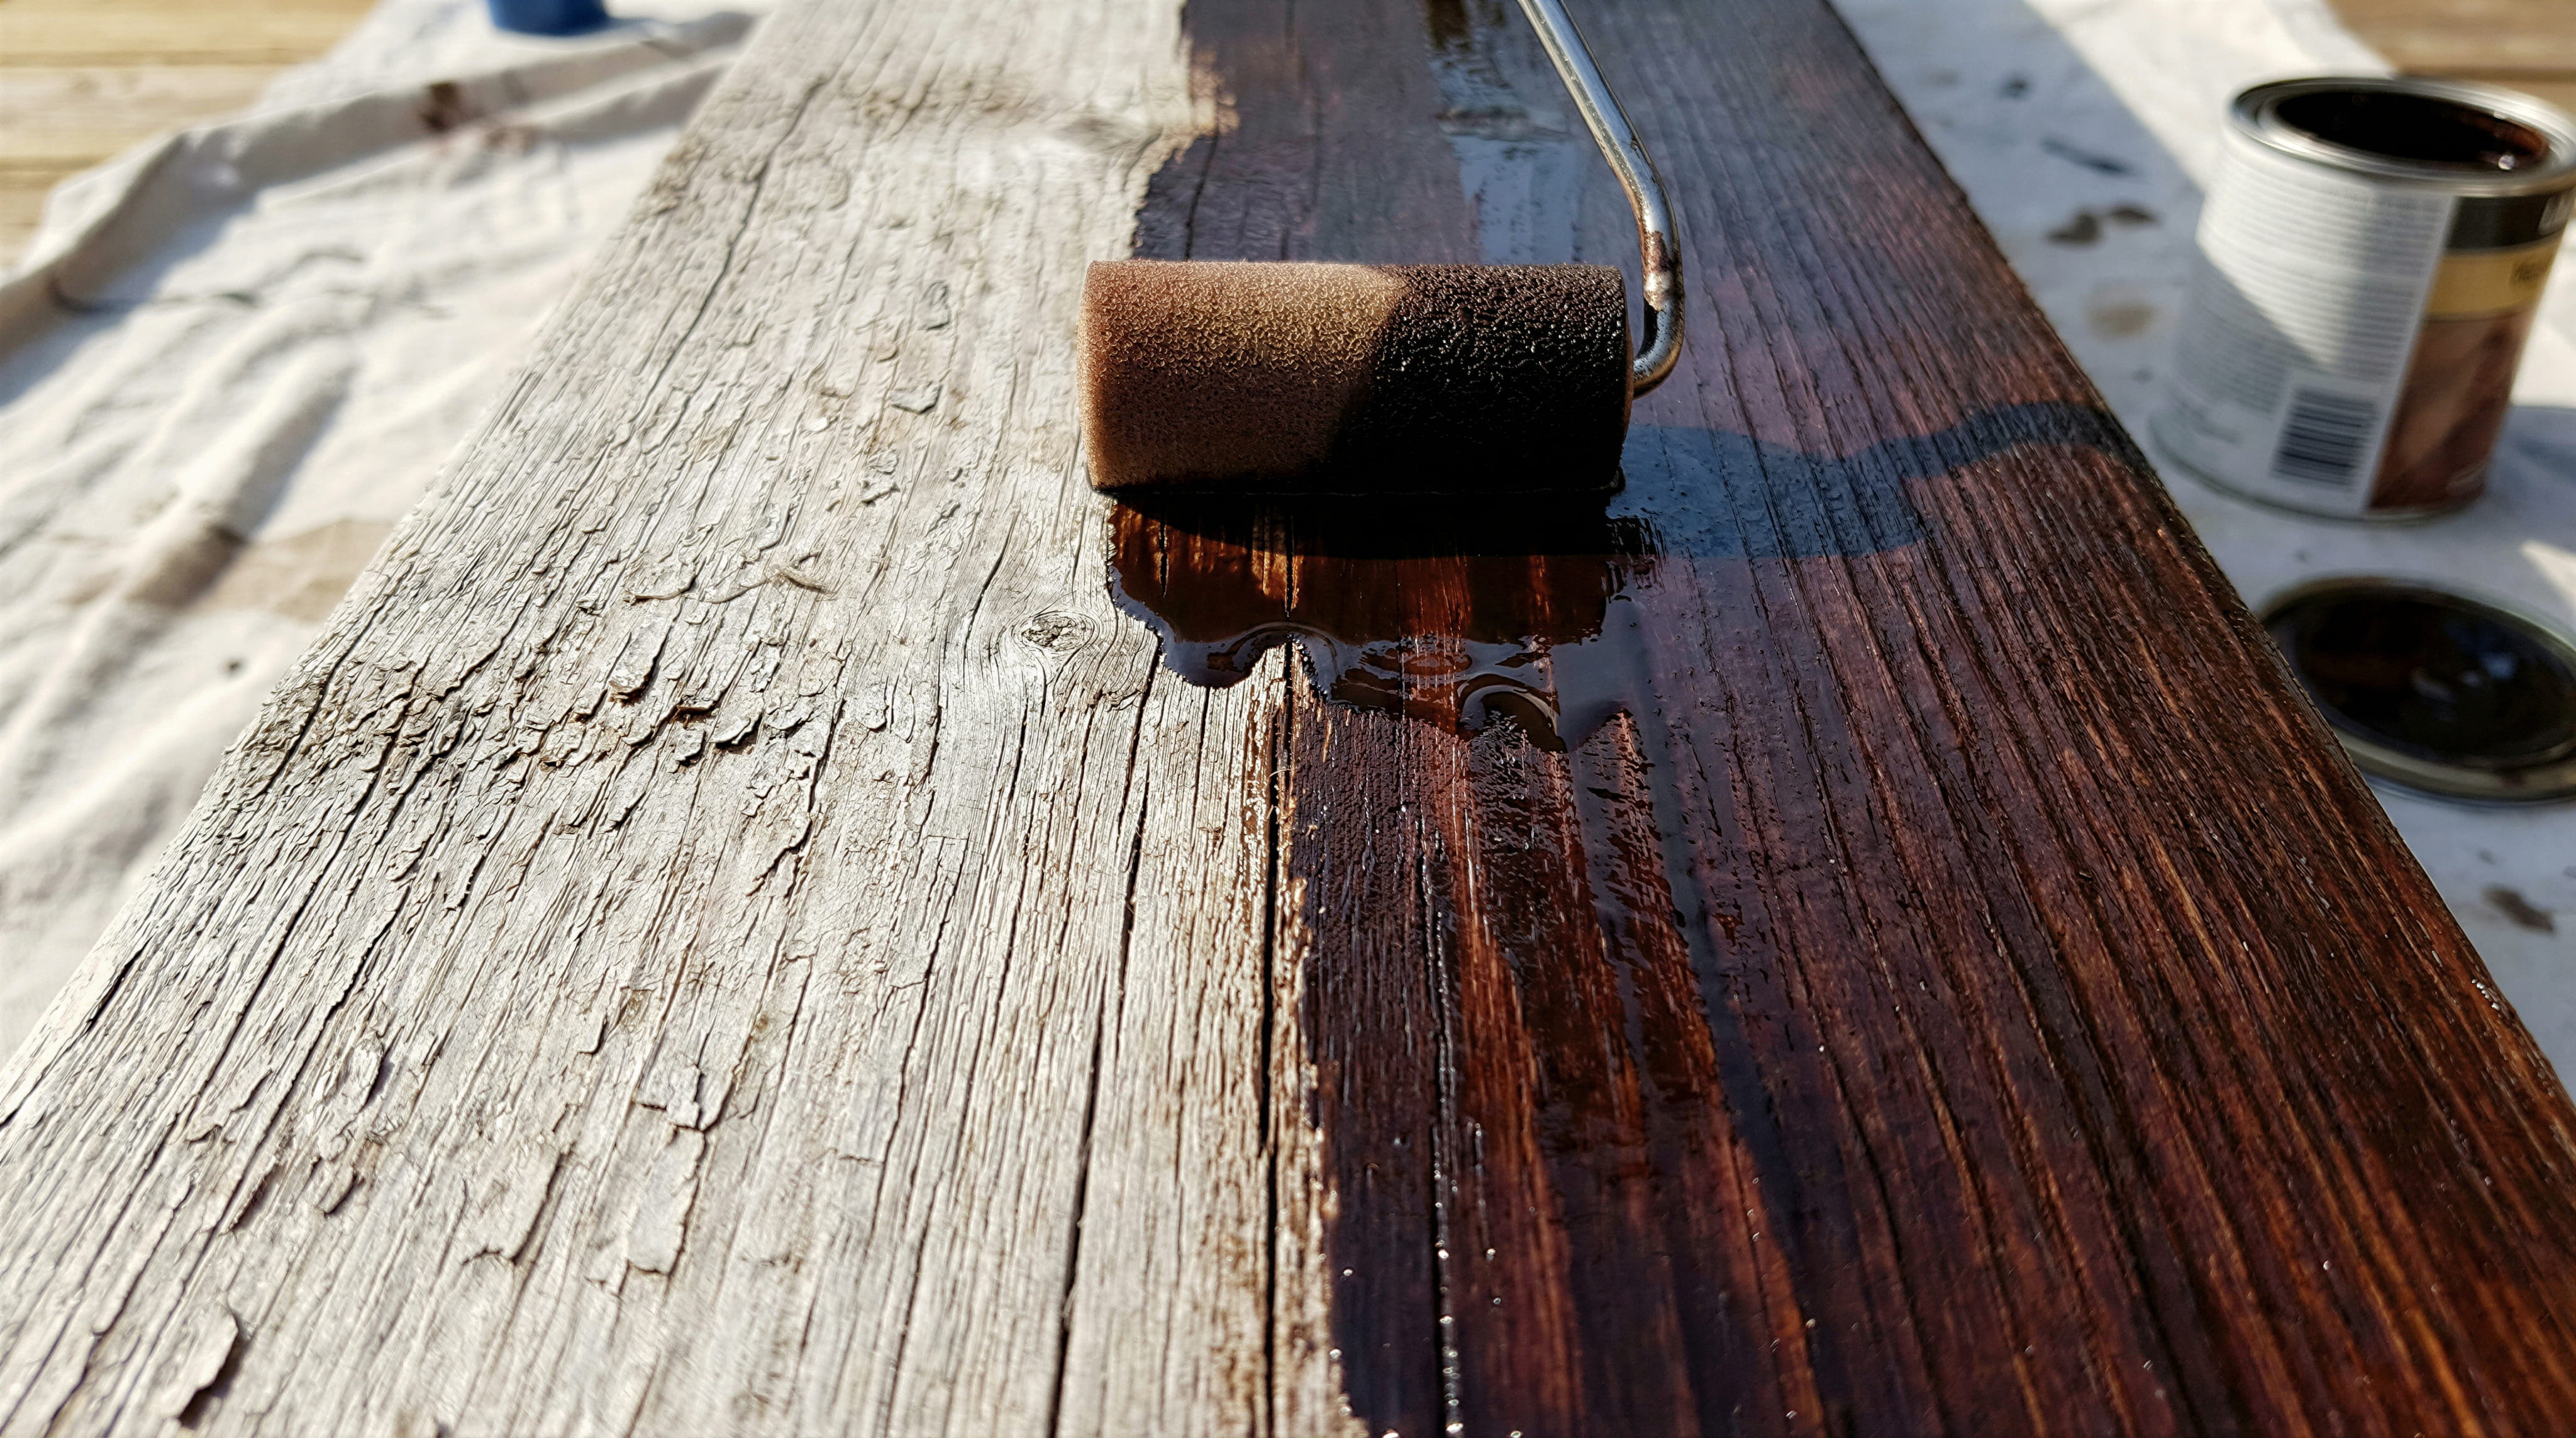
A brand-new fence or deck looks like it's begging for stain, and the temptation to coat it right away is strong. But new pressure-treated lumber is a special case. It comes out of the treatment process saturated with water and preservatives, and if you seal it too soon, the stain can't soak in properly. The result is peeling, blotchy color, or a finish that fails in a single season. Understanding why timing matters, how to test the wood, and which products and techniques to use will save you money and rework.
Why New Treated Wood Is Different
Pressure-treated lumber is infused with preservatives under pressure, which leaves the wood wet inside. As it dries, it shrinks, twists, and checks. Stain and sealer work by penetrating the wood fibers, and wood that is still saturated can't absorb them. Applying finish too early traps moisture and prevents proper adhesion.
How Long to Wait
There's no single answer, because drying time depends on the lumber, the weather, and how it was stored. Some boards feel dry in a few weeks, while others take months. Boards that were kiln-dried after treatment dry much faster and can often be stained sooner. Always check the manufacturer's recommendation and the lumber tag, and rely on a moisture test rather than the calendar.
The Water Test
Sprinkle a little water on the surface. If it soaks in within a few minutes, the wood is ready to accept stain. If it beads up and sits on top, the wood is still too wet or has a glaze that blocks absorption. Test several boards in different places, including shaded and sunny areas, since drying isn't uniform.
Mill Glaze
Some lumber has a slick surface called mill glaze, created during manufacturing, which blocks stain from penetrating. It can show up on boards that look dry but fail the water test. Light sanding or a cleaner designed to remove mill glaze helps open the wood so stain can soak in.
Kiln-Dried After Treatment Lumber
Lumber labeled kiln-dried after treatment has been dried to a lower moisture content before sale. It's more stable, less likely to warp, and often ready for finishing sooner. It usually costs more, but many people find the time savings and stability worthwhile, especially for a deck that you want to finish quickly.
Cleaning Before You Stain
New wood isn't always clean. It can have dirt, sawdust, mill glaze, and residue from handling. Sweep the surface, wash with a wood cleaner if needed, rinse thoroughly, and let it dry completely. Clean wood absorbs stain evenly and helps the finish last.
Brightening and Preparing the Surface
A wood brightener can open the pores and balance the surface pH, which improves stain absorption and evenness. This step is especially useful after cleaning or if the wood has weathered gray during the waiting period. Follow the product directions, rinse well, and allow full drying.
Sanding and Smoothing
Light sanding smooths raised grain, removes splinters, and helps the stain absorb. Focus on handrails, steps, and areas people touch. Don't sand too aggressively, since heavy sanding can create a smooth, burnished surface that resists stain.
Choosing a Stain Type
Semi-transparent, penetrating stains are often the best choice for new treated wood because they soak into the fibers, show the grain, and don't form a film that can peel. Clear sealers protect from water but offer little UV protection, so the wood will gray. Solid stains provide the most coverage but are more likely to peel on wood that moves a lot as it dries.
Oil-Based vs. Water-Based
Oil-based stains penetrate deeply and are well suited to treated wood, though they dry more slowly and have stronger odors. Water-based stains dry faster, clean up easily, and have lower odor, and quality products perform very well. Check the label for compatibility with pressure-treated lumber.
Color Choices
Treated wood has a greenish or tan tint that can influence the final color. Semi-transparent stains show this undertone, so test a small area first. Slightly darker or warmer stains tend to look more consistent than very light tones. Look at samples on your own wood, not just on the can label.
Application Methods
Stain can be applied with a brush, roller, pad applicator, or sprayer. Sprayers are efficient on fences and large decks, but they should be followed by back-brushing to work stain into the wood. Brushing along the grain, and working in manageable sections, prevents lap marks.
Coats and Wet-on-Wet Technique
Many penetrating stains perform best as a single, well-saturated coat or two coats applied while the first is still wet. Applying a second coat after the first has dried can leave a film that doesn't absorb and may peel. Follow the manufacturer's instructions on coats and timing.
Weather Conditions
Choose a dry, mild day with no rain in the forecast for at least a day or two after application. Avoid staining in direct, hot sunlight, which dries the stain too quickly, and avoid very cold temperatures that prevent proper curing. Morning or late afternoon often works well.
Don't Forget Ends and Undersides
End grain absorbs moisture faster than any other part of the board. Staining the ends of boards, the undersides of rails, and the backs of fence pickets slows moisture entry and reduces cracking. It's a small step that significantly improves durability.
Posts and Ground Contact
Wood that touches the ground is exposed to the most moisture. Make sure posts are sealed above grade, and consider using end-cut preservative where posts were cut. Keep soil, mulch, and plants away from the base of fence posts and deck supports.
Staining a New Fence
Fences are large surfaces with many boards, so efficiency matters. A sprayer with a back-brush crew can finish a fence quickly. Stain both sides, including the side facing your neighbor if you share the fence and agree to it. Protect plants and structures from overspray.
Staining a New Deck
Decks see foot traffic and sun, so they wear faster than fences. Stain the surface boards, railings, and stairs, and be careful to avoid puddles. Allow adequate drying time before moving furniture back and walking on the surface, and follow the manufacturer's cure time.
What If You Can't Wait
If you can't wait for the wood to dry, consider applying a water-repellent product specifically formulated for new treated wood. These products are designed to protect wood during the drying period. Check the label carefully, and confirm that you can stain over them later.
Letting It Weather
Some homeowners allow new wood to weather for several weeks or months before staining, which lets it dry naturally and brings it to a more uniform condition. Wood that has weathered gray may need cleaning and brightening before staining. Waiting is a legitimate strategy.
Common Mistakes
Staining too soon, skipping the water test, ignoring mill glaze, applying too much stain, staining in direct sun, and neglecting end grain are common errors. Each leads to peeling, blotchy color, or early failure. Taking a little extra time on the front end prevents all of them.
How Often to Restain
New treated wood often needs restaining sooner than established wood because it moves as it dries. Plan to inspect after the first year, and expect to refinish every few years depending on exposure. Regular water tests show whether the finish is still protecting.
When to Hire a Professional
If you want even color, correct timing, and efficient application, a professional can evaluate the wood's readiness, prepare it correctly, and apply stain with proper equipment. Professionals also know how different lumber batches behave and can advise on the best product for your situation.
Different Fence Styles, Different Approaches
Privacy fences have many boards close together and can be sprayed efficiently, while picket fences have gaps that waste stain if sprayed carelessly and often work better with a brush or pad. Horizontal slat fences and lattice need extra care to coat every edge. Adapt the method to the style rather than using one technique everywhere.
Protecting Plants, Siding, and Neighbors
Cover plants, grass edges, and nearby structures with plastic or drop cloths, and talk with neighbors before staining a shared fence. Overspray travels farther than expected, and stain can mark siding and concrete. A little masking prevents hours of cleanup.
Keep a Record of What You Used
Write down the stain brand, color, and application date, and keep a small amount of leftover stain for touch-ups. Knowing exactly what is on the wood makes future maintenance simpler, and it helps you choose a compatible product when it's time to refinish.
Clear Sealer vs. Stain Over Time
A clear water repellent keeps the natural color for a short time but offers little protection from sun, so wood grays within a season or two. A tinted, UV-protective stain lasts longer and slows fading. Think about whether you value the raw look or longer protection before you choose.

Not sure whether your new fence or deck is ready for stain? We'll test the wood, clean and brighten it, and apply the right penetrating stain with proper technique, so your finish soaks in, looks even, and lasts. You'll know exactly when and how to stain before we start. Request your free staining estimate today.

Karter & Co


