

Staining Different Fence Styles: Privacy, Picket, Horizontal Slat, and Split Rail
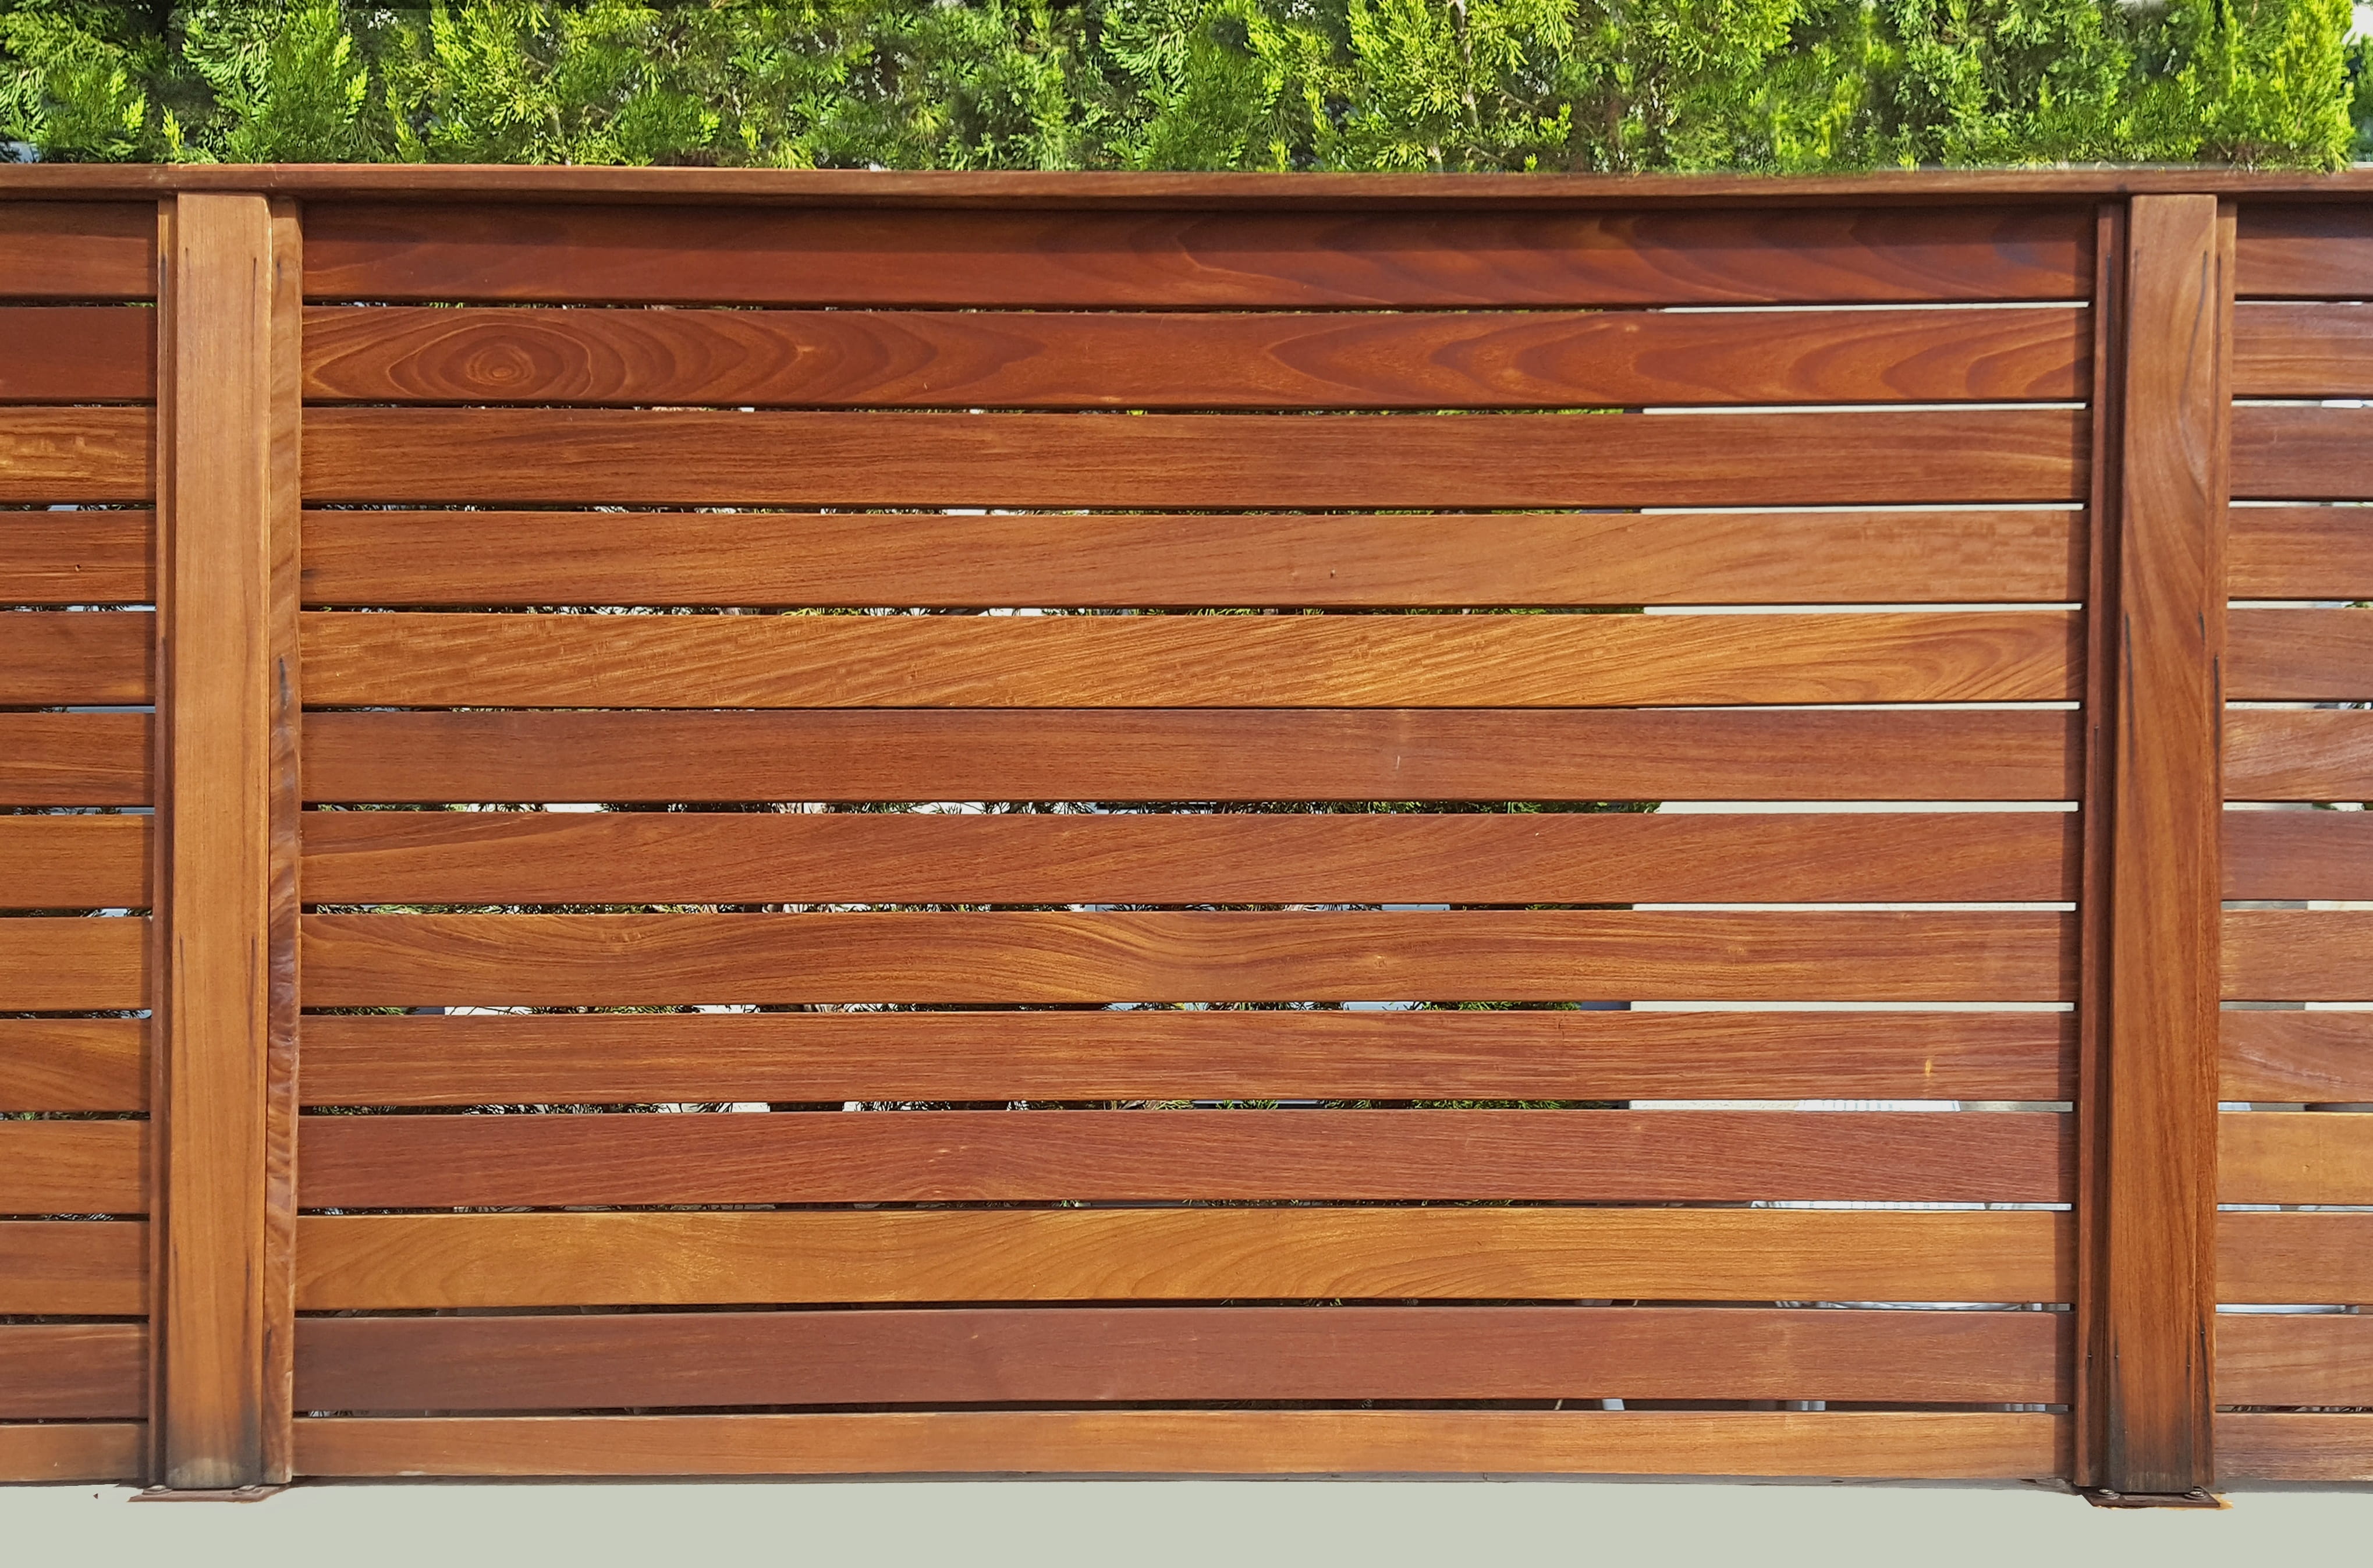
A fence is a fence until you start to stain one. A tall solid privacy fence is a very different job from a picket fence, a horizontal slat fence, or a split rail. The amount of surface, the number of edges, the gaps between boards, the way posts and rails are arranged, and the tools that work best all change with the style. Understanding how each style behaves helps you plan the right method, estimate time and material, and avoid wasted stain, missed edges, and overspray. Here's how professionals approach each fence style.
Why Fence Style Changes the Job
Surface area, accessibility, and detail determine how efficiently a fence can be stained. Solid fences have large flat surfaces that spray well, while open fences waste stain in overspray and need more brushing. Complex tops and trim add time. Planning around the style saves effort.
Solid Privacy Fences
Privacy fences have tightly spaced boards, creating a large, nearly continuous surface. A sprayer works well, covering large areas quickly, followed by back-brushing to push stain into the wood. Both sides need staining, and the gaps between boards should be checked for missed edges.
Board-on-Board and Shadowbox
Board-on-board fences overlap boards for full privacy, while shadowbox fences alternate boards on each side for airflow. Both have edges and overlaps that are easy to miss. Spraying from several angles and brushing tight spots ensures full coverage.
Dog-Ear and Flat-Top Pickets
Dog-ear tops shed water better but add edges and end grain that absorb stain. Flat tops collect water and can rot sooner, so sealing the tops is important. Either way, pay attention to top edges and cut ends.
Picket Fences
Picket fences have spaces between boards, so spraying wastes stain and overspray can reach plants and nearby surfaces. Brushing or using a paint pad or mitt gives better control and less waste. Each picket has four sides to coat.
Horizontal Slat Fences
Horizontal slat fences have a modern look and often use narrow gaps between boards. Because slats are horizontal, water sits on top surfaces, and these areas need thorough protection. Spraying and back-brushing along the length of the boards is efficient.
Split Rail Fences
Split rail fences use posts and rails with open space between them. The rough, textured wood absorbs a lot of stain, and spraying wastes material. A brush, roller, or specialized applicator works well. Rough surfaces need a generous, even coat.
Lattice and Decorative Tops
Lattice panels and decorative caps have many small edges and are time-consuming to stain. Spraying and brushing together helps. Protect nearby plants and structures, since overspray travels through open patterns.
Posts and Caps
Posts take the most moisture, particularly at the bottoms and tops. Post caps shed water and protect end grain. Stain caps and tops thoroughly, and seal post bases above the ground line.
Gates
Gates take mechanical stress and need all edges coated. Check hinges and latches, and avoid staining moving parts. Stain gates when they're in a closed position to access both sides easily, or remove them for thorough coverage.
Both Sides of the Fence
Staining both sides gives balanced protection and prevents uneven weathering and warping. If you share a fence with a neighbor, talk to them, since you may agree on a color or each take a side. Don't stain their side without permission.
Fence Height and Access
Tall fences require stable ladders or lifts for tops. Uneven ground and slopes make spraying and brushing trickier. Plan access, and protect against falls.
Estimating Stain Amounts
Stain coverage varies with wood texture, age, and absorbency. Rough, dry wood absorbs more than smooth, sealed wood. Estimate the surface area including both sides and edges, and buy a little extra. A professional can estimate more accurately.
Choosing the Right Applicator
Sprayers handle large flat areas, brushes and mitts control detail, and rollers help with flat boards. A combination is common. The right tool depends on the fence style and the conditions.
Spray Safety and Overspray
Overspray can drift onto plants, siding, cars, and neighbors' property. Wind increases the risk. Mask or cover nearby surfaces, work on calm days, and use shields. Professionals plan to contain overspray.
Back-Brushing
Back-brushing means brushing or rolling stain immediately after spraying to work it into the wood and level it. It improves penetration and prevents runs and blotches. It's an important step for lasting results.
Prepping Different Fence Styles
All fences benefit from cleaning, drying, and light repairs before staining. Open fences may need extra attention to cleaning gaps and edges. Repair loose boards and fasteners first.
Staining Wood Types
Cedar, pressure-treated pine, redwood, and other woods take stain differently. New treated wood needs time to dry, while cedar may need tannin-friendly products. Choose products suited to the species and condition.
Sun and Shade
Sun-baked fence sections absorb stain differently than shaded sections. Expect slight variation, and apply carefully to blend. Shaded areas may need mildew cleaning before staining.
Landscaping and Plants
Plants near fences can be damaged by stain and cleaning products. Cover or tie back plants, and rinse as needed. Protecting landscaping is part of a professional job.
Weather and Timing
Stain in dry, mild weather, avoiding direct hot sun. Check the forecast for rain, and allow drying time. Wind affects spraying. Plan your timing around these conditions.
HOA and Neighbor Considerations
Some HOAs restrict fence colors or require approval. Check requirements before purchasing stain. Communicating with neighbors avoids conflict.
Maintenance Between Stainings
Rinse dirt, trim plants, clear debris from the base, and check for loose boards and fasteners. Spot-treat mildew. A water-bead test indicates when it's time to restain.
How Often to Restain
Frequency depends on climate, exposure, and product. Many fences benefit from refinishing every few years, with sun-exposed sides needing it sooner. Regular inspection keeps you ahead.
Cost Considerations
Cost depends on fence length, height, style, condition, prep, and product. Privacy fences are usually efficient per square foot, while picket and lattice take more labor. Get a written quote that specifies prep and number of coats.
Choosing a Professional
An experienced crew matches methods to fence style, protects surroundings, and applies stain evenly. Ask how they handle your specific fence type and what they do about overspray.
Fence Repairs Before Staining
Replace cracked boards, re-secure loose pickets, straighten leaning posts, and fix sagging gates before cleaning and staining. Stain won't hide structural problems. Repairs also allow new wood to be matched to the old before the finish goes on.
Using Test Boards
Stain a spare board or a hidden section and let it dry fully before deciding on color. Wood and style affect appearance, and a test reveals the result. Keep a small amount of stain for touch-ups.
Shared Fences and Property Lines
Fence ownership and responsibility vary, so check boundaries and any agreements. Even if you don't own a fence, you may be allowed to stain your side. Respect property lines when staining and spraying.
Dealing With Mildew and Algae
North-facing fences and shaded lower boards often grow mildew. Clean with a suitable cleaner and let the wood dry before staining. A product with mildewcide can slow regrowth, but airflow and sunlight matter most.
Rough-Sawn vs. Smooth Lumber
Rough-sawn boards absorb more stain and give a rustic look, while smooth boards absorb less and show grain differently. Estimate more stain for rough boards, and use a brush to work it into the texture. The surface changes both coverage and appearance.
Fence Staining for Pet and Child Safety
Choose stains labeled safe once cured, keep pets and children away during application, and follow cure times. Fences that surround play areas and dog runs deserve extra care. Ask your contractor about product safety information.
Protecting Hardware and Fasteners
Cover or avoid hinges, latches, and decorative metal hardware when staining. Overspray on metal is hard to remove and can cause sticking. Remove or mask them before you begin.
Handling Uneven Ground and Gaps
Fences on slopes have uneven bottoms and gaps where boards meet soil. Stain lower edges carefully, and keep soil and mulch away so the bottoms stay dry. These bottom edges often rot first.
Stain Color and Fence Style
Dark stains make solid fences recede and highlight plants, while light stains suit picket fences with a cottage look. Match the color to the fence style, house, and landscape. Test samples before committing.
Efficient Workflow
Work in sections from one end of the fence to the other, keeping a wet edge on each section. Stain both faces and the tops of each board together. A methodical workflow prevents missed spots and lap marks.

Got a privacy picket, slat, or split-rail fence that needs stain? Our crew cleans and prepares it, picks the right method for your style, protects your plants and neighbors' property, and stains every board, edge, and post for even, lasting coverage. Request your free staining estimate today.

Karter & Co


