

Staining Cedar Fences and Decks: How to Protect Natural Cedar and Keep Its Color
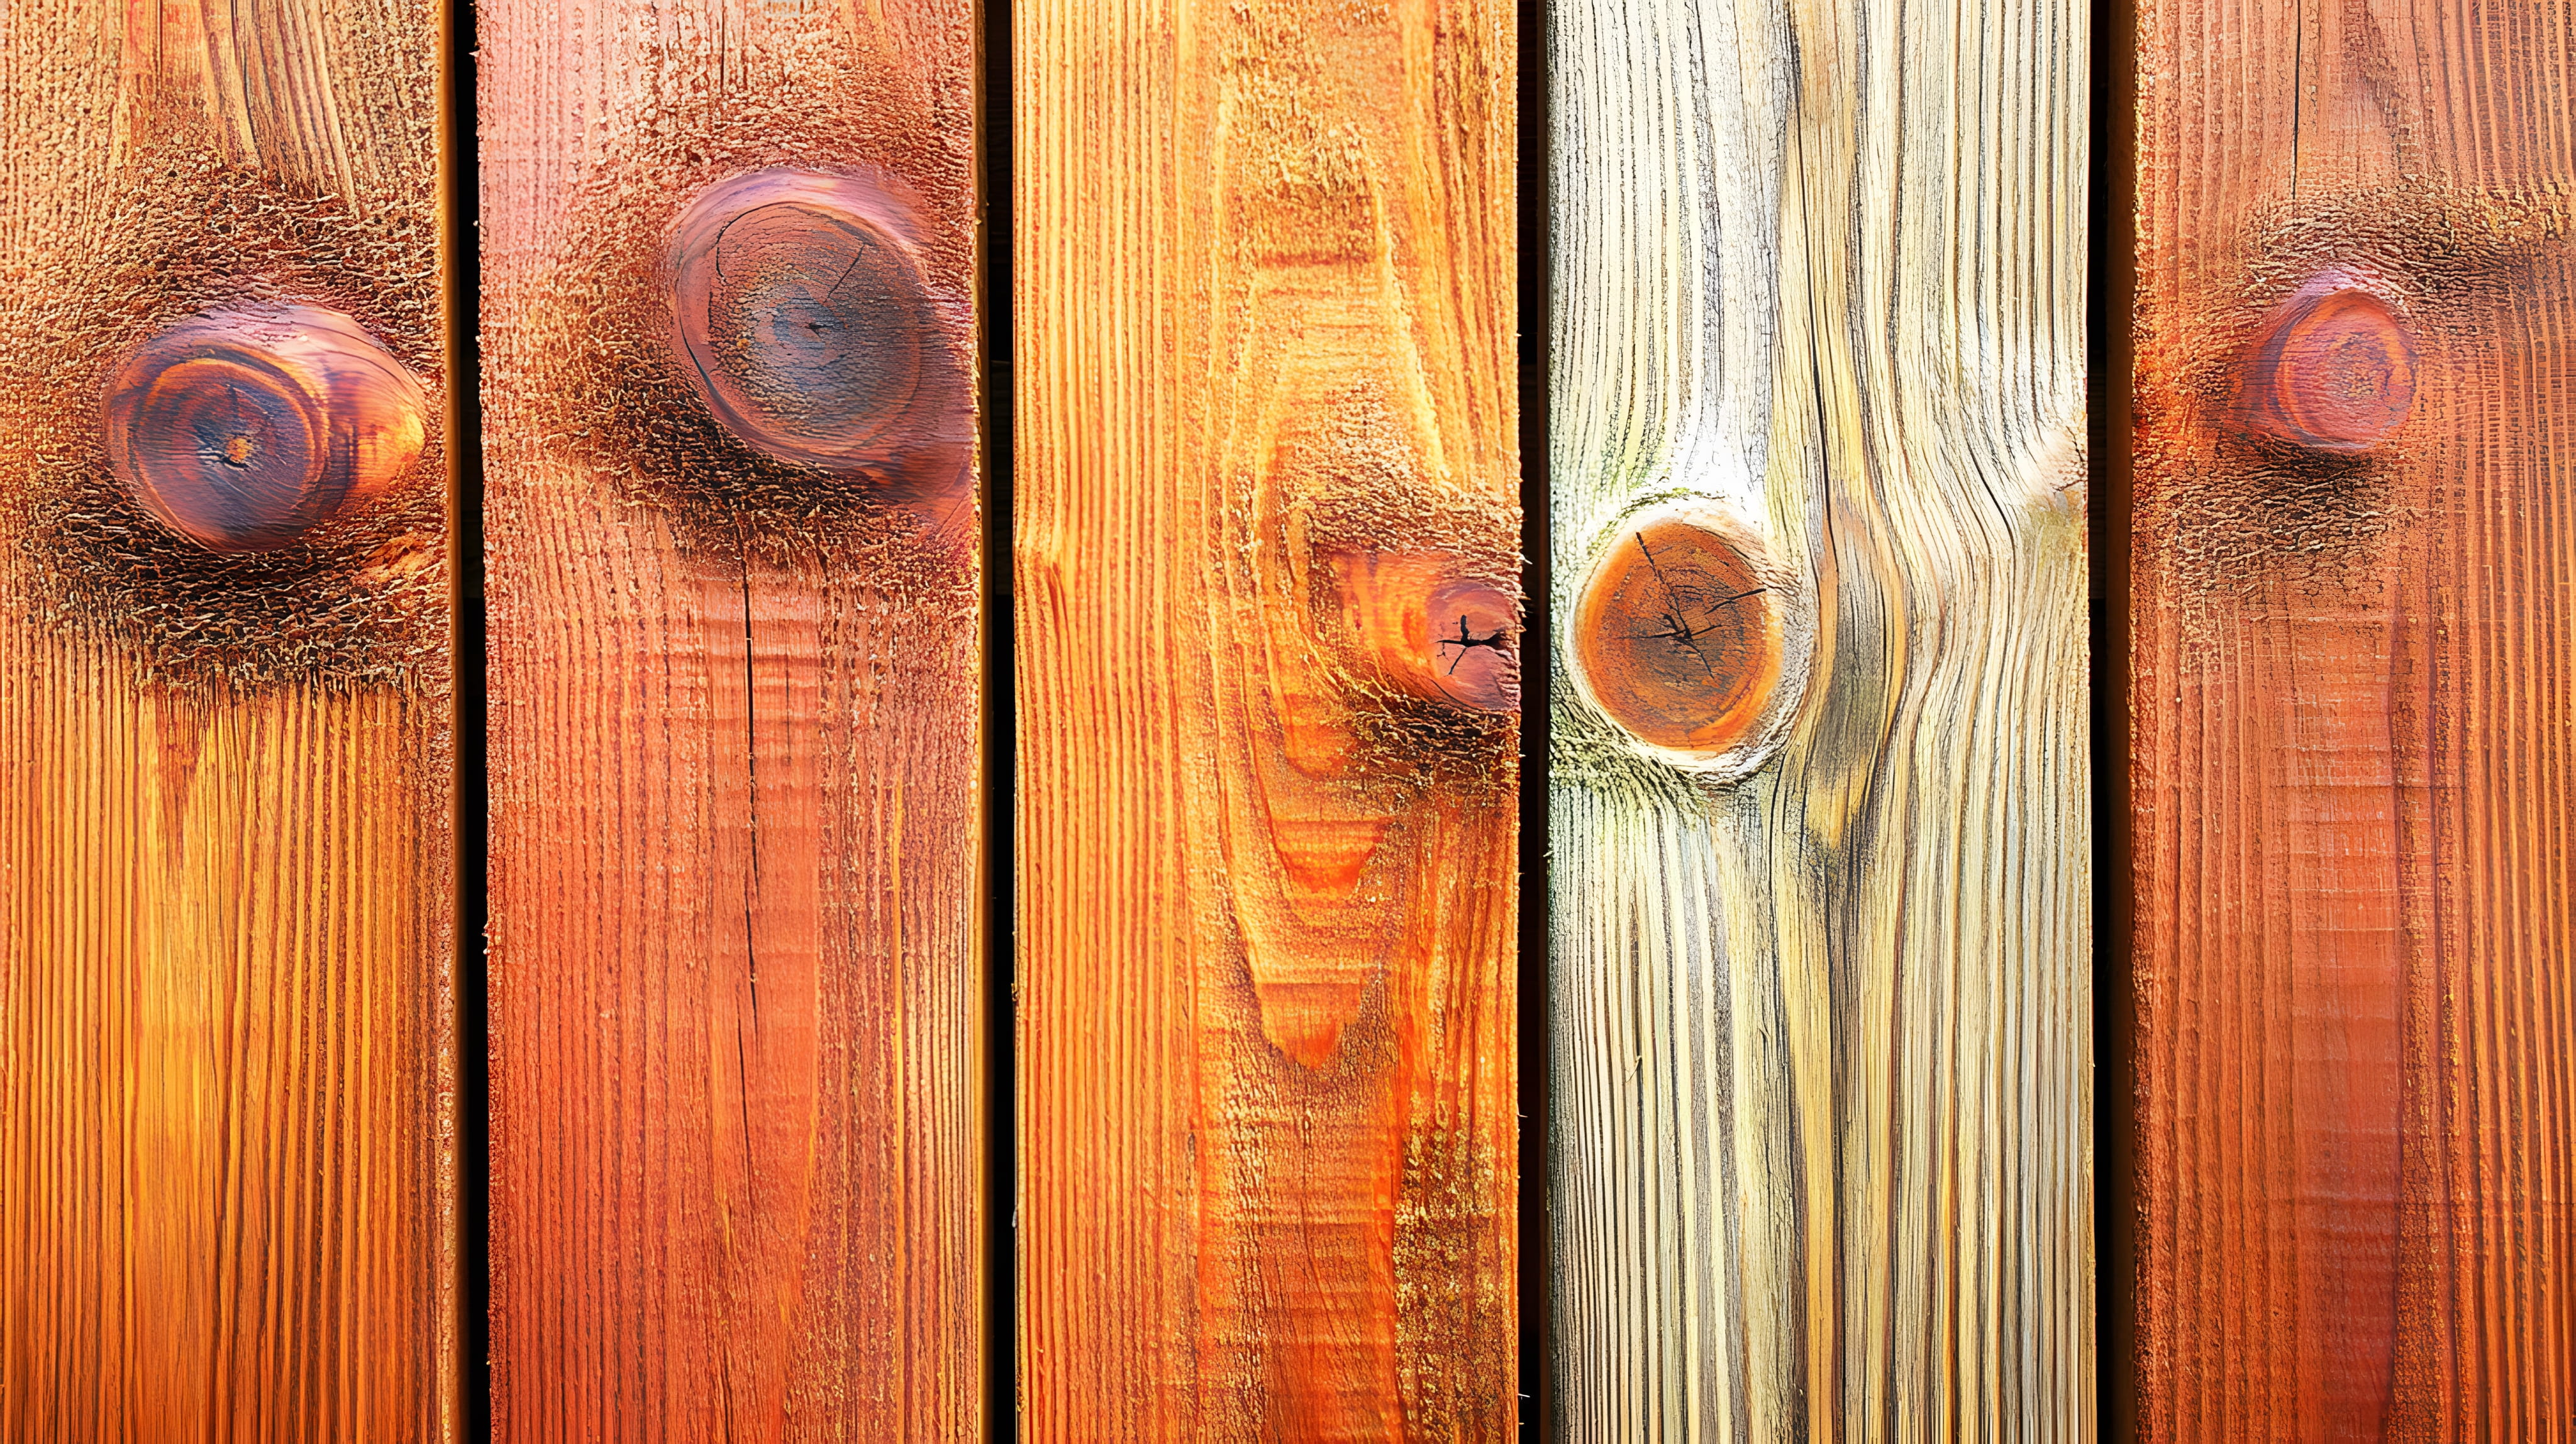
Cedar is one of the most loved woods for fences and decks, and for good reason. It's naturally resistant to decay and insects, stable, lightweight, and gorgeous when fresh, with warm tones and a pleasant aroma. But natural resistance isn't the same as immunity. Left unprotected, cedar turns silver-gray, dries out, cracks, and grows mildew in shaded areas. A good finish keeps the color, slows weathering, and extends the life of the wood. Cedar also has quirks that other woods don't, including natural oils and tannins that affect how stain absorbs and how fasteners behave. Understanding them helps you get a finish that looks great and lasts.
What Makes Cedar Different
Cedar contains natural oils and extractives that give it its rot resistance and color. These same compounds can interfere with some finishes and cause bleeding, staining, and uneven absorption. Compared with pine, cedar is softer and less dense, which makes it easier to work but more vulnerable to dents and surface damage.
Western Red Cedar and Other Types
Western red cedar is the most common choice for decks and fences, with a reddish-brown color and straight grain. Other types, such as eastern red cedar and incense cedar, vary in color and durability. Heartwood is more durable and darker, while sapwood is lighter and less resistant. Knowing what you have helps you choose a finish.
Why Cedar Still Needs a Finish
Sun breaks down the surface fibers, turning the wood gray. Moisture cycles cause cracking and cupping, and mildew grows in damp, shaded areas. A quality stain or sealer with UV protection slows these processes and keeps the wood looking its best. Unfinished cedar will last, but it won't look the way it did when new.
The Silver-Gray Option
Some homeowners like the weathered look that cedar develops naturally. If you embrace graying, you can still protect the wood with a clear water repellent and clean it periodically to prevent mildew. Decide up front, because going from gray back to a warm color requires cleaning and brightening.
New Cedar and Mill Glaze
Freshly milled cedar can have a slick surface, called mill glaze, that blocks stain from penetrating. A light cleaning, a mild brightener, or lightly sanding can open the pores. A simple water test shows whether the wood is ready: if water soaks in, stain will too.
Letting New Cedar Dry
Unlike pressure-treated lumber, cedar is generally sold kiln-dried and ready to finish sooner, but it still benefits from a short period to acclimate. Check the moisture content, and follow the finish manufacturer's guidance. Applying stain to wet wood causes problems.
Tannins and Bleeding
Cedar contains tannins that can leach out and stain finishes, particularly water-based products and light paints. Brown or reddish streaks may appear, especially after rain. Using a stain-blocking primer under paint, or choosing a penetrating oil-based or compatible stain, reduces bleeding.
Fasteners and Black Streaks
Cedar's tannins react with certain metals, causing black stains around nails and screws. Stainless steel fasteners avoid this problem. If you have galvanized or plain steel fasteners already installed, you may see dark streaks around them. Replacing fasteners fixes the cause.
Cleaning Before You Stain
Dirt, mildew, and old finish prevent stain from soaking in. Wash cedar with a wood cleaner and soft brush, rinse thoroughly, and let it dry completely. Avoid harsh pressure on soft cedar, which can raise the grain and gouge the surface.
Brightening and Restoring Color
A wood brightener restores the natural tone to weathered cedar and neutralizes cleaners. It helps open the wood so stain absorbs evenly. Follow product directions, rinse thoroughly, and allow time to dry.
Sanding Cedar
Cedar is soft, so sanding should be light. Use fine-grit paper to smooth rough spots and remove splinters, and avoid heavy sanding that burnishes the surface. Always sand with the grain, and vacuum dust before staining.
Choosing a Stain Type
Penetrating oil-based and hybrid stains are popular for cedar, because they soak into the wood without forming a film that can peel. Semi-transparent stains show the grain and add UV protection. Clear sealers keep the lightest color but offer less sun protection. Solid stains cover the grain and are better for older, weathered cedar.
Oil-Based vs. Water-Based
Oil-based stains penetrate deeply and feed the wood, which works well on cedar's oily surface, though they smell stronger and dry slower. Water-based stains dry faster and clean up easily. Good-quality water-based products perform well, but they need correct prep because of cedar's natural oils.
Choosing a Color
Cedar tones, light brown, and natural finishes enhance the wood's warmth. Gray stains give a modern, weathered look. Darker browns and solid colors hide variation. Test the color on a hidden area, since cedar's natural color influences the result.
Applying Stain
Apply stain with a brush, pad, or sprayer, working with the grain and back-brushing to work stain into the wood. Don't let puddles dry on horizontal surfaces. Keep a wet edge to avoid lap marks. Apply the number of coats the manufacturer recommends.
End Grain and Edges
End grain absorbs the most moisture. Apply extra stain to board ends, tops of posts, and edges. These areas are where cracking and rot begin, so thorough coverage matters.
Weather and Timing
Stain in dry, mild weather with no rain forecast. Avoid hot, direct sun, which dries stain too fast and causes lap marks. Allow the finish to cure before furniture goes back on the deck.
Cedar Fences
Cedar fences, especially dog-ear pickets and privacy panels, benefit from staining on both sides. A sprayer saves time, followed by back-brushing for penetration. Protect nearby plants and structures. Check and tighten fasteners, and replace damaged boards before staining.
Cedar Decks
Cedar decking is soft and shows foot traffic, furniture marks, and sun exposure. Staining protects the surface, but heavy use areas may need more frequent maintenance. Clean regularly and consider a finish with good UV protection.
Cedar Railings and Trim
Railings are touched and see weather from all sides. Sand lightly for smoothness, and stain all surfaces including undersides. A smooth, well-sealed railing is more comfortable and lasts longer.
Mildew and Shade
Cedar in shaded, damp areas grows mildew quickly. Clean affected areas with a suitable cleaner, and trim vegetation to improve airflow and sunlight. Sealing the wood helps resist regrowth.
Maintenance Schedule
Cedar finishes typically need refreshing every few years, depending on exposure and product. Perform a water-bead test: if water soaks in, it's time to clean and refinish. Regular cleaning extends the time between full recoats.
Repairs Before Staining
Replace rotted boards, tighten loose fasteners, fill cracks with exterior filler, and address gaps. Cedar can split, and small repairs prevent larger problems. Make repairs before cleaning and staining.
Insects and Cedar
Cedar resists many insects, but it isn't completely immune. Check for signs of damage, such as holes and sawdust. Treat infestations promptly, and replace affected boards.
Cost and Time
Cost depends on size, condition, prep, and finish. Staining cedar is typically less demanding than stripping and restoring heavily weathered wood. Professional crews work efficiently and handle equipment, masking, and cleanup.
Choosing a Professional
An experienced stainer understands cedar's quirks, tests finishes, and prepares surfaces correctly. Ask about products, prep methods, and how they handle tannins and fasteners. A clear plan shows experience.
Cedar Heartwood, Sapwood, and Uneven Color
Boards often contain both darker heartwood and lighter sapwood, so color varies from board to board. A semi-transparent stain evens out some of this difference, while a clear finish emphasizes it. Decide whether you like the natural variation, since it affects which finish you choose.
Dealing With Knots and Resin
Knots can bleed resin and absorb stain differently than the surrounding wood. Cleaning resin spots with a suitable solvent before staining helps the finish bond. Spot priming knots prevents stains from showing through light colors.
Cedar Gates and Latches
Gates move, and hinges and latches take stress. Check that gates swing freely before staining, and avoid getting stain on moving hardware. Stain gate edges thoroughly, since they take the most moisture.
Protecting Cedar in Wet Climates
Persistent rain and humidity encourage mildew and cracking. Choose finishes with mildewcides, allow airflow around structures, and clean at least yearly. Keeping plants and sprinklers away from cedar surfaces helps.
Refinishing Previously Stained Cedar
If cedar has an old stain in decent condition, a cleaning and light recoat may be enough. If the finish is peeling, strip it first, since new stain won't bond to failing coatings. Test a small area to see how the existing finish reacts.
Testing a Small Area First
Apply your chosen stain to a hidden board and let it dry fully before committing. Cedar's natural color shifts the result, and a small test shows whether the shade and finish suit your wood.

Want your cedar to keep its color? Our crew cleans and brightens the wood, handles tannin and fastener issues, tests finishes on your own boards, and applies a penetrating stain with strong UV protection, so your fence and deck stay beautiful. You'll see the color before we stain it all. Request your free staining estimate today.

Karter & Co


