

Restoring a Weathered Wood Deck: Stripping, Cleaning, Sanding, and Refinishing
A wood deck that has gone gray, rough, and patchy doesn't necessarily need to be torn out. In many cases, the boards underneath are still sound, and a thorough restoration can bring back the color, smooth the surface, and protect the wood for years to come. But restoration isn't just a matter of washing and slapping on stain. Old finish that is failing must be removed, graying and mildew must be cleaned, damaged boards and fasteners must be repaired, and the wood must be properly dried and prepared before any new finish goes on. Understanding the steps, and how to tell whether a deck is a candidate for restoration, helps you decide whether to tackle it or hire help.
Start With Safety and Structure
Before thinking about appearance, check that the deck is safe. Look for soft or rotted boards, loose railings, wobbly stairs, rusted fasteners, and signs of structural trouble such as sagging, a separating ledger, or leaning posts. Stain won't fix structural problems. If the framing is compromised, repair or replacement must come first.
Probe for Rot
Press a screwdriver into boards, joists, posts, and rail bases, especially where wood meets other wood and near the ground. Soft, crumbly wood needs replacement. A few bad boards can be swapped, but widespread rot suggests the deck may be near the end of its life.
Deciding Between Restoration and Replacement
If most boards are solid, a restoration is usually far cheaper than a new deck. If many are cracked, cupped severely, or rotted, or if the framing is failing, replacement may be more economical. A professional assessment helps you avoid investing in a deck that can't be saved.
Why Decks Fail
Sun breaks down surface fibers, moisture cycles cause cracking and cupping, mildew grows in shade, and old finish peels when applied over damp or dirty wood. Foot traffic wears the surface, and furniture and planters trap moisture. Understanding the cause helps you choose a more durable approach this time.
Identify What's on the Deck
Some decks have no finish at all, others have film-forming sealers that peel, and others have penetrating stains that have faded. The type of existing finish determines how it can be removed. A small test, such as a water bead test or applying a stripper to a small spot, shows what you're dealing with.
Remove Furniture and Protect Surroundings
Clear the deck, and cover or protect plants, siding, and nearby surfaces from cleaners and strippers. Stripping and cleaning products can harm landscaping, so wet the plants beforehand and rinse them afterward. Plan for runoff and wind.
Sweep and Clean Out the Gaps
Debris between boards traps moisture and promotes rot. Use a thin tool to clear gaps, and sweep thoroughly. Clean gaps allow water to drain and let cleaners and rinse water pass through.
Stripping Old Finish
If the deck has peeling or failing finish, a stripper made for deck stains breaks down the old coating so it can be rinsed or scrubbed away. Apply it evenly, let it dwell for the recommended time, scrub with a stiff brush, and rinse thoroughly. Don't let stripper dry on the wood.
Choosing a Stripper
Strippers vary in strength and chemistry. Some are designed for oil-based finishes, others for water-based, and others for solid-color stains. Read the label, test on a small area, and wear protective gear. A stripper that is too harsh can damage soft wood.
Neutralizing After Stripping
Many strippers leave the wood alkaline, so a neutralizing brightener restores the wood's pH and opens the grain for new stain. Skipping neutralizing can lead to blotchy stain and poor adhesion. Follow the product directions and rinse well.
Cleaning Gray and Weathered Wood
If the deck is mostly unfinished and gray, a wood cleaner removes graying, dirt, and mildew. Oxygen-based cleaners are gentle on wood and plants. Apply, let sit, scrub with the grain, and rinse. The wood often brightens dramatically.
Mildew and Algae Treatment
Shaded decks collect mildew and algae, which cause slick surfaces and dark stains. Cleaners formulated for these growths kill organisms at the source. Rinse thoroughly, and improve sunlight and airflow around the deck where possible.
Pressure Washing Carefully
A pressure washer can speed cleaning, but too much pressure fuzzes and gouges soft wood. Use a wide fan tip, low pressure, and keep the nozzle moving at a safe distance. Wash with the grain. Many professionals prefer brush-and-rinse methods for delicate wood.
Let the Wood Dry
After cleaning and brightening, wood must dry fully before sanding or staining. Depending on weather, this can take a day or several. A moisture meter or water drop test shows readiness. Staining wet wood leads to peeling.
Replace Damaged Boards
Cracked, rotted, or severely cupped boards should be replaced before finishing. Use matching material, and stainless or coated fasteners. New boards will look different until they weather or are stained, so plan finishes with that in mind.
Fasteners and Hardware
Popped nails, loose screws, and rusted hardware should be replaced. Screws hold better than nails and resist backing out. Tighten railings and brackets, and replace rusted connectors. Fixing hardware now avoids damage to the new finish.
Sanding for a Smooth Surface
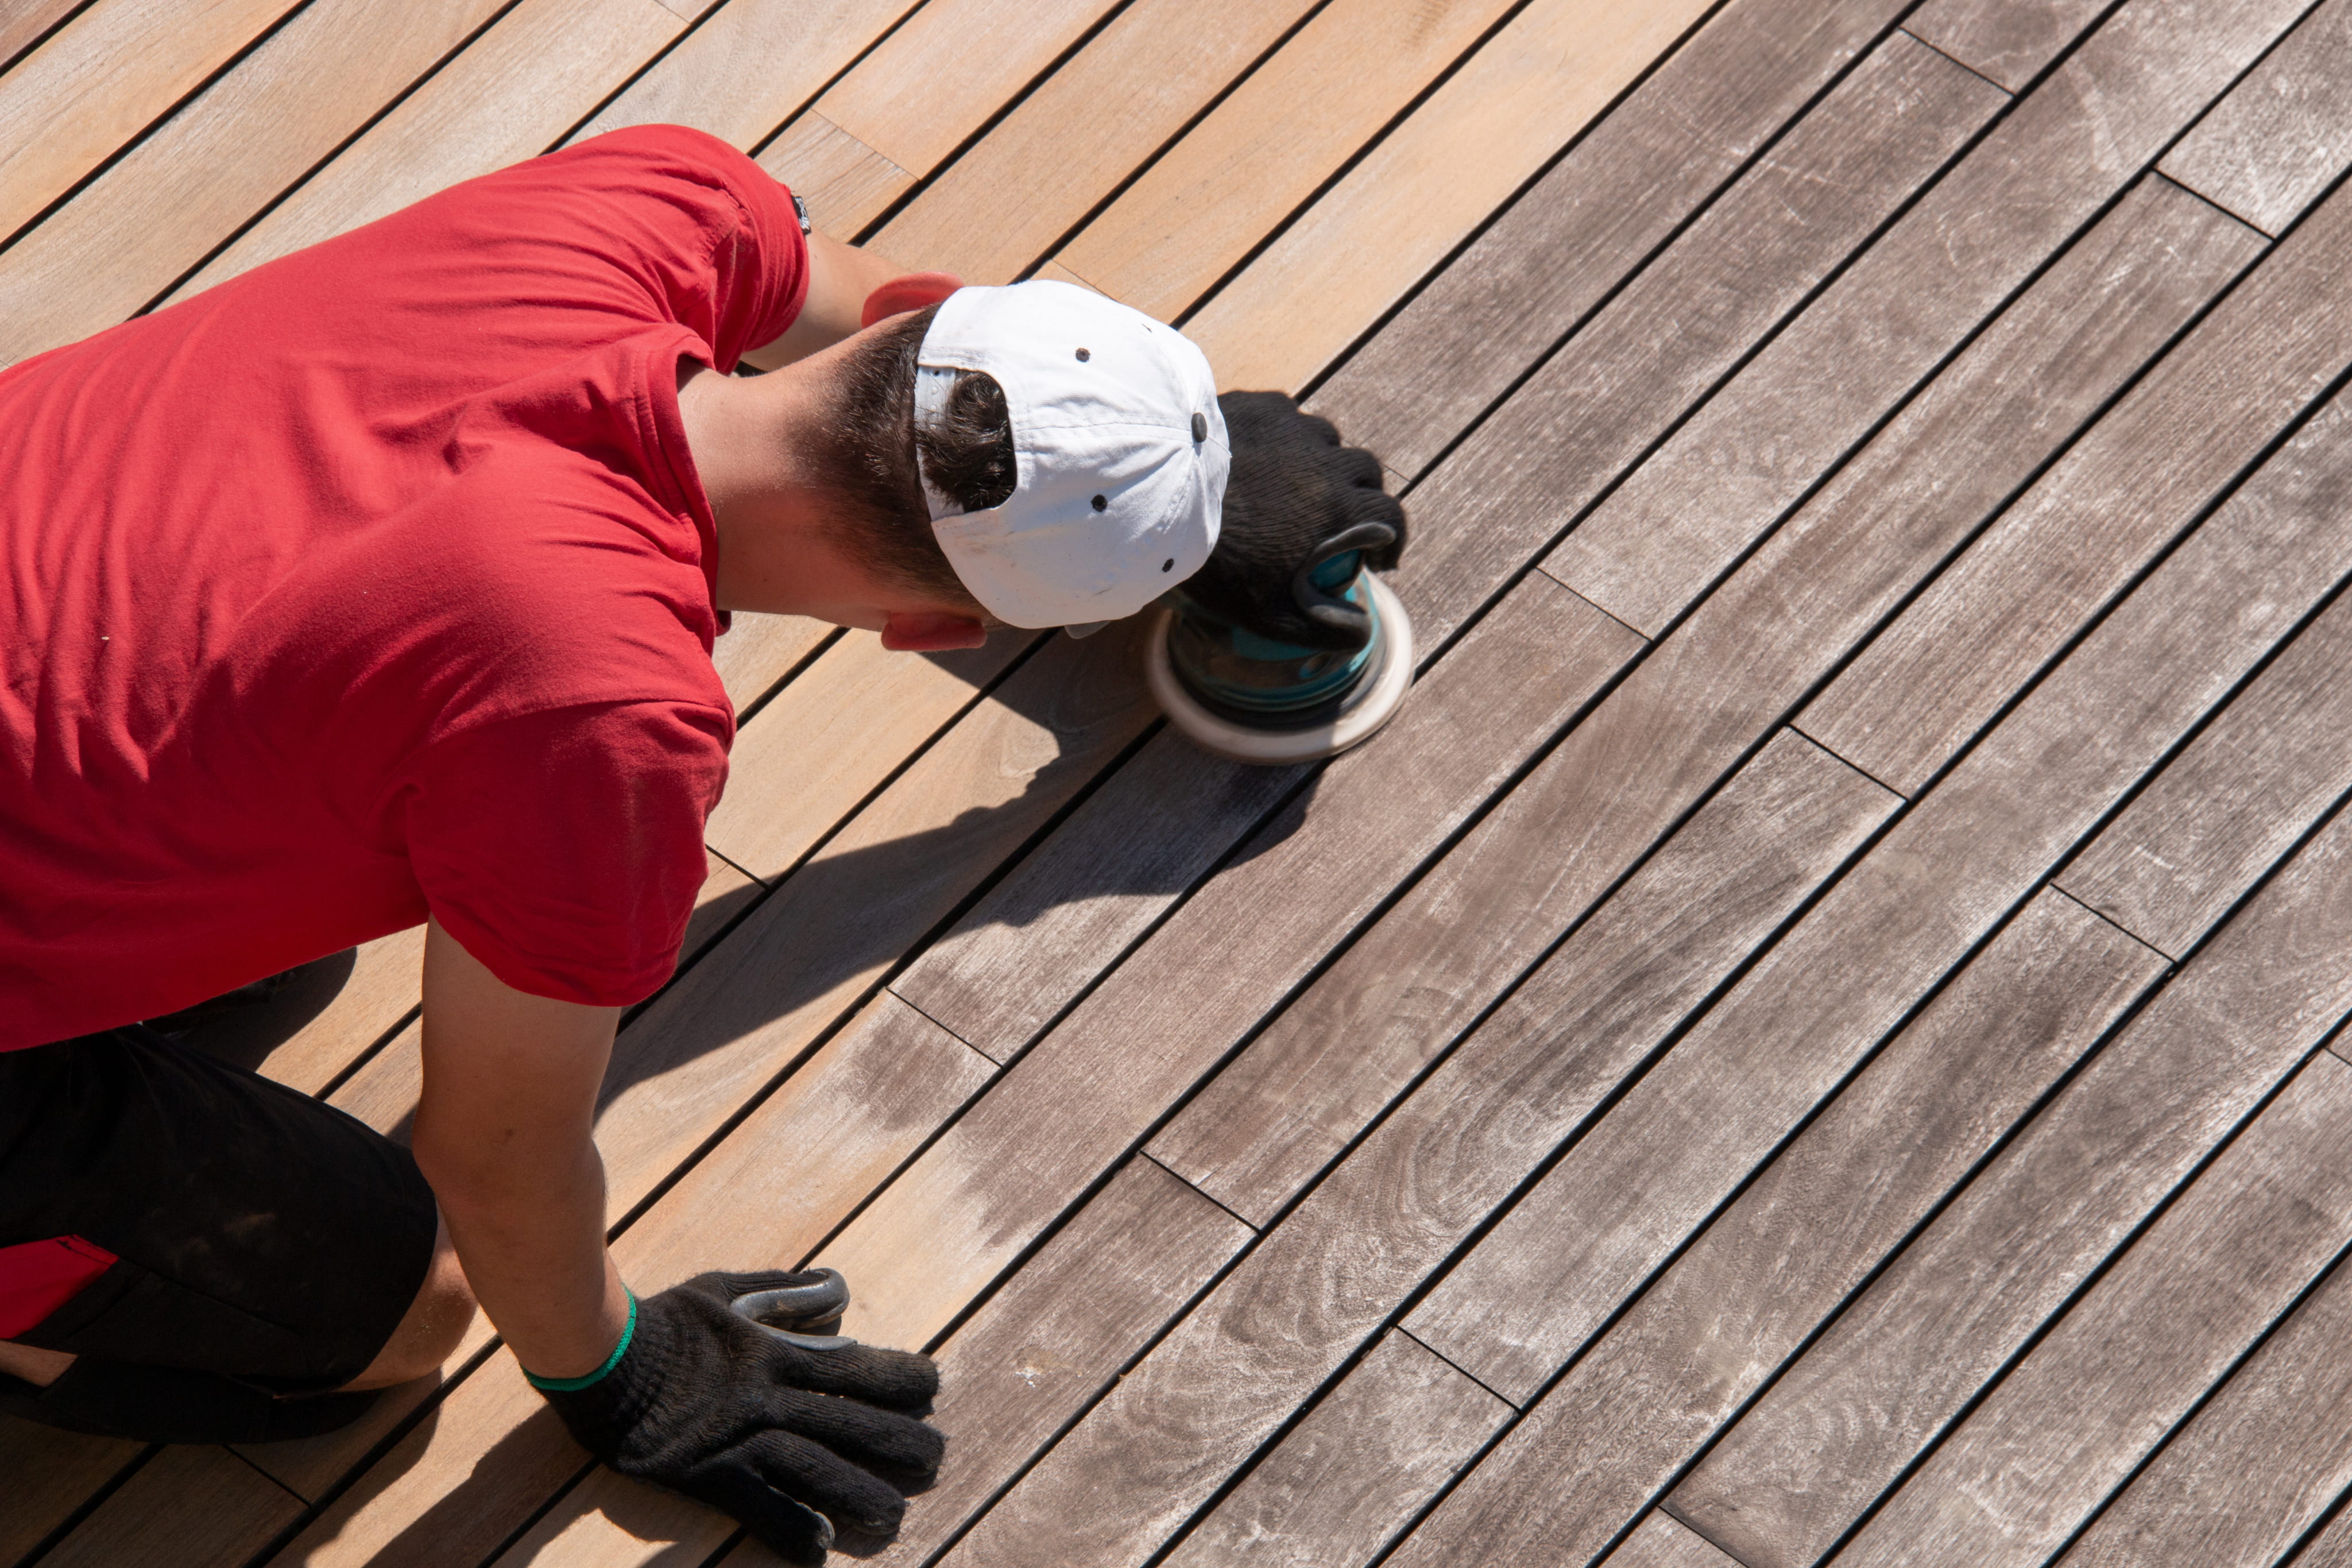
After cleaning and drying, sanding removes remaining roughness, splinters, and raised grain. Use a pole sander or orbital sander with medium grit, followed by finer grit for handrails. Sanding opens the pores, helping stain absorb evenly, but over-sanding can burnish the wood.
Dealing With Splinters and Rough Edges
Splintered boards can be smoothed by sanding, and heavily damaged boards should be replaced. Check handrails, steps, and board edges, since these are touched often. A smooth surface is more comfortable and safer for bare feet.
Handling Cupped and Warped Boards
Slight cupping often flattens with sanding and a good finish, while severe cupping may need board replacement or flipping. Cupping indicates moisture imbalance, so improving ventilation and sealing all sides of replacement boards helps prevent recurrence.
Choosing a Finish
Penetrating, semi-transparent stains are popular for decks because they soak into the wood and wear gradually without peeling. Solid stains cover more and can hide imperfections on older wood. Clear sealers offer less UV protection. Choose based on wood condition and desired look.
Oil-Based vs. Water-Based Finishes
Oil-based products penetrate deeply and are favored for older, thirsty wood. Water-based products dry faster, clean up easily, and have lower odor. Quality varies, so choose reputable brands and follow instructions for your wood and conditions.
Color Choices
Weathered wood absorbs stain unevenly, so test a hidden area first. Slightly darker or more pigmented stains help even out older wood. Light colors can show variation. Pick a color that suits your home and tolerates sun.
Applying the Stain
Apply with a brush, pad, or sprayer, working in small sections with the grain and back-brushing to push stain into the wood. Avoid puddles, which can leave sticky, shiny spots. Keep a wet edge, and follow coat recommendations.
End Grain and Edges
Board ends, rail tops, and stair edges absorb the most moisture. Apply extra stain to these areas, and ensure full coverage on undersides where accessible. Protecting end grain reduces cracking and rot.
Handrails and Spindles
Handrails and balusters need careful, time-consuming coverage. Sand lightly for a smooth feel, and apply finish with a brush or mitt. Take care to avoid drips, and let them cure before use.
Weather and Timing
Work in dry, mild conditions, avoiding hot direct sun and temperatures outside the product's range. Allow time for drying before rain or dew. Morning and late afternoon often provide better conditions.
Drying and Cure Times
Foot traffic may be possible within a day, but finishes take days to cure fully. Delay placing furniture, rugs, and planters until the finish is hard. Heavy items too soon can stick or mark.
Maintaining the Restored Deck
Sweep regularly, clean annually, use furniture pads, avoid trapping moisture under mats and planters, and do a water bead test each year. Refresh the finish when water begins to soak in. Regular care prevents the need for another full restoration.
Cost and Time
Restoration costs less than replacement but isn't free. Time and cost depend on deck size, condition, number of repairs, and finish choice. A full restoration often takes several days, including drying time.
DIY or Professional
DIY restoration is possible but physically demanding, and mistakes with strippers, pressure, and sanding can cause damage. A professional brings experience with chemicals, equipment, and timing. They can also assess structure and safety.
Protecting the Deck Between Refinishes
Place mats and planters on risers so water can drain, keep grills on protective pads, and clear leaves and debris promptly. Trim nearby plants to improve airflow and sunlight. Small habits reduce moisture and mildew, and they extend your finish.

Is your deck gray, splintery, or peeling? Our crew checks it for rot and safety, strips old finish, cleans and brightens the wood, replaces bad boards and fasteners, sands smooth, and applies a finish matched to your wood, so your deck looks great and is protected for years. Request your free deck restoration estimate today.

Karter & Co


