

Pressure-Treated Lumber for Decks: What Homeowners Should Know
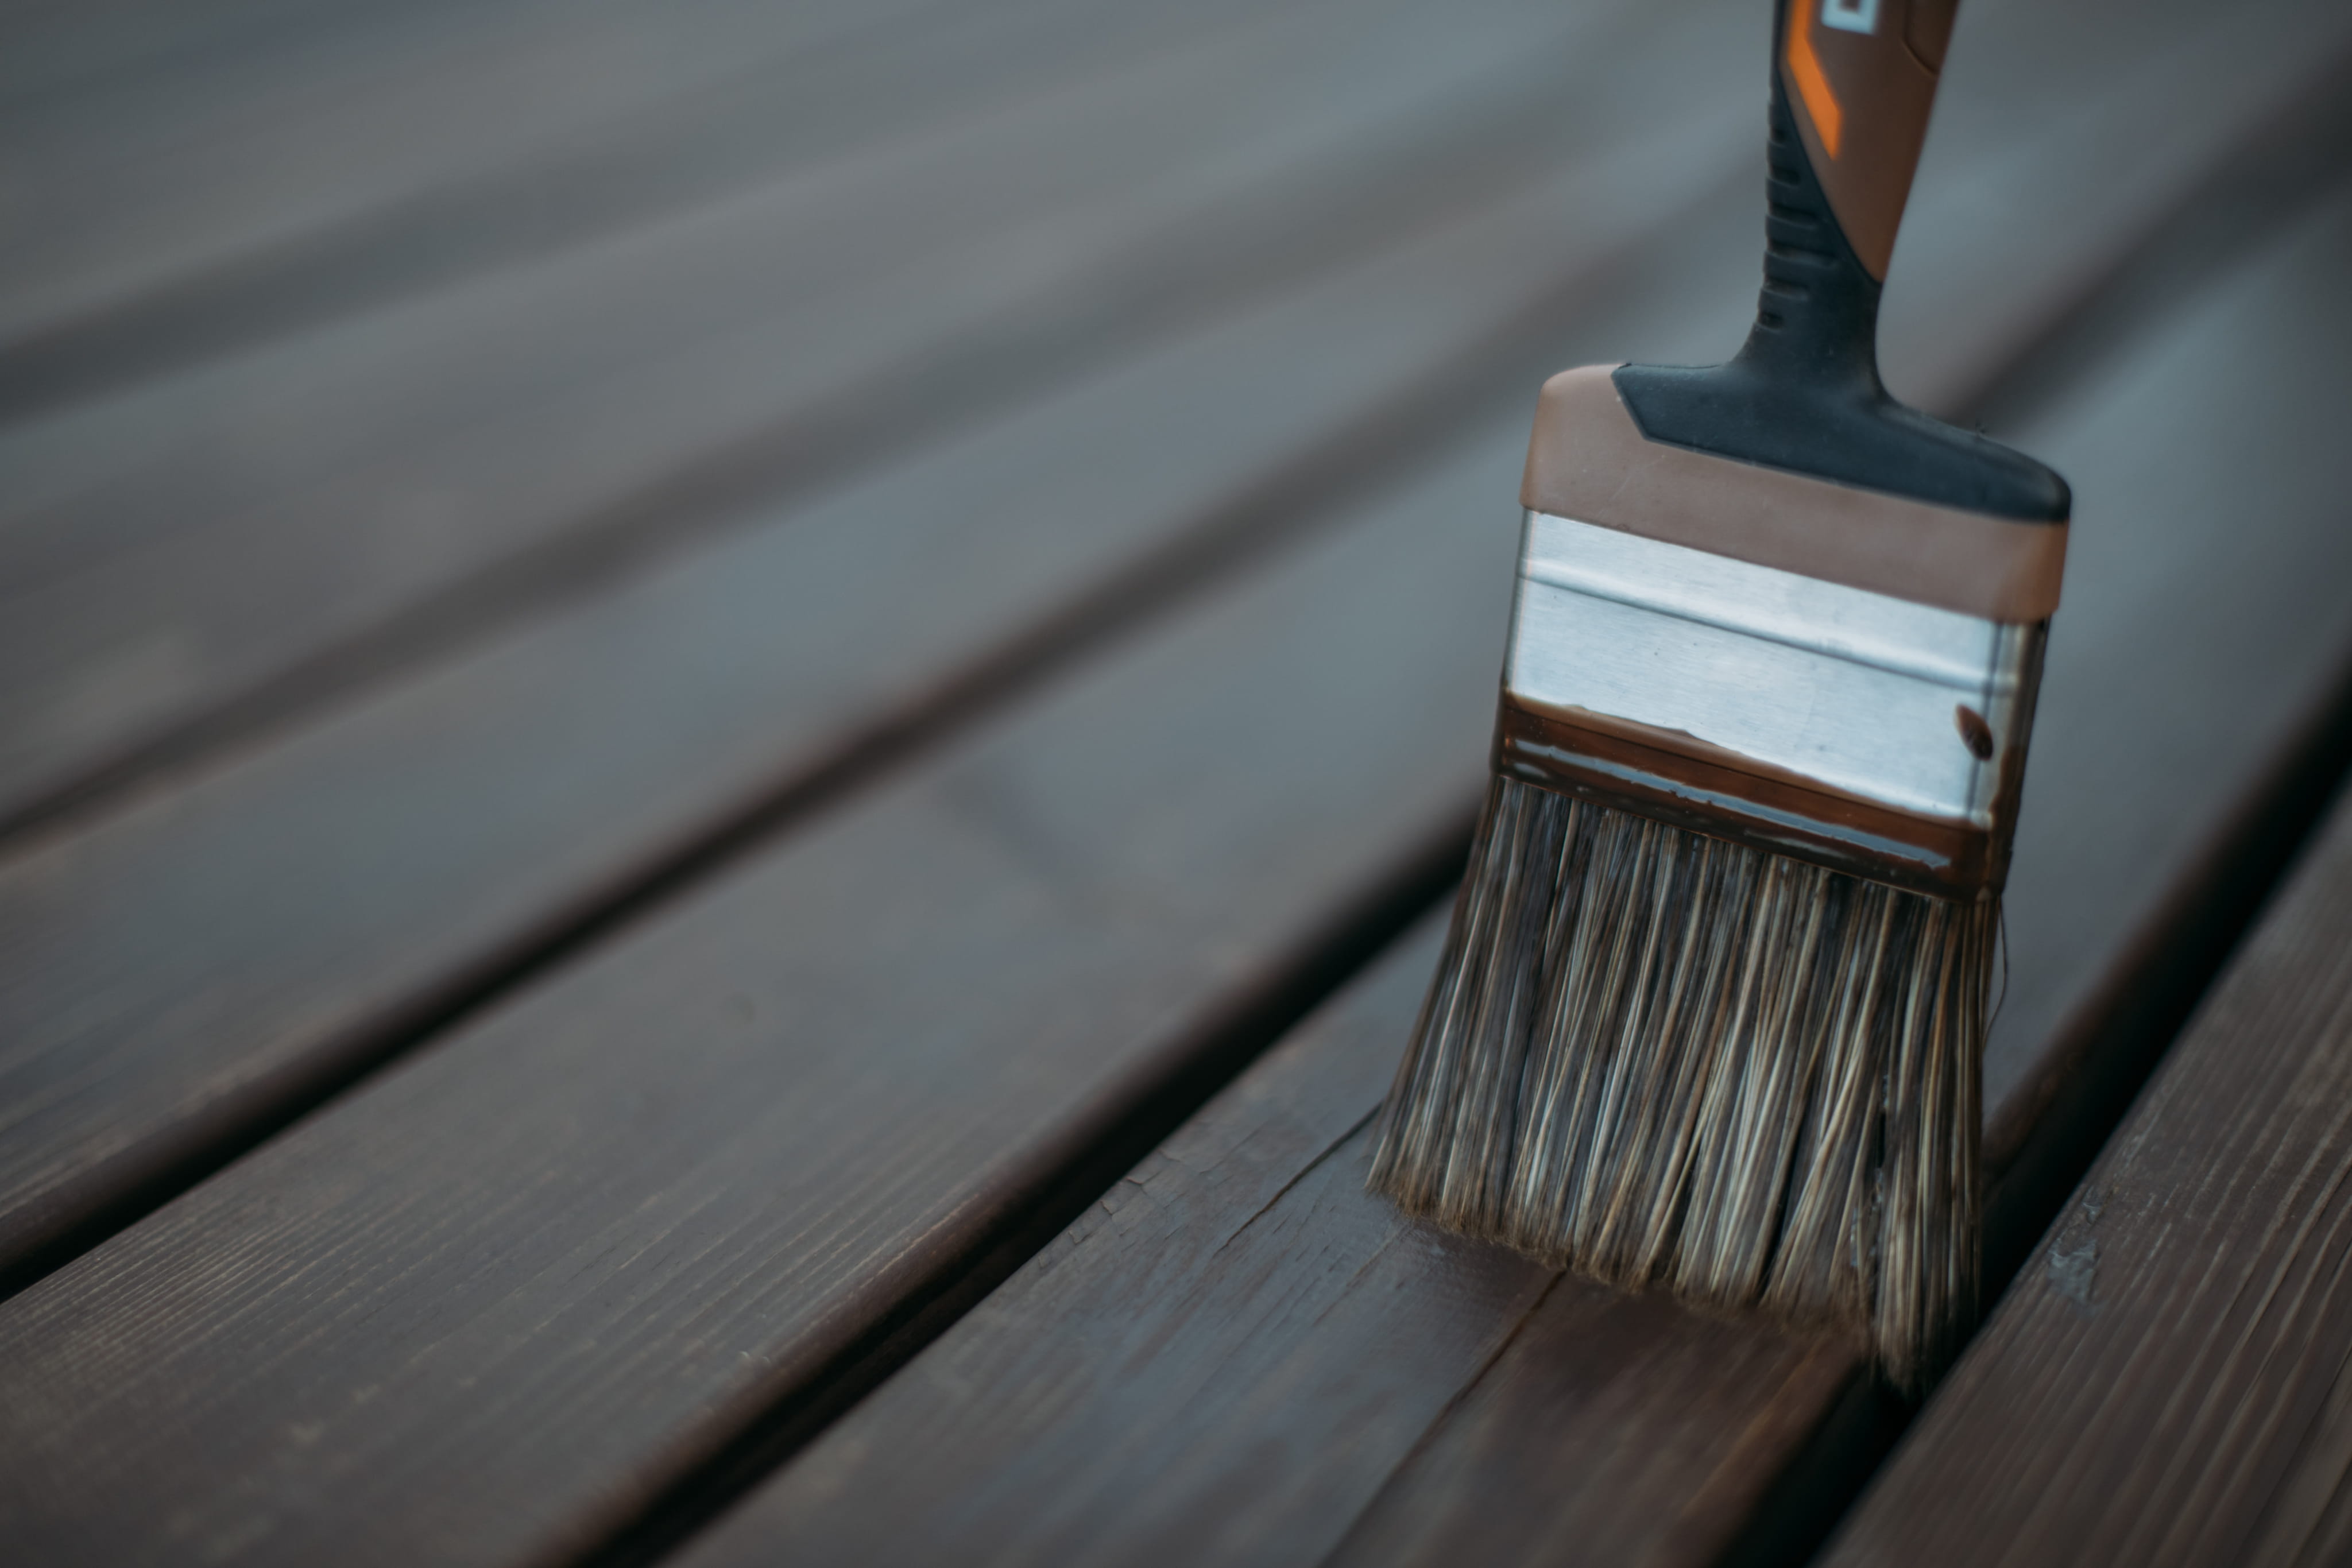
Pressure-treated lumber is the workhorse of deck building. It's affordable, widely available, and designed to resist rot and insects, which is why it's used in the framing of most decks and in the surface of many. But it isn't a single product. Different treatments, ratings, and drying methods change how it performs and how it should be installed and maintained. Knowing the basics helps you buy wisely, avoid common mistakes, and get the best life from the material.
What Pressure-Treated Lumber Is
Pressure-treated lumber is ordinary wood, usually a softwood like pine, that has been placed in a chamber where preservatives are forced deep into the fibers under pressure. The treatment protects against decay fungi and wood-boring insects, which allows the lumber to be used outdoors and in contact with moisture far longer than untreated wood.
Treatment Types
Modern residential treatments typically use copper-based preservatives, which replaced older formulas that contained arsenic. The type of treatment determines how corrosive the wood is to metals, which affects what fasteners and hardware you should use. Always check the tag on the lumber to see the treatment and its intended use.
Above-Ground vs. Ground-Contact Ratings
Lumber is rated by how much preservative it contains. Above-ground rated lumber is intended for decking boards, railings, and parts that stay above the soil. Ground-contact rated lumber has more preservative and is intended for posts, beams, and any wood touching soil or concrete or exposed to constant moisture. Using the wrong rating shortens the life of the structure.
Fasteners and Hardware
The preservatives in treated lumber can corrode ordinary steel quickly. Use hot-dip galvanized, stainless steel, or fasteners and connectors specifically rated for treated wood. Using the wrong hardware leads to rust, staining, and failing connections. Stainless steel is often preferred in coastal or very humid areas.
Kiln-Dried After Treatment
Standard treated lumber leaves the treatment process saturated with water. As it dries, it can shrink, warp, twist, and crack. Kiln-dried after treatment lumber is dried to a lower moisture content before sale, which makes it more stable, easier to work with, and ready to accept finishes sooner. It costs more, but many builders consider it a worthwhile upgrade.
Drying Time Before Staining
Wet treated lumber needs time to dry before it can absorb stain or sealer. This can take weeks or even months depending on weather. Applying finish too early traps moisture and can lead to peeling. A simple water test, sprinkling water on the surface to see if it soaks in, can indicate whether the wood is ready.
Grades and Quality
Lumber comes in grades that reflect appearance and strength. Higher grades have fewer knots and defects, and they're more stable and attractive. Lower grades are cheaper but more prone to warping and splitting. For deck surface boards, picking through the stack for straight, clean pieces pays off.
Dimensions and Spans
Joist and beam sizing depend on how far they span and how much load they carry. Using undersized lumber leads to bouncy, weak structures. A builder will size framing according to code and manufacturer guidance. Don't assume that thicker or thinner boards are interchangeable without checking.
Common Defects to Watch For
Cupping, crowning, twisting, bowing, large knots, splits, and checking are common in treated lumber. Minor surface checks are normal, but severe warping or structural splits aren't. Inspect boards when they arrive and set aside the worst for non-structural uses or return them.
Cutting and Safety
When cutting treated lumber, wear a dust mask and eye protection, and work in a ventilated area. Sawdust from treated wood shouldn't be burned, and cut ends should be treated with a preservative made for field cuts. Following basic safety practices protects you and extends the wood's life.
End-Cut Treatment
When you cut a treated board, you expose untreated wood inside. Applying a copper-based end-cut preservative to every cut, drilled hole, and notch seals that area from moisture. Skipping this step leaves weak points where decay can begin.
Spacing and Ventilation
Treated boards swell and shrink with moisture, so spacing between boards matters. Leaving appropriate gaps allows drainage and air flow, and prevents buckling. Good ventilation beneath the deck keeps wood drier and extends its life.
Staining and Sealing
Even treated wood benefits from a water-repellent finish. Stain and sealer slow moisture absorption and UV damage, which reduces cracking and graying. Plan to clean and refinish periodically, typically every few years, depending on exposure and the product used.
Weathering and Appearance
Left unfinished, treated lumber turns gray as the sun breaks down surface fibers. Some homeowners like the weathered look, while others prefer to maintain color with stain. Either way, the structural protection from the preservative remains.
Cost Compared With Other Materials
Pressure-treated lumber is generally the most economical option for both framing and decking. Cedar, composite, and exotic hardwoods typically cost more. Because of the lower upfront cost, treated wood allows many homeowners to build a larger deck within budget.
Lifespan Expectations
With good construction and maintenance, a treated wood deck can last many years, though exposure and care make a big difference. Neglected decks fail sooner from rot, warping, and fastener corrosion. Framing often outlasts surface boards, which can be replaced separately.
Environmental and Health Considerations
Modern treatments are designed for residential use, but precautions like wearing gloves, washing hands after handling, and not using treated wood for food-contact surfaces or garden beds growing edibles are sensible. Check manufacturer guidance and local regulations.
Using Treated Wood With Other Materials
Many decks use treated lumber for framing and a different material for the surface, such as composite. This combination offers a strong, economical structure with a low-maintenance top. Ensure the framing is built to support the chosen surface's requirements for spacing.
Questions to Ask Before You Buy
What treatment and rating does this lumber have? Is it kiln-dried after treatment? What fasteners are recommended? How long should it dry before finishing? Which grade is it? Clear answers help you buy the right material for each part of the deck.
Buying Tips
Inspect each piece, store lumber flat and covered, and keep it off the ground until use. Order a little extra for waste, and buy all material together so batches match. Good handling before installation reduces warping.
Moisture Content and Why It Matters
Lumber is full of water when it comes from treatment, and as it dries, it moves. Boards installed wet will shrink, which can open gaps between boards and loosen fasteners. Boards that dry unevenly can warp. Letting stacks dry under cover with air circulating around them before installation, or choosing kiln-dried after treatment lumber, reduces these problems.
Splitting and Checking
Small cracks along the grain, called checks, are common as wood dries and are usually cosmetic. Longer splits that run through the thickness of a board are more serious, particularly near the ends or at fasteners. Pre-drilling holes near board ends and using appropriate fasteners reduce splitting. Sealing end grain helps too.
Choosing Boards for the Surface
Surface boards have to handle foot traffic, sun, and weather, so it pays to choose carefully. Look for straight boards, tight grain, and fewer knots. Five-quarter boards and two-by-six boards are common choices, and each has different appearance and strength. Picking boards by hand rather than accepting a pre-made bundle improves results.
Orienting Boards for Drainage
Wood has growth rings, and the way a board is oriented can influence how it cups. Many builders install boards with the bark side up to shed water, though practices vary and depend on the board. Whatever the approach, allow gaps for drainage and use consistent orientation within a section so the look is uniform.
Treated Wood in Coastal and Humid Areas
High humidity, salt air, and frequent rain stress both wood and metal. In these settings, using stainless steel hardware, higher preservative retention for structural members, and diligent maintenance improves results. Good ventilation beneath the deck is especially valuable in humid climates.
Retention Levels and Product Labels
Every piece of treated lumber should have a tag or stamp that tells you the preservative, the retention level, and the intended use. Reading these labels helps you avoid putting above-ground lumber where it needs ground-contact protection. If a supplier can't tell you what a board is rated for, choose a different supplier.
Signs of Aging in Treated Wood
As a treated deck ages, you may see graying, cracking, fastener popping, soft spots near the ground, and mildew in shaded areas. Probing questionable spots with a screwdriver can reveal softness. Catching decay early lets you repair or replace individual pieces before the problem spreads.
Where to Source and How to Inspect Lumber
Buy from a supplier with good turnover so the lumber hasn't sat in the yard for months. Check the tags, look down the length of each board for straightness, and avoid pieces with heavy splits or warps. Ask whether the supplier can set aside the best stock for your project. Careful selection at purchase saves frustration during installation.

Choosing the right lumber starts with understanding the options. Our team uses properly rated, quality lumber, the correct fasteners, and end-cut protection on every cut, and we'll explain what each choice means for cost and lifespan before you decide. You'll know exactly what's going into your deck. Get your free deck building estimate and build on solid material.

Karter & Co


