

Painting Over Stains: Which Stain-Blocking Primer Works for Water, Smoke, Grease, and Marker
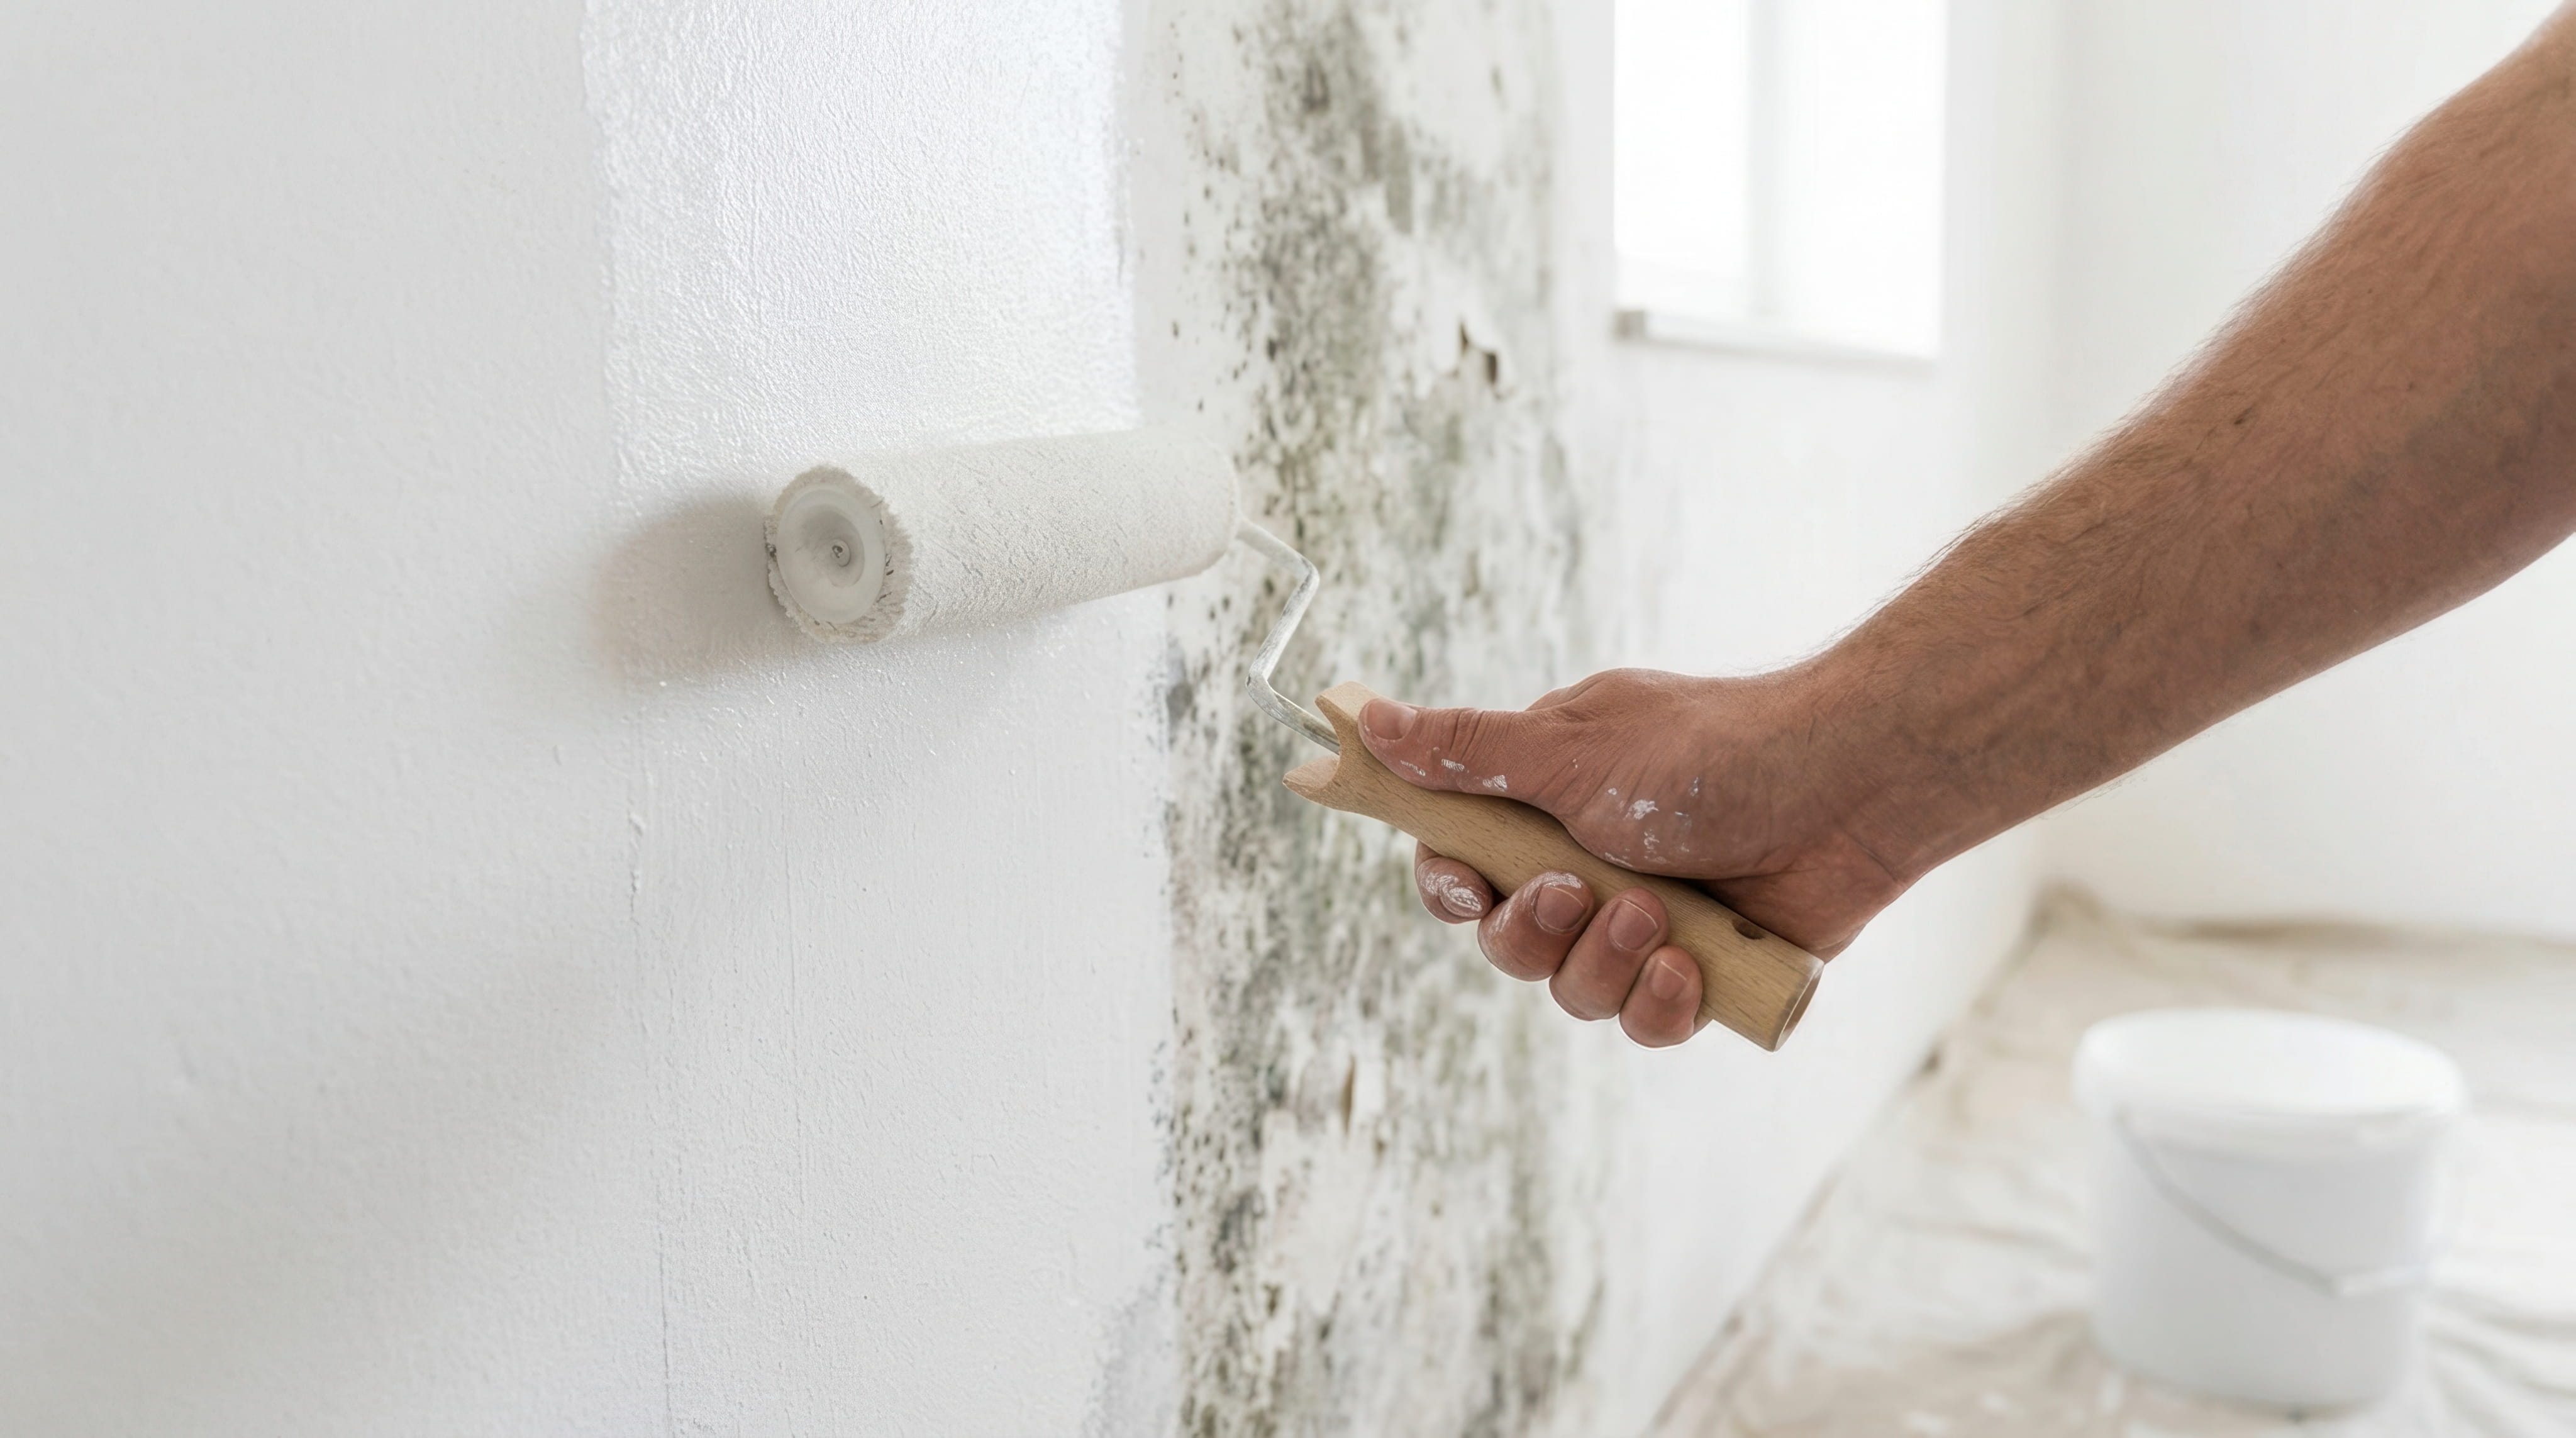
You've painted over the stain, and a day later it's back, faint and brown, showing through like a ghost. It's one of the most frustrating experiences in interior painting, and it happens because ordinary paint is not designed to block stains. Water rings, smoke residue, grease, crayon, marker, tannin, and rust all contain substances that migrate through paint and discolor the surface. The solution is a stain-blocking primer matched to the stain and the surface, applied correctly before the finish coat. Knowing which primer to use, and what else must be done to prevent the stain from returning, saves time, paint, and aggravation.
Why Stains Bleed Through
Many stains contain dyes, oils, or tannins that dissolve in the solvent or water of the new paint and travel through the film as it dries. Regular paint is thin and porous, so these substances rise to the surface. A stain-blocking primer forms a dense barrier that traps the stain beneath it.
Fix the Source First
A primer can hide a water stain, but it can't stop a leak. Before priming, find and repair the cause of the stain, whether it's a roof leak, plumbing problem, condensation, or ongoing moisture. Painting over an active problem only hides it until it returns.
Types of Stain-Blocking Primers
Stain-blocking primers come in three main types: shellac-based, oil-based, and water-based. Each has strengths and limits, and the best choice depends on the stain, the surface, and the conditions. Many professionals keep all three on hand.
Shellac-Based Primers
Shellac primers are among the most effective stain blockers. They dry fast, seal heavy stains, smoke, and odors, and stick to many surfaces. They have strong fumes and require alcohol for cleanup, so ventilation is essential. They're often the choice for severe smoke and water stains.
Oil-Based Primers
Oil-based primers block many stains and bond well, particularly over glossy surfaces. They dry slowly and have strong odors, and they can yellow over time. They're good for water stains, tannin, and some grease marks. Follow manufacturer instructions for recoating.
Water-Based Stain-Blocking Primers
Modern water-based stain blockers have improved greatly. They have low odor, dry quickly, clean up with water, and work well on many common stains. They may not block the most severe stains as well as shellac, but they're often adequate for light to moderate problems.
Water Stains
Water stains show as brown rings or patches on ceilings and walls. After fixing the leak and letting the area dry, a stain-blocking primer seals the stain. Severe or repeated stains may need two coats. Make sure moisture is gone before painting.
Smoke and Nicotine
Smoke leaves a yellow-brown residue and strong odor that penetrates paint and drywall. Clean surfaces first with a degreasing cleaner, then prime with a shellac-based or high-quality odor-blocking primer. Multiple coats may be needed for heavy smoke damage.
Grease and Cooking Residue
Kitchen walls and ceilings accumulate grease that blocks adhesion and stains through paint. Clean thoroughly with a degreaser and rinse, then prime with a bonding stain-blocker. Painting over grease without cleaning leads to peeling.
Crayon, Marker, and Ink
Crayon wax, marker dyes, and ink can bleed through paint. Remove wax with gentle scraping and cleaners, then prime with a stain-blocking primer, preferably shellac or oil-based for permanent marker. Test a small area to confirm the stain is sealed.
Tannin Stains
Tannins from wood such as cedar, redwood, and some hardwoods can leach through paint, causing brown stains. Knots in trim and paneling can bleed as well. Oil-based and shellac-based primers block tannins best. Seal knots before painting.
Rust Stains
Rust from nails, screws, and metal fixtures can bleed through paint. Remove rust and corrosion, replace or treat fasteners, and prime with a rust-inhibiting or stain-blocking primer. Water-based paints over rust can cause immediate streaking.
Mold and Mildew
Mold and mildew stains should be cleaned with an appropriate solution, and the moisture source addressed, before priming. Mildew-resistant primers help prevent regrowth, but they don't solve moisture problems. Large mold areas should be evaluated by professionals.
Pet Stains and Odors
Pet urine soaks into drywall, baseboards, and subfloors, causing stains and odors. Cleaning with an enzyme cleaner, sealing with a stain- and odor-blocking primer, and replacing porous materials may be needed. Surface painting alone won't eliminate odors.
Fire and Soot Damage
Soot and fire residue require thorough cleaning, often by professionals, before priming. Shellac or specialized fire-damage primers seal residual odor and stains. Safety and health issues should be addressed first.
Bleeding From Old Paint Colors
Some dark or bold colors, particularly reds and deep tones, can show through lighter paint. A tinted or high-hide primer covers them better than repeated coats of paint. Primer saves coats and time.
Surface Preparation
Clean surfaces thoroughly, remove loose paint, and sand glossy areas lightly so the primer bonds. Dust and grease prevent adhesion. Good prep is as important as the primer itself.
Spot Priming vs. Full Priming
Spot priming covers only the stained area, which saves time and money, but it can cause flashing, where the primed spot looks different under the finish coat. Priming the entire wall or ceiling gives a more even result. Many pros prime the whole surface for visible areas.
Applying the Primer
Apply primer in even coats with a brush or roller, extending slightly beyond the stain. Avoid thin, streaky coats. Follow drying times, and apply a second coat if the stain still shows. Let the primer dry fully before painting.
Choosing the Topcoat
After priming, apply two coats of quality paint for even color and sheen. Some primers need to be topcoated within a specific time. Check the label for compatibility.
Ventilation and Safety
Shellac and oil-based primers produce strong fumes and are flammable. Ventilate well, avoid ignition sources, and wear appropriate protection. Dispose of rags and leftovers properly. Water-based options reduce odor and hazards.
Testing the Seal
After priming, wait for the primer to dry, and look closely for any bleed-through. If the stain still shows, apply another coat before painting. Painting over a failed seal wastes paint and time.
Common Mistakes
Skipping the source repair, using regular primer instead of stain-blocking, painting before the surface is dry, applying thin coats, and forgetting to clean are common errors. Each leads to stains returning.
Cost Considerations
Stain-blocking primers cost more than basic primers, but they cost far less than repainting repeatedly. A professional can choose the right product and apply it efficiently. Buying the right primer once is cheaper than redoing the job.
When to Call a Professional
Large stains, repeated leaks, smoke damage, mold, and widespread discoloration are best evaluated by professionals. They can diagnose causes, choose products, and ensure the finish lasts.
Priming Over Glossy Surfaces
Glossy surfaces need to be scuffed and cleaned so primer can bond. A bonding stain-blocker helps with slick walls and trim. Skipping the scuff sand leads to peeling, even with the best primer.
Water-Stained Ceilings After a Roof Repair
Ceiling stains from old leaks are common after roof repairs. Confirm that the area is dry, check moisture with a meter if possible, and prime the entire ceiling for an even finish. Ceilings reveal flaws under raking light, so thorough priming matters.
Dealing With Stains on Textured Surfaces
Textured walls and ceilings hold stains in the grooves and can be harder to seal. Use a thick-nap roller or brush to work primer into the texture, and consider spraying for even coverage. Check the surface for missed spots after priming.
Wallpaper Adhesive and Stains
Old adhesive residue and stains under wallpaper can bleed through paint. Clean residue thoroughly, and use a stain-blocking primer before painting. Test a small area to be sure.
Primer Color and Tinting
White primer is standard, but tinted primer can help deep or bold finish colors cover better. Ask for a tinted version suited to your final color. A small adjustment saves coats.
Keeping Leftover Primer
Stain-blocking primers can be stored for future touch-ups if sealed tightly. Label cans with the product and date, and keep them away from freezing and heat. Shellac-based products have specific shelf-life considerations, so check the label.
Choosing the Right Roller and Brush
Use a quality roller cover appropriate for the surface texture, and natural or synthetic brushes suited to the primer type. Shellac and oil-based primers need compatible brushes, while water-based primers work with synthetic ones. The right tools make coats smoother and more even.
Priming New Drywall Patches Near Stains
When a stained area is patched, prime both the patch and surrounding stained surface. New joint compound absorbs differently, and unprimed patches can flash through paint. Treat the whole area as one system.
Preventing Future Stains
Fix leaks promptly, use range hoods and exhaust fans, keep kitchen walls clean, and control humidity. Preventing stains is easier than covering them. A little maintenance protects your paint job.

Tired of stains showing through fresh paint? Our painters find and fix the source, clean the surface, match the right stain-blocking primer to your water, smoke, grease, or marker stain, and finish with quality paint so the problem stays gone. You'll get a clear plan before we start. Request your free interior painting estimate today.

Karter & Co


