

Painting Bathrooms and Laundry Rooms: Moisture-Resistant Paint, Prep, and Ventilation
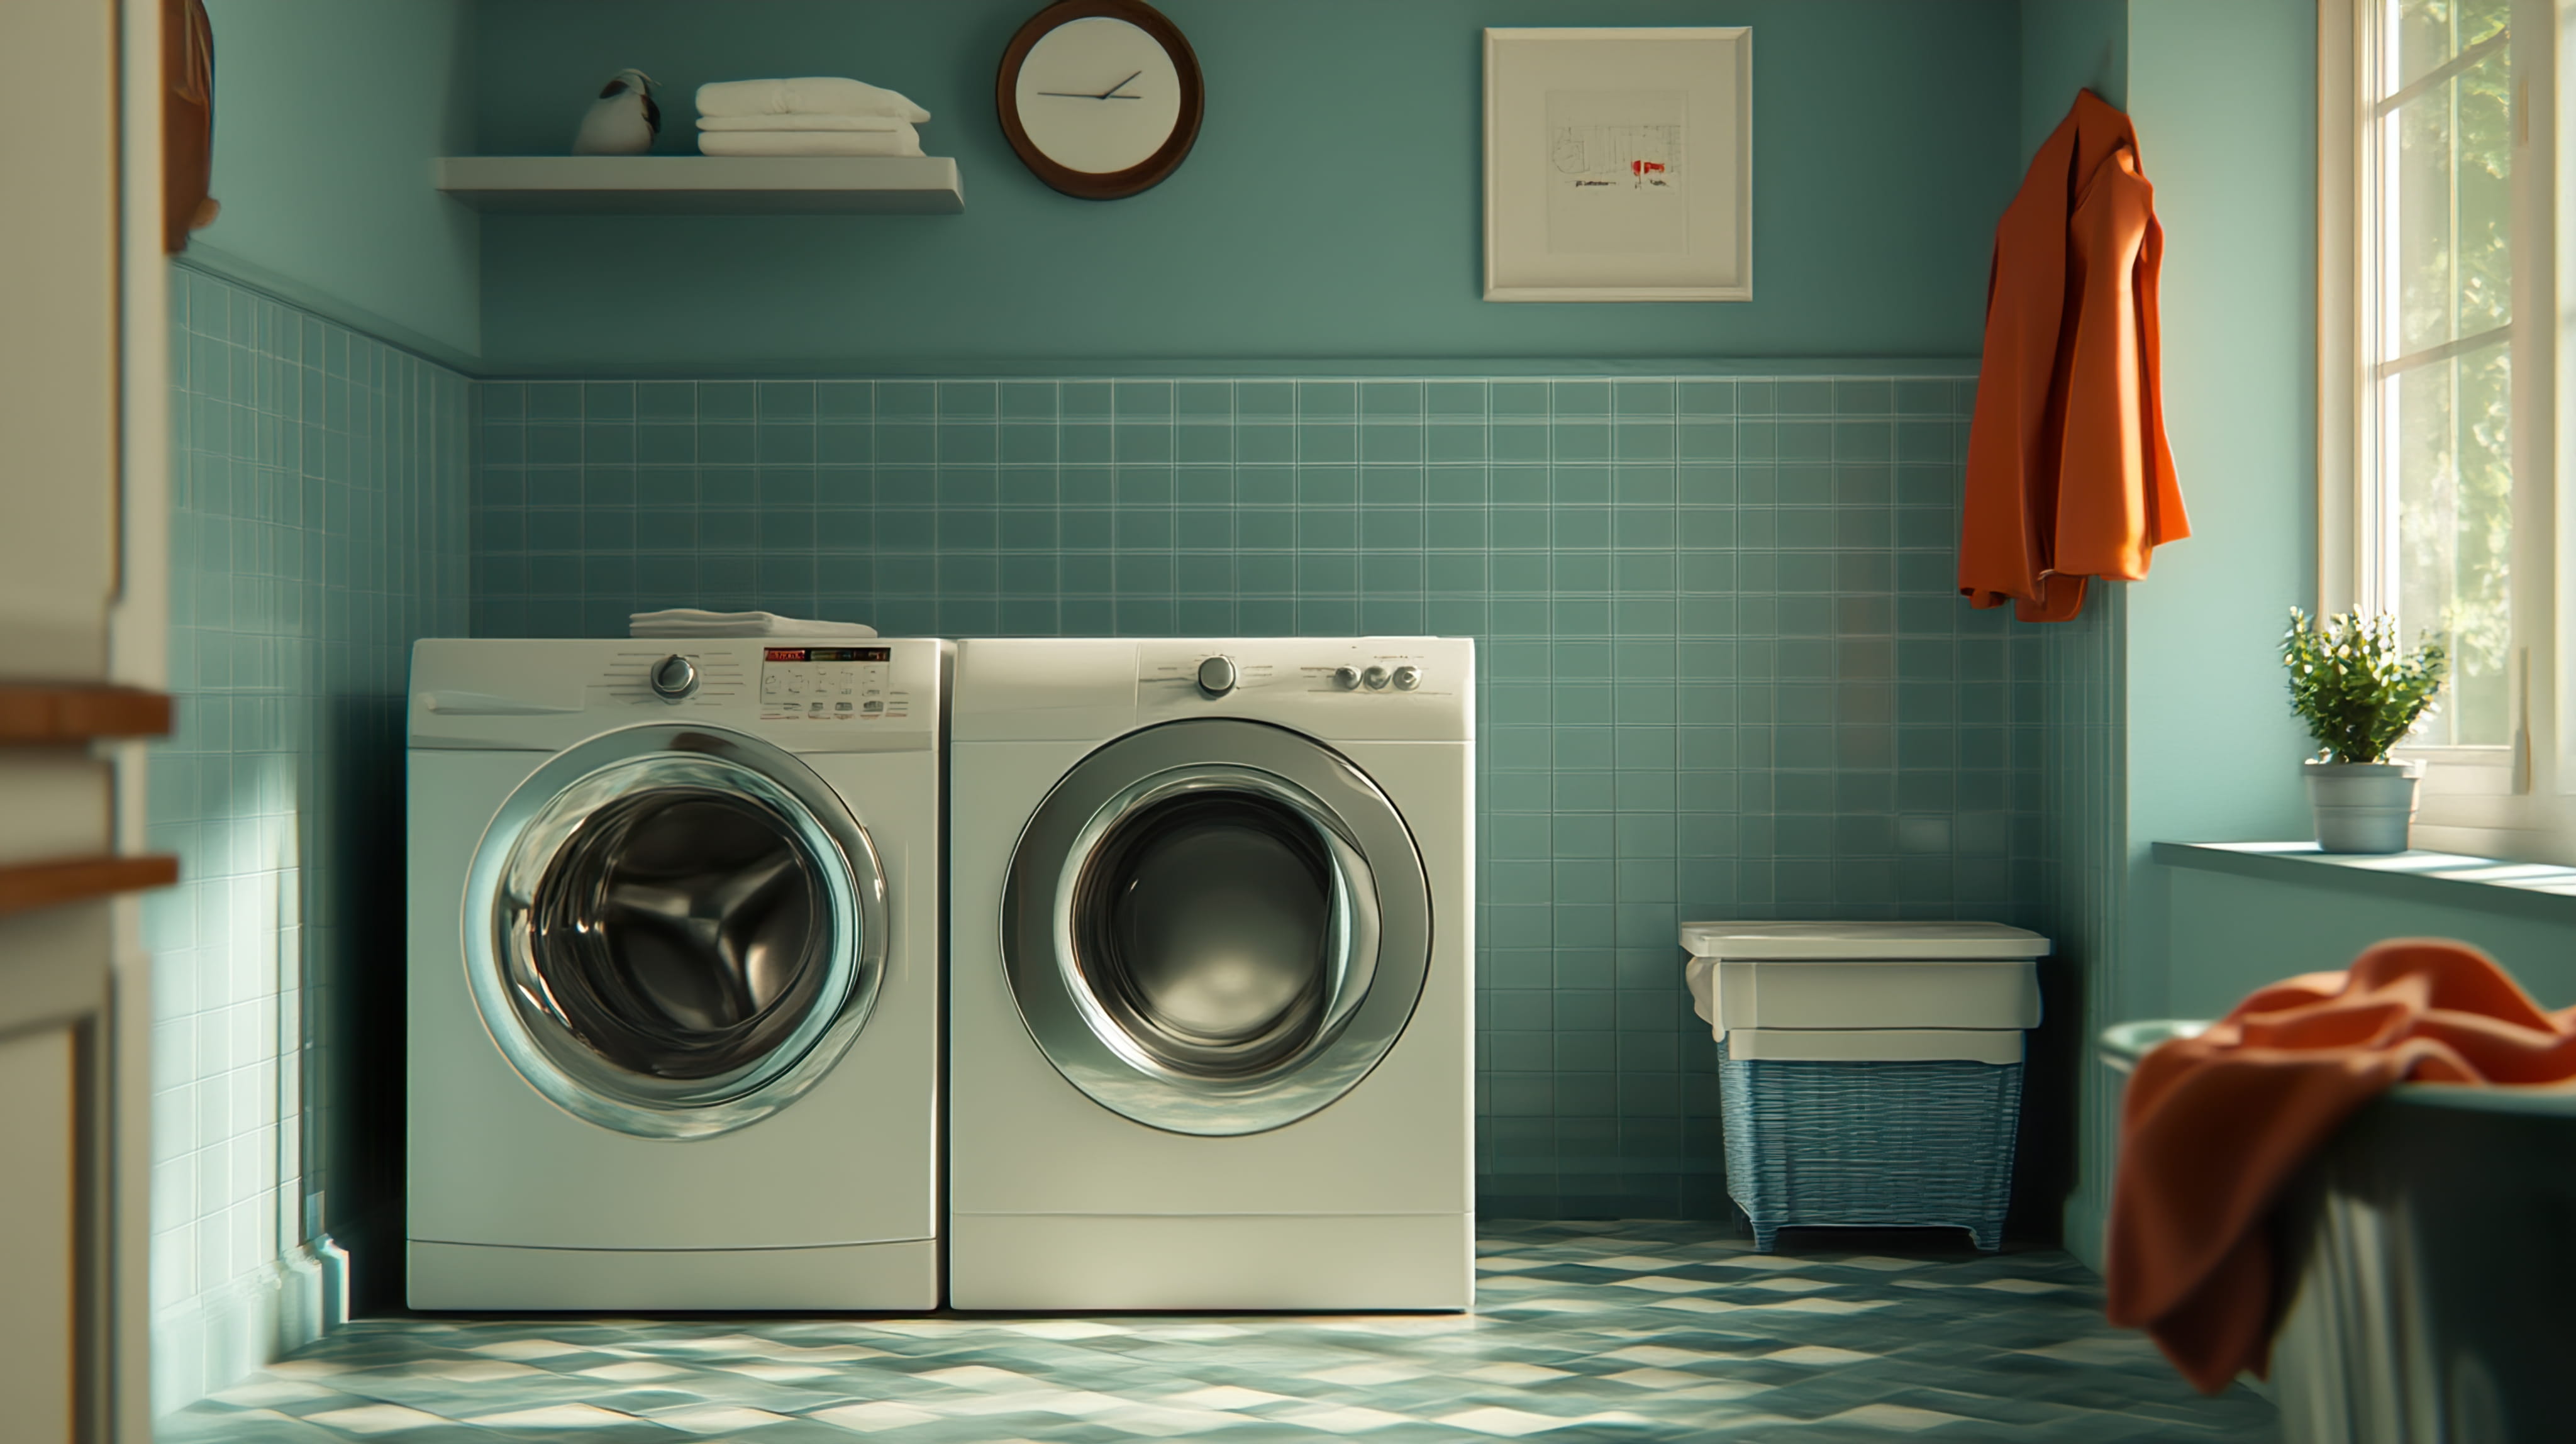
Bathrooms and laundry rooms are the toughest rooms in the house for paint. Steam from showers, splashes from sinks, humidity from washers and dryers, and limited airflow all attack the finish. The result is familiar: peeling near the ceiling, bubbling around the shower, dark mildew spots in corners, and flaking paint over the tub. Many homeowners blame the paint, but in most cases the real problem is moisture, either from poor ventilation, hidden leaks, or incomplete prep. Painting these rooms successfully takes the right products, careful preparation, and a plan for keeping humidity under control, so your finish stays fresh for years.
Why Bathroom Paint Fails
Warm, moist air carries water vapor that condenses on cooler surfaces, soaking into walls and ceilings. Paint that isn't designed for moisture softens, loses adhesion, and blisters. Mildew feeds on soap residue and moisture, and grows on the paint film. Understanding this explains why these rooms need special treatment.
Fix Ventilation First
A working exhaust fan is the best protection for paint. Make sure the fan vents to the outdoors, not into the attic, and that it's strong enough for the room. Run it during showers and for a while afterward. If the room has no fan, discuss installation with a qualified professional, since adding ducting and wiring is beyond basic painting.
Check for Leaks and Hidden Moisture
Before painting, look for water stains, soft drywall, musty smells, and dripping pipes or fixtures. Painting over active leaks traps moisture and ruins the finish. Find and fix the source, and let wet areas dry fully. Persistent moisture may need professional evaluation.
Dealing With Existing Mildew
Black or green spots must be cleaned before painting, since paint can't seal living mildew. Wash with an appropriate mildew cleaner, rinse, and dry thoroughly. If the mildew returns quickly after cleaning, moisture is still the issue. Large mold areas should be evaluated by professionals.
Clean Soap Scum and Body Oils
Bathroom walls collect a film of soap, hair products, and body oil that blocks paint from sticking. Wash walls with a degreasing cleaner, rinse, and let them dry. Skipping this step is a common reason for peeling.
Repair Peeling and Damaged Areas
Scrape away loose paint, sand edges smooth, and patch holes and cracks. Bubbled or peeling areas often reveal damp drywall, which may need to be replaced if soft. Repairs must be primed so they blend under the finish coat.
Caulk Before You Paint
Gaps around tubs, showers, sinks, and trim allow moisture to enter walls. Remove old caulk, clean the joints, and apply fresh mildew-resistant caulk before painting. For trim joints, use a paintable caulk rated for moisture. Sealing gaps first protects the new paint.
Prime for Adhesion and Stain Blocking
Primer improves adhesion on glossy surfaces and seals stains. Use a moisture-resistant, mildew-resistant primer in bathrooms, and a stain-blocking type over water marks. Priming also evens out repairs. Skipping primer on previously glossy walls often leads to peeling.
Choose Moisture-Resistant Paint
Paints designed for kitchens and baths contain mildewcides and resin systems that stand up to humidity. They create a harder, more washable film. Check the label for bathroom use, and avoid cheap flat paints that absorb moisture.
Sheen Choices
Satin and semi-gloss finishes shed water better and wipe clean more easily than flat paint. Semi-gloss is common on trim, while satin is popular on walls. Higher sheens show flaws, so good prep matters. Avoid flat paint in wet areas.
Ceilings in Bathrooms
Ceilings take the brunt of steam. Use a mildew-resistant ceiling paint or a moisture-resistant formula, and prime stains first. A slightly higher sheen than regular ceiling flat can help, though it will show imperfections more.
Painting Trim and Doors
Bathroom and laundry trim and doors face humidity and frequent cleaning. Use semi-gloss or satin enamel with mildew resistance, and paint the door edges, including the top and bottom, to seal against moisture. Properly sealed doors resist swelling.
Vanities and Cabinets
Painted vanities need durable, moisture-resistant finishes designed for cabinets, with proper prep and curing. Seal edges and areas near the sink. Poorly prepared vanity paint peels at edges and around the basin.
Painting Over Tile
Painting tile is possible with specialty tile-refinishing coatings and careful prep, but results vary and durability can be limited in wet areas. Showers and tub surrounds are especially demanding. Consider whether refinishing or replacing is more appropriate.
Color and Light in Small Rooms
Bathrooms are often small, with limited natural light. Light and mid-tone colors make them feel open, while deep colors can feel cozy or dramatic when lighting is good. Test samples at different times and lighting conditions.
Laundry Room Specifics
Laundry rooms experience humidity, lint, and detergent splashes. Use washable, moisture-resistant paint, and vent dryers properly outdoors. Lint buildup and poor venting add moisture and fire risk. Keep the room clean and dry.
Masking and Protection
Remove fixtures, towel bars, and switch plates, and mask the tub, sink, and floor. Tape and cover surfaces completely. In small rooms, a little paint goes a long way, so protect carefully.
Technique in Tight Spaces
Work from the ceiling down, cut in carefully around fixtures, and use small rollers or brushes in tight areas. Good lighting and ventilation help. Painting a small room requires patience and attention to detail.
Drying and Curing Time
Paint needs time to dry and cure before it's exposed to steam. Avoid hot showers for the period recommended on the can, often a few days. Rushing back into regular use can cause blistering or streaking.
Use Fans and Air Movement While Painting
Open windows, run fans, and dehumidify as needed during painting and drying. Moist air slows drying and invites flaws. Good ventilation also reduces fumes.
Lead Paint in Older Bathrooms
Homes built before the late 1970s may have lead-based paint under later layers. Scraping and sanding can create hazardous dust. Contractors should follow lead-safe practices when required, and homeowners should ask about testing.
Maintaining Paint in Wet Rooms
Wipe splashes, run the fan during and after showers, wash walls gently as needed, and fix leaks quickly. Re-caulk when it cracks. Maintenance keeps the finish looking fresh and prevents mildew.
When to Refinish vs. Repair
Small bubbles and peeling spots can be repaired, but widespread failure suggests deeper moisture or prep problems. Fix the cause and repaint the entire surface for a uniform result. Spot repairs on glossy walls often show.
Cost Considerations
Bathrooms are small, but prep, caulking, priming, and moisture issues add time. Specialty primers and paints cost more per gallon, but they last longer. A professional can quote repairs, caulk, and paint together.
Questions to Ask a Painter
How will you deal with mildew and moisture problems? What primer and paint will you use? Will you caulk before painting? How long should I wait before showering? What warranty do you offer? Clear answers reflect experience.
Paint Colors and Moisture Levels
Light colors reflect more light in small bathrooms and make mildew less obvious, while darker colors can show water spots and soap residue. Choose a color you like, but prioritize a washable, mildew-resistant formula. Test samples after showers, when the room is steamy, to see how they look.
Exhaust Fan Maintenance
Dust-clogged fans move less air. Remove the cover, vacuum the blades, and check that the duct is clear and the outdoor flap opens. A fan that runs but doesn't exhaust properly won't protect your paint. Replace failing fans with units sized for the room.
Humidity Control Beyond the Fan
In very humid climates or poorly ventilated homes, a dehumidifier or better airflow may be needed. Leave the bathroom door open after showers to let moisture escape. Monitoring humidity with a simple gauge shows how well you're controlling it.
Windows and Natural Ventilation
If the bathroom has a window, opening it after showers helps dry the room. Make sure the window seals and frame are in good shape, since condensation can drip onto trim and sills. Repaint window trim with moisture-resistant paint.
Spot Priming Stains on Bathroom Ceilings
Brown water stains on the ceiling can come from leaks above or heavy condensation. Find out which, fix the cause, and seal the stain with a stain-blocking primer before painting. Untreated stains often bleed back through.
Hiring a Painter for Wet Rooms
Wet rooms need experience with moisture issues, caulking, and proper primers. Ask about their approach to mildew, ventilation, and curing time. A painter who addresses causes, not just surfaces, saves you from repainting too soon.
Planning the Work Around Your Household
Bathrooms are used every day, so plan painting when you can stay out of the room for the drying and curing period. If you only have one bathroom, schedule work with another facility available. Ask your painter for a clear timeline.

Tired of peeling, bubbling paint in your bathroom or laundry room? Our painters check for leaks and ventilation problems, clean and treat mildew, re-caulk, prime, and finish with moisture- and mildew-resistant paint, so your walls and ceilings stay fresh. You'll get a clear scope and price. Request your free interior painting estimate today.

Karter & Co


