

Loose Stair Railings, Newel Posts, and Balusters: Why They Wobble and How Carpenters Repair Them
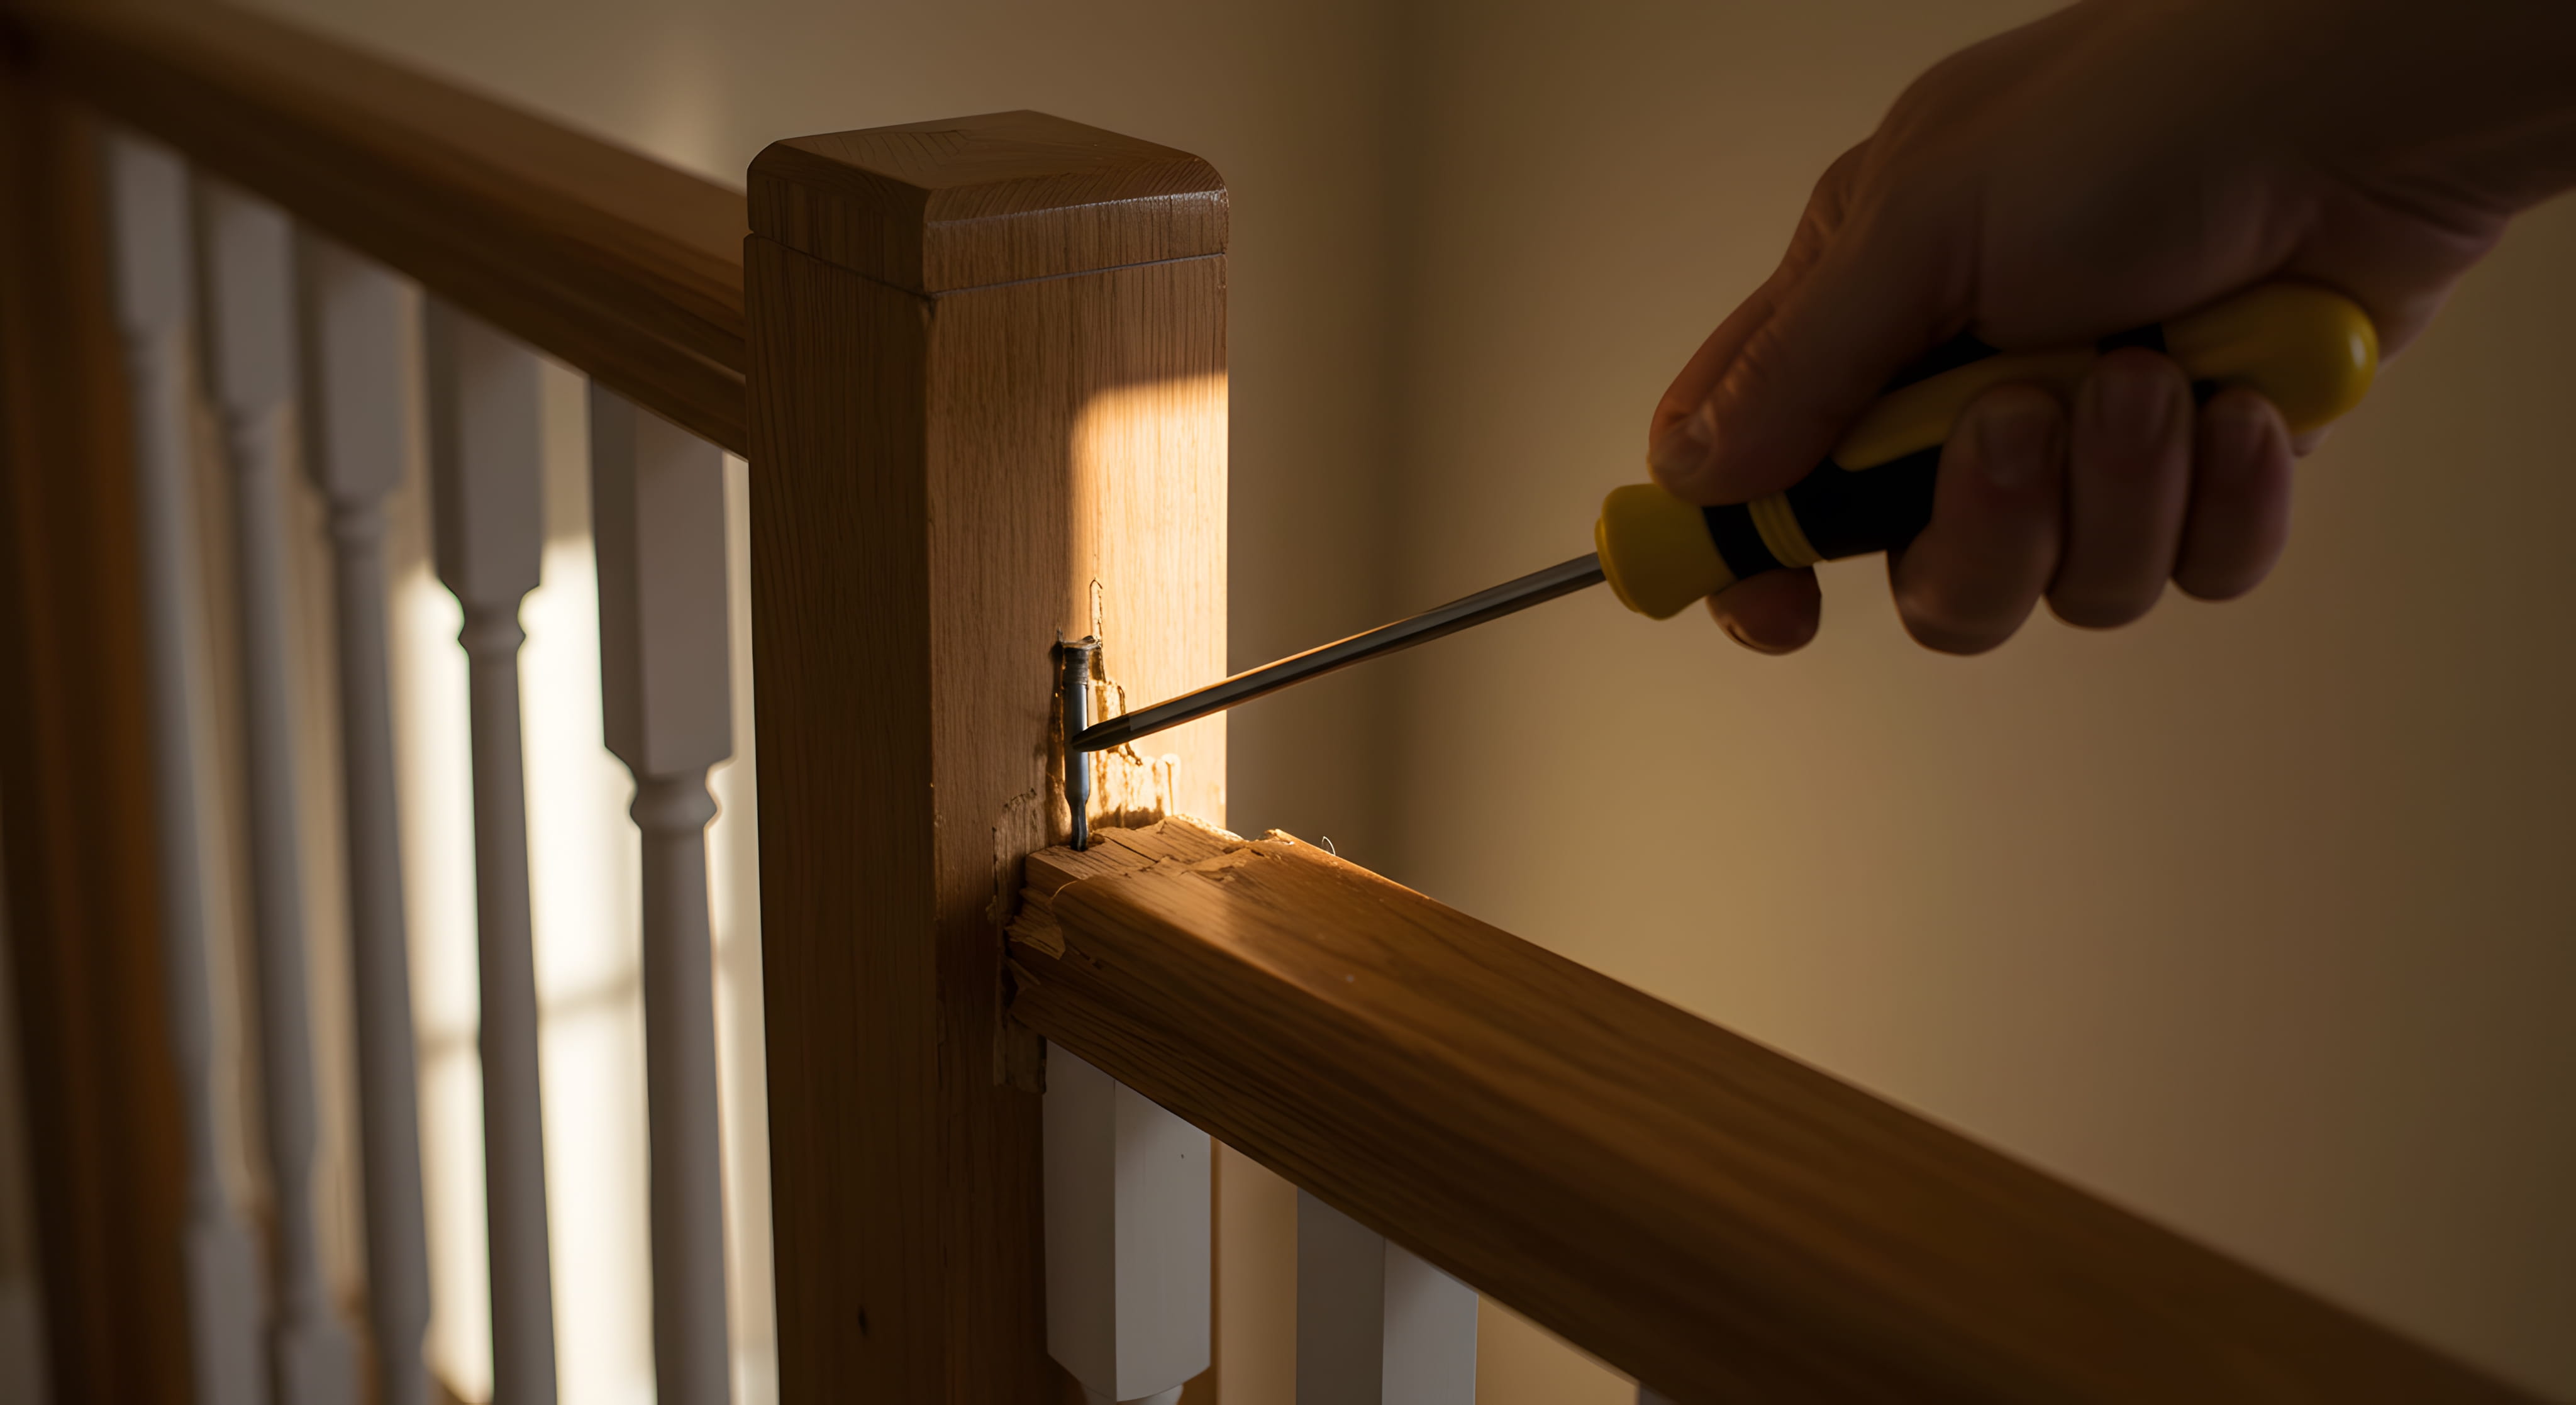
Everyone who has lived with a wobbly stair railing knows the feeling: you reach for the handrail and it shifts, creaks, or moves just enough to make you uneasy. That unease is justified. Handrails and guards are safety devices, there to catch someone who is falling, and a railing that can't take a sudden load is worse than useless because it gives a false sense of security. Loose railings are common in older homes, in homes with heavy daily use, and in homes where the original construction took shortcuts. The good news is that most can be repaired or rebuilt by a skilled carpenter, often in a day. Understanding how stair railings are built, and why they loosen, helps you recognize problems and fix them correctly.
The Parts of a Stair Railing
A typical railing system includes newel posts at the start, turns, and landings, balusters that fill the space between the rail and the stairs, a handrail you grip, and sometimes a bottom rail or shoe. Each part is connected to the others and to the structure of the stairs and floor. A weakness in any connection affects the whole system.
Why Railings Loosen
Daily use, seasonal wood movement, loose or missing fasteners, dried-out glue, and original construction shortcuts all contribute. Newel posts that were only nailed to the floor or the side of the stair frame work loose over time. Handrail brackets that were screwed into drywall instead of framing pull out.
Newel Posts
Newel posts are the anchors of the system. They must be secured firmly to the floor framing or the stair structure, because they take the greatest loads. A loose newel post makes the handrail wobble. Posts that are only attached with a few nails or small screws should be reinforced.
Anchoring a Newel Post
The best newel connections go through the post and into solid framing using structural bolts or heavy-duty lag screws, often reached from below or through the post's base. Hidden hardware can be covered with plugs or trim. A post anchored this way resists sideways force.
Tightening vs. Rebuilding
Sometimes a newel post can be tightened by adding hardware to the existing connection. If the framing is damaged, the post is cracked, or the original method was inadequate, rebuilding the connection or replacing the post is better. A carpenter can assess what's behind the finish.
Balusters
Balusters are the vertical spindles that fill the space between the handrail and the stairs. They're typically fastened at the top to the handrail and at the bottom to the tread or a shoe rail. Loose balusters rattle, shift, and can pull free, creating dangerous gaps.
Why Balusters Come Loose
Nails and glue fail over time, wood shrinks and expands, and repeated use works connections loose. Balusters that were toenailed into treads often loosen first. Repair requires re-securing both ends so the baluster is firmly held.
Re-Securing Balusters
Carpenters can re-glue and re-fasten loose balusters with screws, pins, or specialty fasteners, or replace them if damaged. Fasteners should be hidden or filled and finished. In some designs, the baluster can be refit with new dowels or hardware.
Replacing Missing or Broken Balusters
Matching new balusters to existing ones can be tricky, especially for turned or decorative styles. Carpenters can find stock matches, mill custom replicas, or replace all balusters for a consistent look. Replacement ensures the spacing remains safe.
Baluster Spacing and Child Safety
Safety rules typically limit the gaps between balusters so small children can't pass through or become trapped. The specific measurements are set by local codes, so check what applies in your area. When replacing balusters, make sure spacing follows current rules.
Handrail Height and Shape
Codes generally specify handrail height above the stair nosing, and require a shape that can be gripped comfortably. Flat, wide rails may not meet gripping requirements. When replacing or modifying a handrail, confirm local requirements, which vary by location.
Handrail Brackets and Wall-Mounted Rails
Wall-mounted handrails rely on brackets secured into studs or solid blocking. Brackets fastened into drywall alone pull out under load. A carpenter locates framing, adds blocking where needed, and attaches brackets with long screws.
Handrail Joints
Handrails are often made in sections joined with hidden bolts, glue, or splines. Joints can loosen, creating gaps and wobbling. Re-tightening hidden hardware or re-gluing and clamping joints often fixes them.
Metal and Wrought Iron Balusters
Metal balusters are attached with shoes and set screws, and can loosen or corrode. Tightening set screws and re-securing shoes helps. Rusted or damaged pieces should be treated or replaced. Matching metal finishes can be done by painting.
Glass and Cable Railings
Modern railings with glass panels or tensioned cables have specific hardware and installation requirements. Loose posts, slack cables, and failing glass fittings need a specialist's attention. They must be installed to meet load requirements.
Open Railings and Guard Requirements
Guards are typically required at stair sides and landings above a certain height. Their strength, height, and openings are regulated. Older homes may not meet current standards, and while existing structures may be grandfathered, safety upgrades are wise.
Older Homes and Historic Railings
Older railings are often beautiful, with turned balusters and carved newels, and they deserve careful repair. Carpenters can stabilize them without destroying details. In homes built before the late 1970s, lead paint may be present, so disturbed surfaces need proper precautions.
Finishing After Repairs
Repaired joints, plugged holes, and replaced parts need finishing to match. Painted railings need filling, sanding, priming, and painting, while stained railings need color matching, which takes skill. Good finish work hides the repair.
Temporary Fixes
If you can't repair immediately, avoid using the railing for support, and tell household members. Temporary bracing or barriers can reduce risk. Don't rely on duct tape or similar quick fixes for safety devices.
Stairs Without Railings
Stairs missing a handrail or guard are a safety hazard and often violate codes. Installing new handrails and guards improves safety and may be required for sale or rental. A carpenter can design a system that suits the stairs and the style of the home.
Accessibility Considerations
Handrails on both sides of the stairs, extended beyond the top and bottom steps where required, help people with limited mobility. Thoughtful railings add safety for everyone. Discuss needs with your carpenter.
Lighting and Visibility
Good lighting on stairs reduces falls. Handrail visibility and contrast also help. When working on railings, consider adding stair lighting if the stairs are dim.
Inspect Your Railings
Test each newel post, baluster, and handrail by pushing and pulling with moderate force. Look for gaps, cracks, loose fasteners, and movement. Check from above and below if possible. Early detection allows simple repairs.
Cost Factors
Costs depend on how many parts are loose, whether matching parts are needed, the style of the railing, and the finishes. Re-securing a few balusters is modest, while rebuilding a full railing costs more. A thorough inspection leads to an accurate quote.
Permits and Code Compliance
Replacing or rebuilding railings may trigger code requirements for height, spacing, and strength, and may require a permit in some areas. Ask your local building department when planning major work. A carpenter familiar with local rules helps.
Choosing a Carpenter
Look for experience with stair work, a clear explanation of how connections will be made, and examples of finished railings. Ask how they handle matching parts and finishes, and what warranty they offer.
Handrail Returns and Terminations
Handrails should end in a way that doesn't catch clothing or cause injury, often with a return to the wall or a turned-down end. Many codes also require handrails to extend slightly beyond the top and bottom steps. Check how your rail ends.
Open Risers and Gaps
Stairs with open spaces beneath treads or between guards and steps may allow children to slip through. Spacing limits apply to these openings too. A carpenter can add closed risers or additional guards where needed.
Glue, Dowels, and Hidden Hardware
Quality repairs use appropriate wood glue, dowels, screws, and structural hardware in combination. Hidden hardware, such as through-bolts and rail bolts, provide strength without spoiling the look. A carpenter chooses methods that last.
Painting vs. Staining Railings
Painted railings hide repairs and can be touched up easily. Stained railings show wood grain and need careful color matching. Whichever finish you choose, apply protective topcoats to areas that people touch often.
Reinforcing Without Replacing
In some cases, simply adding blocking inside the wall, hidden brackets, or additional fasteners makes an old railing safe without replacing it. This preserves historic character while improving strength. Ask your carpenter for options that fit your home.
Keeping Railings Safe Over Time
Check railings a couple of times a year, tighten loose hardware, and address squeaks and movement early. Seasonal humidity changes can loosen connections, and a quick check keeps small issues small.

Does your stair railing wobble or rattle? Our carpenters test every post, baluster, and rail, re-anchor newel posts to solid framing, re-secure or replace balusters, tighten brackets into studs, and finish repairs to match, so your stairs feel solid and safe. Get your free carpentry estimate today.

Karter & Co


