

Installing Trim in Older Homes: Dealing With Crooked Walls and Uneven Floors
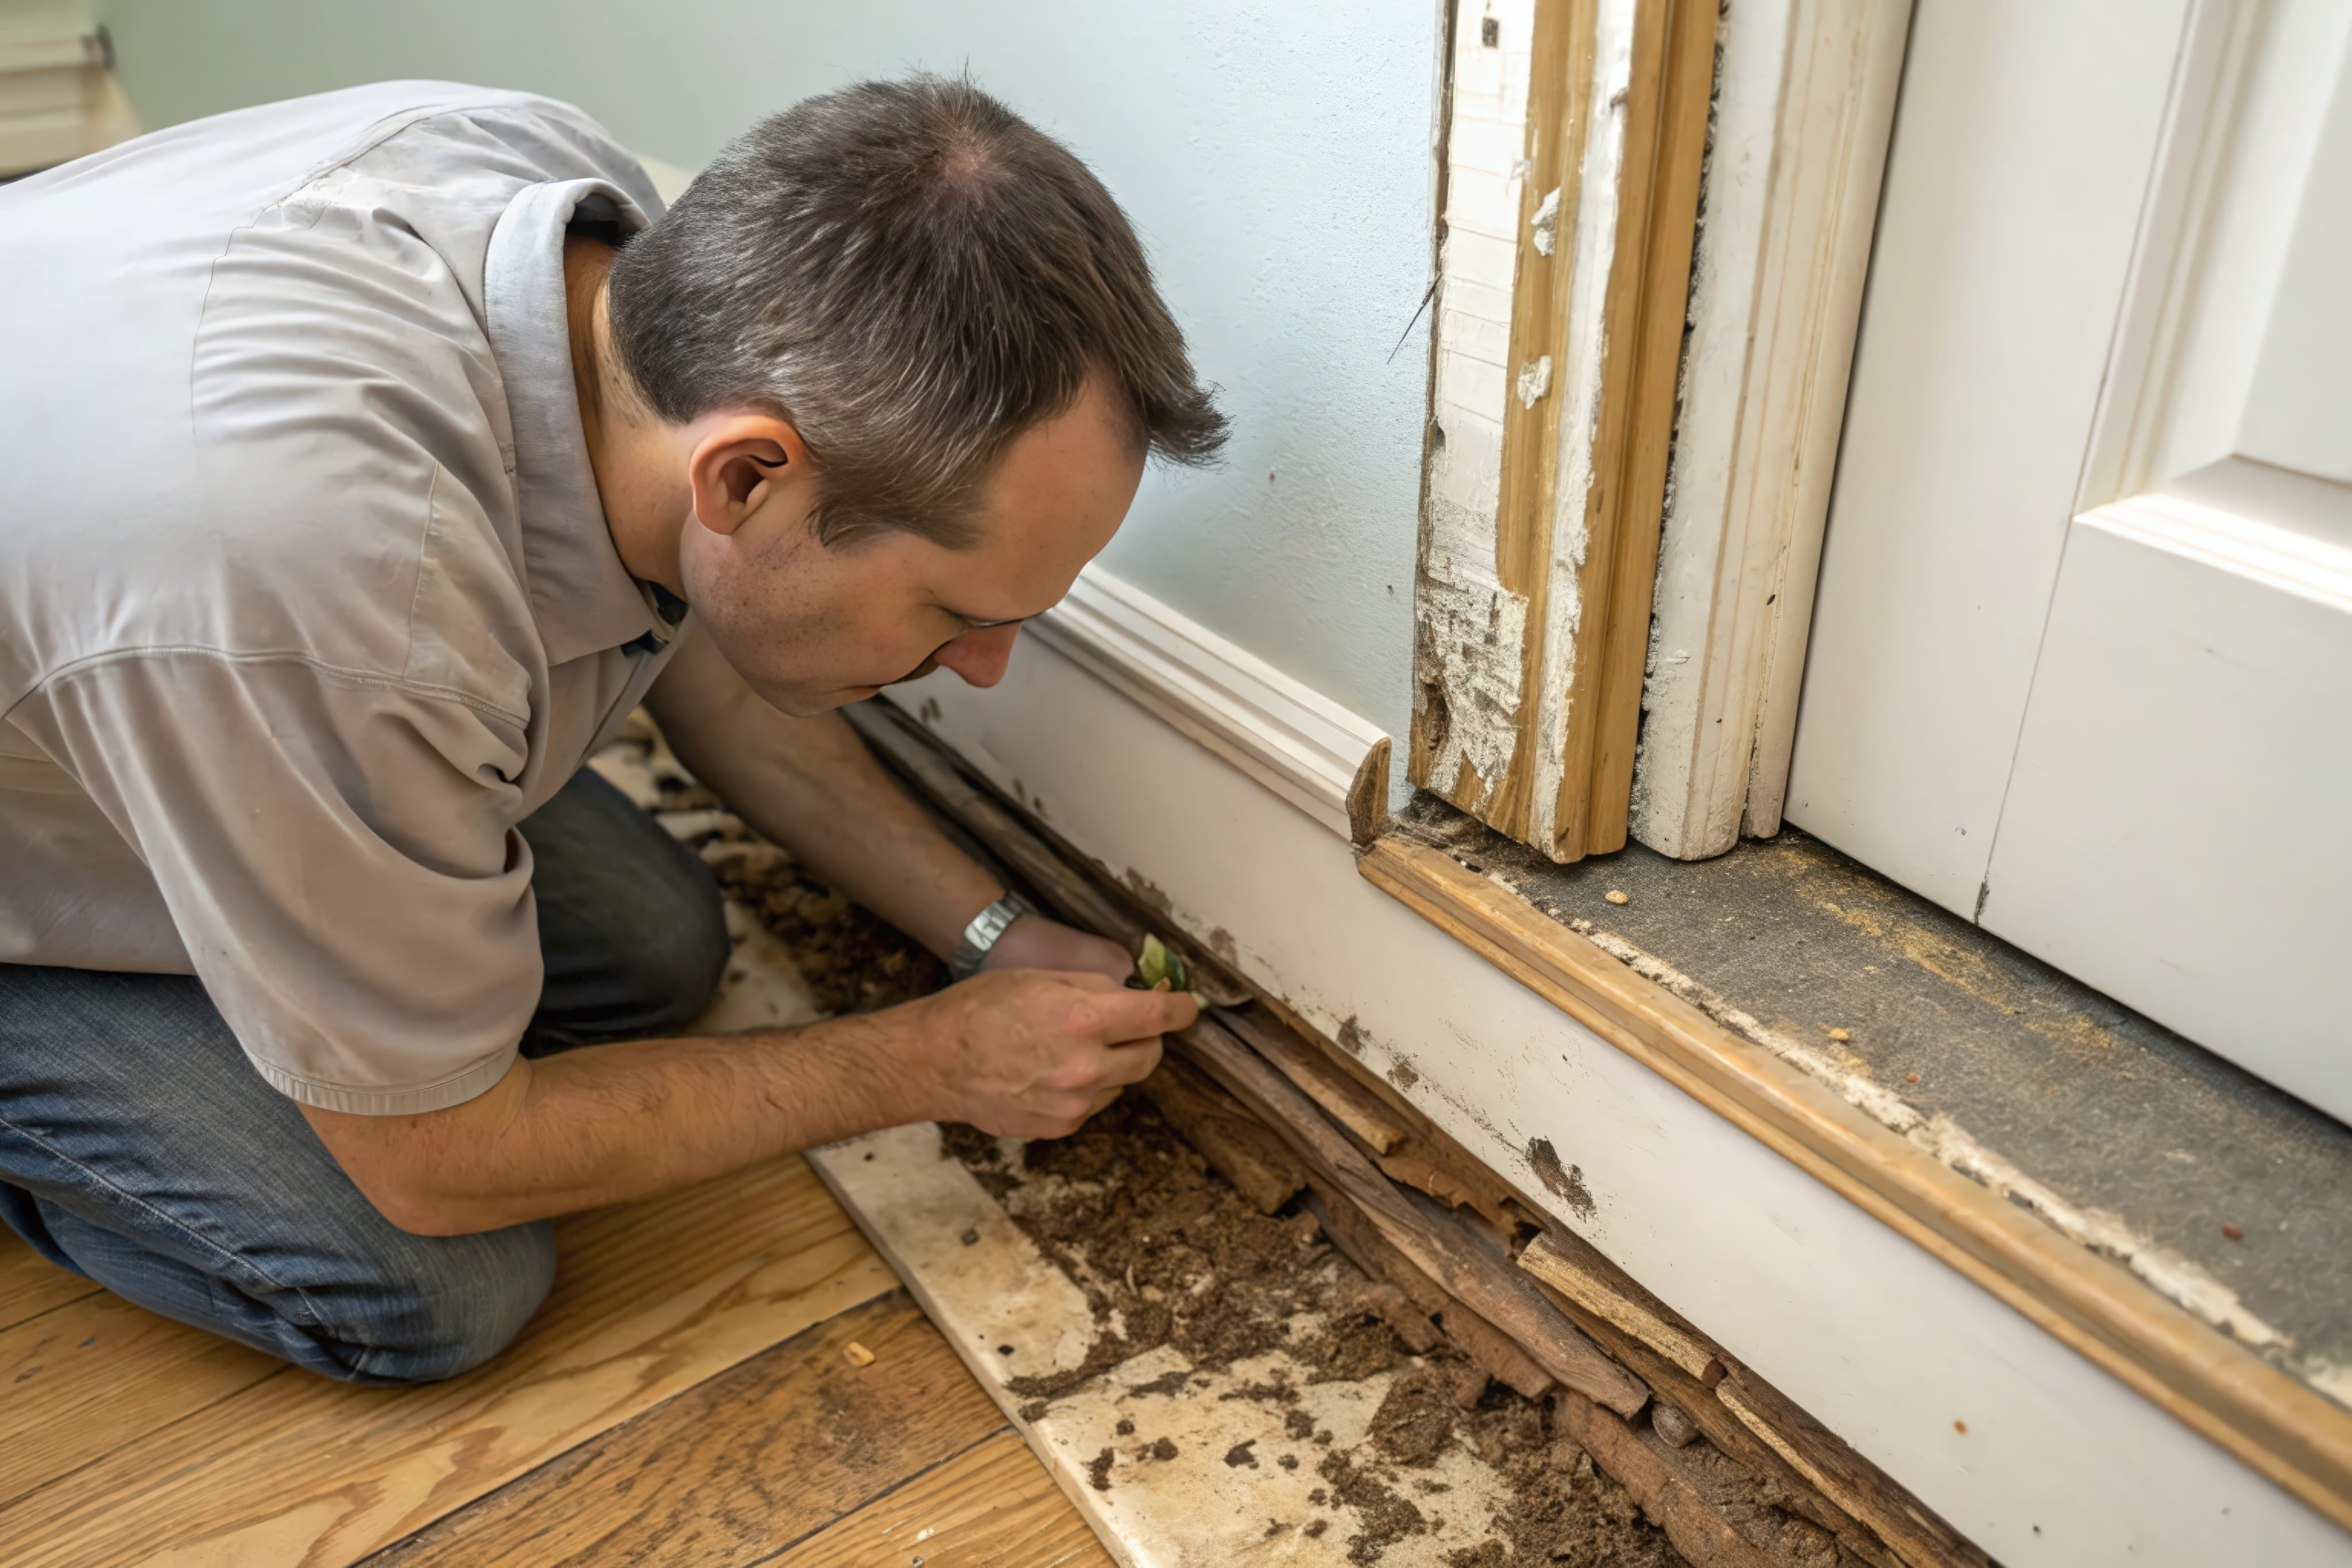
Anyone who has tried to install baseboards in an older home knows the frustration. The corners aren't square, the floor dips, the walls bow, and the tidy miters you cut at the saw don't close when you hold them up. Older homes settle and shift over decades, and plaster walls and original framing were never perfectly straight to begin with. Trim carpentry in these homes is a craft of adapting to imperfection, and the difference between a good job and a poor one often shows in how well the trim hugs a crooked wall. Understanding the challenges helps you appreciate the skill involved and choose the right carpenter.
Why Older Homes Are Different
Houses move. Foundations settle, framing dries and shrinks, and walls shift. Plaster and lath walls were hand-finished and may vary in thickness and flatness. Floors may slope toward the middle of the house or have humps and dips. These conditions mean that trim cut to ideal angles often doesn't fit the real surfaces.
Walls That Aren't Flat
Bowed or wavy walls leave gaps behind baseboards and casings, no matter how straight the trim is. A skilled carpenter checks the wall with a straightedge, then decides whether to shim, scribe, or fill. Thin, flexible trim may flex to follow the wall, while thick, stiff trim needs to be scribed to match.
Corners That Aren't Square
An inside corner that measures ninety-one or eighty-eight degrees won't close with standard forty-five-degree miters. Instead of cutting both pieces at a miter, carpenters cope inside corners, shaping the end of one piece to follow the profile of the other. A coped joint hides small gaps and stays tight even when the wall moves slightly.
Coping Basics
To cope a joint, one piece is installed square into the corner. The second piece is cut at a miter to reveal its profile, and then the waste is carefully cut away with a coping saw so the piece fits against the first. The cut is slightly back-beveled to ensure a tight front edge. It takes practice, but it produces a far better result than a simple miter.
Outside Corners and Springing
Outside corners are mitered, but when the corner isn't ninety degrees, the angle must be measured and adjusted. Carpenters sometimes cut slightly off angle or use trial pieces to find the right setting. Gluing and pinning the joint holds it tight, and light sanding and caulking finish it.
Floors That Aren't Level
Uneven floors leave gaps along the bottom of the baseboard. Carpenters can scribe the base to the floor, cutting the bottom edge to follow the contour, or add shoe molding to cover the gap. For very uneven floors, a combination of both approaches gives the cleanest look.
Scribing Baseboard
Scribing involves tracing the floor's contour onto the base with a compass or scribing tool, then trimming the bottom edge to match. It produces a snug fit without gaps. On long runs, it takes time, but it results in a custom look that shoe molding alone can't achieve.
Shoe Molding and Quarter Round
Small moldings at the base conceal minor gaps and give a flexible edge that follows the floor. They're also used to hide expansion gaps for new flooring. Shoe molding is thinner and more elegant than quarter round, and it can bend slightly to follow slight floor variations.
Plaster Walls Are Tricky
Fastening trim into plaster and lath requires care. Plaster can crack or crumble under a nail, and studs may be farther apart or harder to locate. Pilot holes, finish screws, construction adhesive, and careful nailing into studs or lath help avoid damage. Rushing leads to cracked plaster and loose trim.
Locating Studs and Backing
In older homes, studs may not be at standard spacing, and walls may lack proper blocking. Carpenters find framing by probing, using stud finders, and sometimes adding backing where needed. Securing trim into solid material keeps it from loosening over time.
Door Casing That Isn't Square
Door and window openings in older homes are often out of square or out of plumb. Casing must be installed with a consistent reveal, the small, even margin between the edge of the jamb and the casing. Carpenters adjust cuts and use shims to keep the reveal consistent even when the opening isn't.
Matching Existing Profiles
Older homes often have trim profiles that are no longer standard. Matching them might involve custom milling, built-up assemblies using several standard moldings, or salvaged pieces from hidden areas. A good carpenter can take a profile sample and reproduce it faithfully.
Built-Up Trim
Combining a flat board with cap molding and base shoe can recreate the look of historic trim using readily available pieces. Built-up trim also helps accommodate uneven walls, since layers can be adjusted separately. It's a practical way to get a rich look.
Dealing With Thick Layers of Paint
Decades of paint build up in profiles and joints, softening details and causing doors and windows to stick. When replacing or repairing trim, removing paint buildup carefully, or replacing pieces, restores crisp details. Lead paint precautions apply in older homes.
Lead Paint and Dust Safety
Homes built before the late 1970s may contain lead paint. Sanding, scraping, and cutting trim can create hazardous dust. Contractors should follow lead-safe practices when required, use appropriate dust control, and test where appropriate. Protecting your family and workers matters more than speed.
Caulk and Filler as Finishing Tools
Even with careful fitting, small gaps remain in old homes. Flexible, paintable caulk fills them neatly, and wood filler hides nail holes. These finishing steps make trim look seamless. The goal is for caulk to fill hairline gaps, not to hide poor fitting.
Accounting for Seasonal Movement
Old houses expand and contract with the seasons. Using flexible caulk, proper fasteners, and allowing for small movement prevents cracking. Trim that is too rigidly fastened may crack paint at joints when the house moves.
Baseboards Over Uneven Plaster
Where plaster is wavy, thick baseboards with a cap molding can bridge irregularities. The cap follows the wall's contour while the base remains straight. This layered approach looks intentional and avoids visible gaps.
Crown Molding in Older Ceilings
Ceilings in older homes may sag or have cracks, and walls may not meet them squarely. Crown installation requires adapting to these variations, using backing blocks and flexible fill. Because crown sits at a visible junction, careful fitting is especially important.
Planning the Project
Before starting, inspect the walls, floors, and openings, and plan how to handle each issue. Allow extra time, because trim in older homes takes longer than in new construction. Discuss expectations about perfection with your carpenter, since small imperfections are part of an older home's character.
Choosing the Right Carpenter
Look for experience with older homes, ask to see examples of coped joints and scribed baseboards, and ask how they handle plaster and lead paint. A carpenter who has solved these problems before will deliver a better result than someone accustomed only to new construction.
Plaster Repairs Come First
Cracked or loose plaster behind old trim should be repaired before the new trim goes on. Patching, re-adhering loose plaster, and skim coating create a better surface and prevent new cracks from telegraphing through paint. Doing it in the right order avoids damaging finished work.
Adhesive, Finish Nails, and Screws
In older walls, a combination of construction adhesive and carefully placed finish nails or trim screws often holds trim better than nails alone. Adhesive helps bridge uneven surfaces, while fasteners hold the trim until it cures. Pilot holes prevent splitting in old, brittle wood.
Chair Rail, Picture Rail, and Other Details
Older homes often feature chair rails, picture rails, and plate rails that require careful layout and level installation. Because walls and ceilings aren't level, carpenters decide whether to follow the floor, the ceiling, or a true level line, and they make adjustments so the line looks right to the eye.
Stair Skirts and Treads
Stairs in older homes may have uneven treads, out-of-square skirt boards, and worn nosing. Trim along stairs must follow the slope and handle irregular surfaces. Scribing and careful fitting make stair trim look clean and intentional.
Setting Expectations About Perfection
Older homes have character, and perfect straight lines aren't always possible. A good carpenter aims for tight joints, even reveals, and a result that looks right in the room, rather than chasing absolute straightness that the house can't support. Talk about your expectations before work begins.
Dust Control and Protecting Original Finishes
Older homes often have original floors, plaster, and woodwork that deserve protection. Drop cloths, dust barriers, and careful cutting outside the work area keep the home clean. Lead-safe dust practices matter in homes with old paint. A tidy worksite shows respect for the house.
Pricing Trim in Older Homes
Trim work in older homes usually takes longer than in new construction because of scribing, coping, repairs, and fitting. A fair quote reflects the extra labor and explains what is included. Be wary of quotes that treat an older home like a new build.

Older homes deserve trim that fits. Our carpenters cope inside corners, scribe baseboards to uneven floors, fasten carefully into plaster, and match existing profiles, so every joint closes tightly despite crooked walls. We follow lead-safe practices when needed and protect your original finishes. Request your free trim carpentry estimate today.

Karter & Co


