

How to Paint a Ceiling Without Streaks, Stains, or Drips
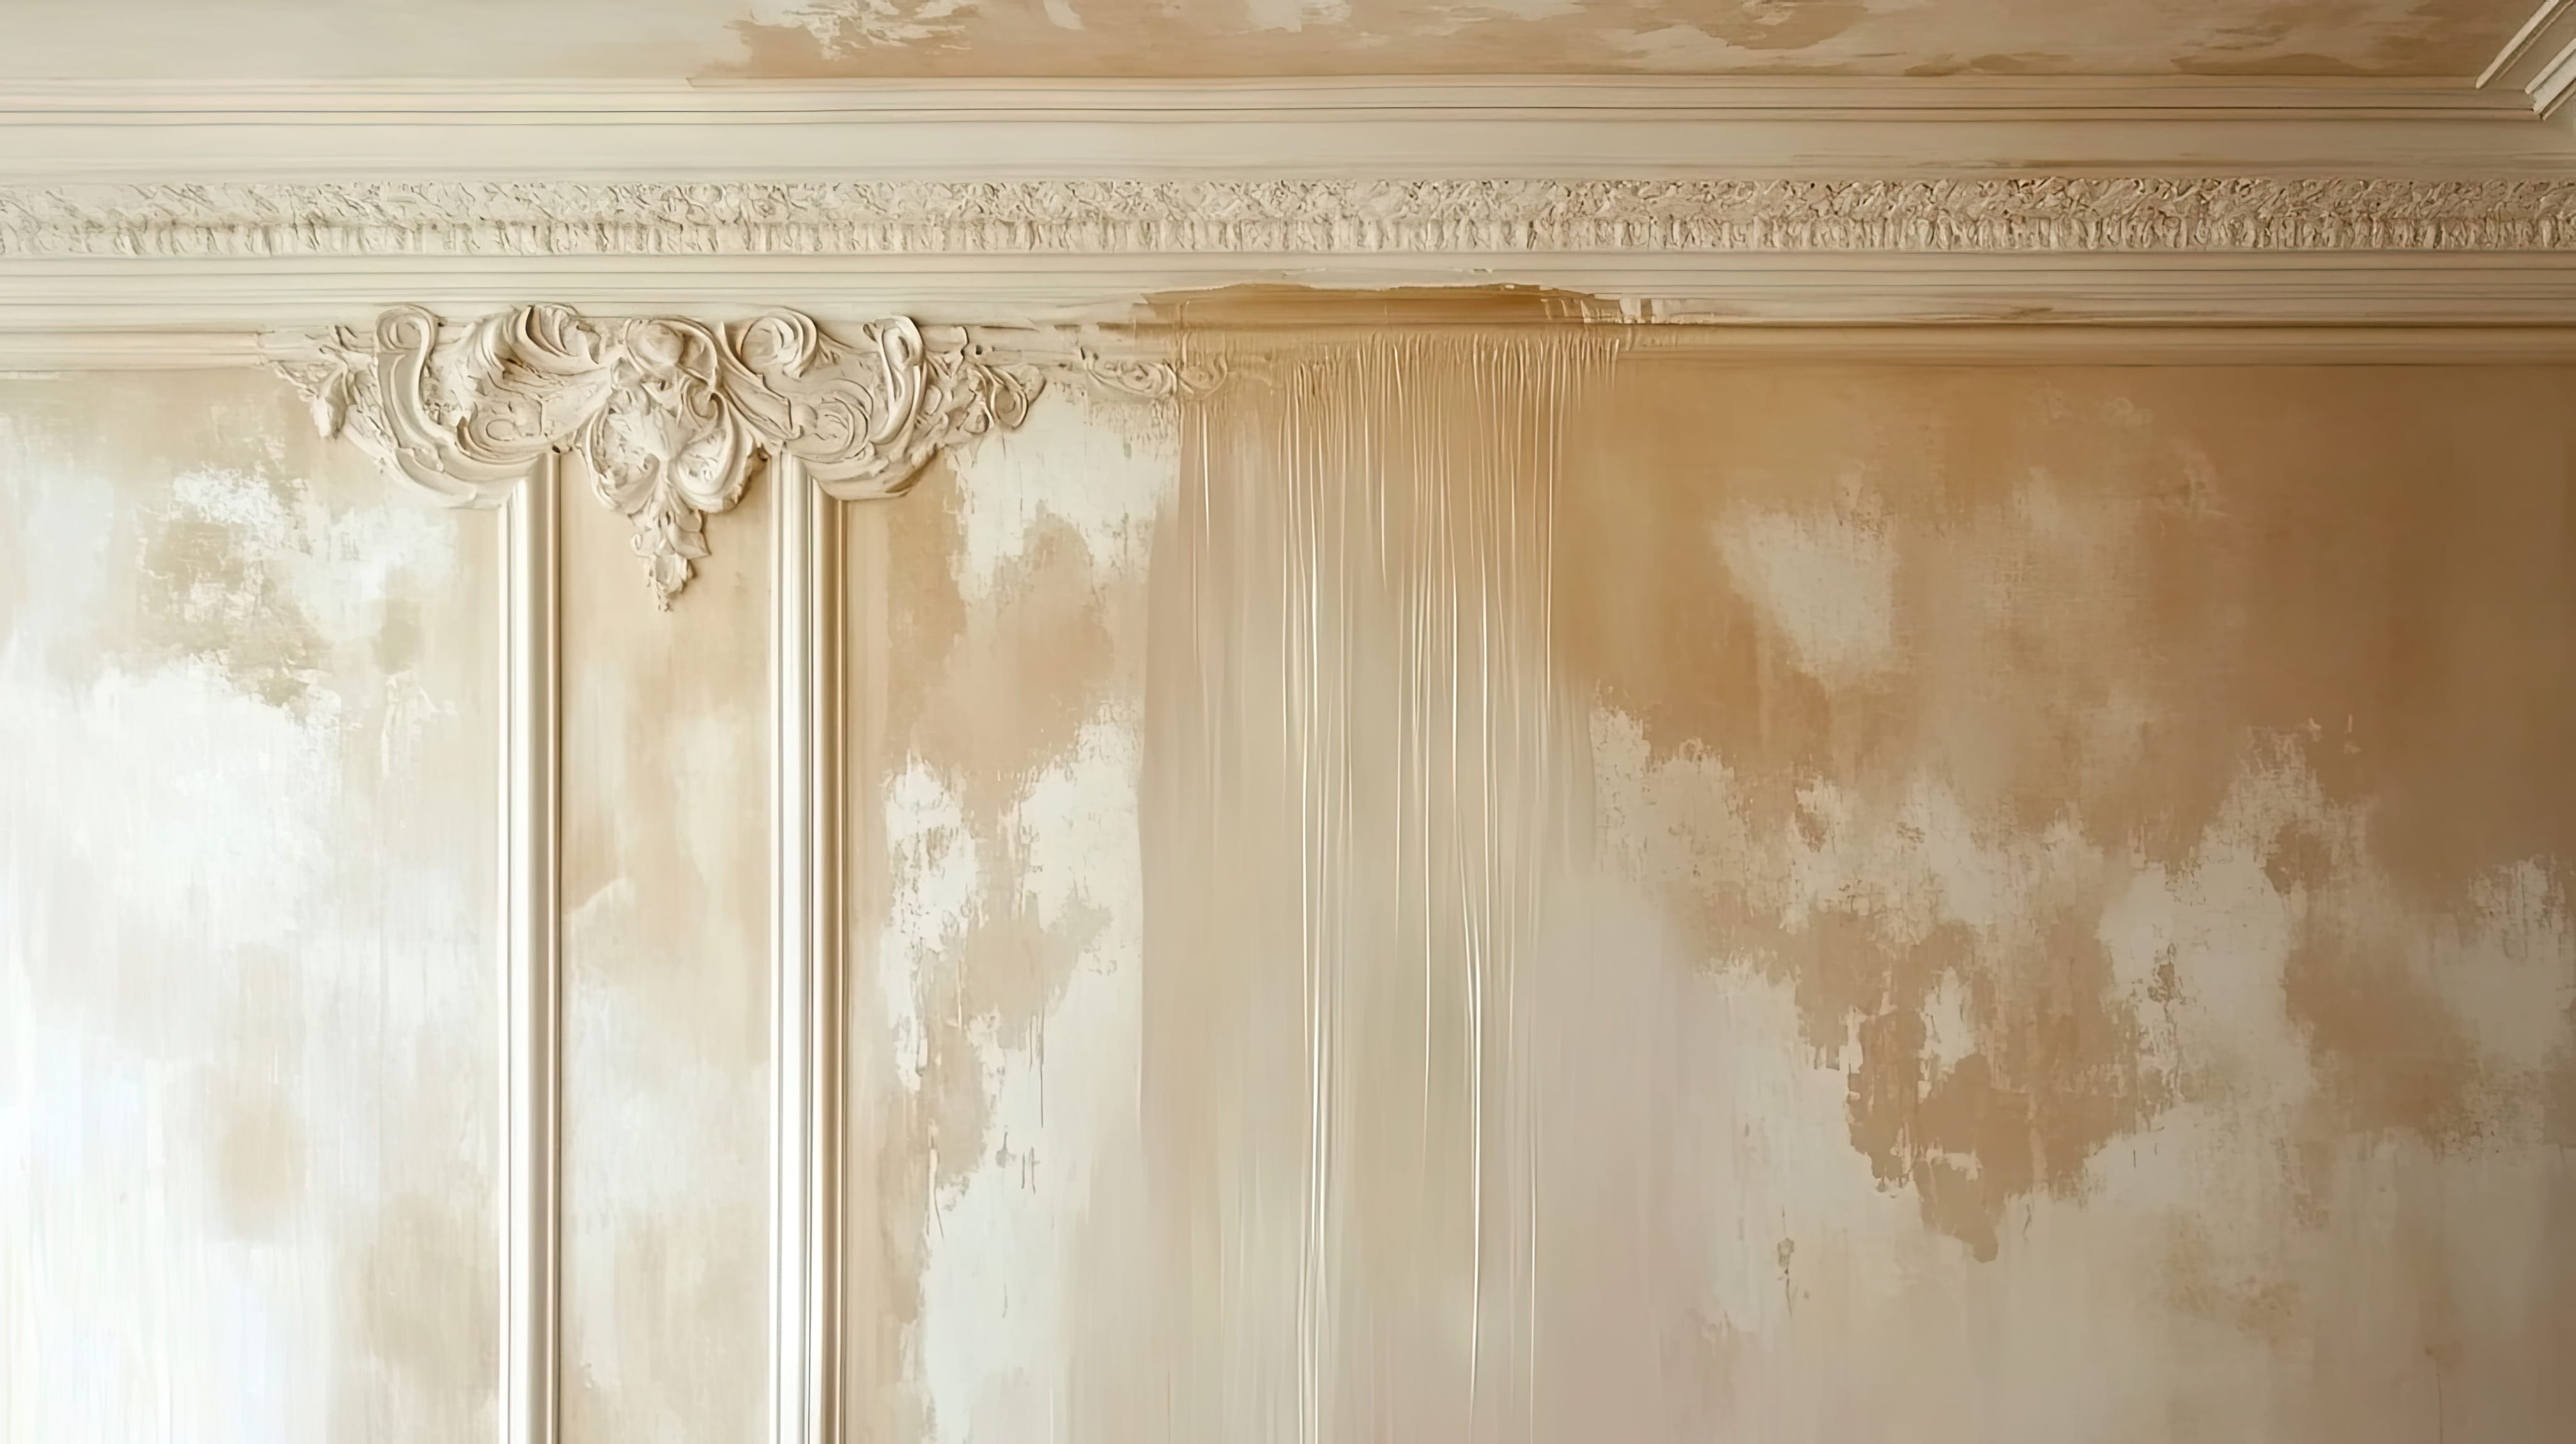
Ceilings are the most overlooked surface in a room until they're done badly. A ceiling with roller marks, shadows, stains, or flashing stands out under every light, and it can make an otherwise beautiful room look unfinished. Painting a ceiling is physically demanding and technically tricky, and the results show up in a way that wall painting rarely does. Understanding the right preparation, products, and technique, as well as how to handle common problems like stains and cracks, helps you get a smooth, even finish that looks as good as the walls.
Why Ceilings Are Harder
Ceilings are viewed from below, often under strong or angled light that exaggerates imperfections. The painter works overhead, which is tiring and makes it harder to maintain a wet edge. Gravity works against you, causing drips and splatter. These factors make ceilings one of the most demanding painting tasks.
Start With Preparation
Preparation determines the result. Clean the ceiling to remove dust, cobwebs, and grease, especially in kitchens. Patch holes and cracks, sand smooth, and prime where needed. Cover floors and furniture thoroughly, since splatter is almost inevitable. Good prep prevents problems and speeds the work.
Cleaning Before Painting
Dust and grease prevent paint from sticking. Vacuum or dust the ceiling, and wash greasy areas with a degreaser. Allow it to dry completely. Skipping cleaning can cause peeling and uneven coverage.
Repairing Cracks and Imperfections
Small cracks can be filled with joint compound or flexible caulk, depending on their cause. Sand repairs smooth, and prime to prevent flashing. Recurring cracks may indicate movement or moisture, which should be addressed before painting.
Dealing With Water Stains
Water stains bleed through ordinary paint. First, find and fix the source of the leak. Then seal the stain with a stain-blocking primer, which prevents it from showing through the finish coat. Several coats may be needed for stubborn stains.
Textured Ceilings
Textured ceilings, including popcorn and knockdown, hold more paint and require different tools. A thick-nap roller reaches into the texture, and spraying can give the most even coverage. Popcorn ceilings in older homes may contain asbestos, and should be tested before being scraped or disturbed.
Choosing Ceiling Paint
Ceiling paint is formulated to be thick enough to resist splatter, flat enough to hide imperfections, and white enough to reflect light. It's usually flat in sheen. Specialty options include moisture-resistant formulas for bathrooms and kitchens, and stain-blocking ceiling paints.
Flat vs. Higher Sheen
Flat paint hides flaws and avoids glare, which is why it's the standard for ceilings. In bathrooms and kitchens, a slightly higher sheen or a moisture-resistant formula may be better, but it will show imperfections more. Preparation matters even more with higher sheens.
White or Colored Ceilings
White ceilings reflect light and make rooms feel taller and brighter. Colored ceilings can add drama and coziness, especially in bedrooms and dining rooms. Dark ceilings reduce perceived height and can be dramatic in the right setting. Light tints of the wall color can create a soft, cohesive look.
Tinted Ceiling White
Some ceiling paints go on slightly pink or blue and dry to white, which helps painters see where they have covered. This is especially useful on large, flat ceilings. It reduces missed spots and streaks.
Primer First
Primer helps new drywall, repairs, and stained areas accept paint evenly. It also helps when changing from a dark to a light color. On bare drywall, a quality primer is essential, because drywall absorbs paint unevenly.
Cutting In
Cutting in means painting the edges where the ceiling meets walls, crown, and fixtures with a brush before rolling the main area. Careful cutting prevents roller marks near edges. A steady hand and quality brush make crisp lines. Doing this just before rolling keeps the edges wet.
Rolling Technique
Use an extension pole and a roller with the right nap for the texture. Load the roller evenly, and roll in a consistent direction, overlapping each pass slightly. Work in small sections across the width of the ceiling, keeping a wet edge to avoid lap marks.
Maintaining a Wet Edge
The wet edge is the line where fresh paint meets paint still wet. Keeping it wet lets new paint blend seamlessly. Stopping in the middle of a ceiling or letting an edge dry leads to visible lap marks. Plan to paint an entire ceiling in one session.
Lighting and Inspection
Raking light from a window or lamp reveals roller marks and missed spots. Check your work as you go from different angles, and fix issues while the paint is wet. Natural light at different times of day shows how the finish will look.
Spraying vs. Rolling
Spraying is faster and gives an even coat, especially on textured ceilings, but it requires extensive masking and ventilation. Rolling gives control and is suitable for smaller spaces. Many professionals combine methods, spraying and then back-rolling to work the paint into the surface.
Ladders and Safety
Working at height carries real risk. Use a stable ladder or scaffold, keep your weight centered, and don't overreach. For high ceilings, professionals use scaffolding and extension poles. Ask for help if the work is beyond your comfort level.
Protecting the Room
Cover floors and furniture with drop cloths and plastic, and tape off edges. Remove or cover light fixtures and fans. Ceiling work creates more splatter than wall painting.
Drying and Recoating
Follow the manufacturer's drying times between coats. Most ceilings need two coats for even coverage. Rushing the second coat can cause streaks and poor adhesion.
Common Ceiling Painting Problems
Roller marks, lap lines, flashing, stains bleeding through, peeling, and drips are common problems. Each can be avoided with proper prep, quality products, and consistent technique.
Bathroom and Kitchen Ceilings
Humidity and grease make these ceilings prone to peeling and mildew. Use moisture-resistant, mildew-resistant paint, clean and prime properly, and ensure good ventilation. Address leaks and condensation.
High Ceilings and Vaulted Ceilings
Tall ceilings require specialized equipment, planning, and time. Cutting in at height is challenging, and spraying may be more efficient. Hiring professionals for high ceilings is often safer and produces better results.
Cost Considerations
Ceiling painting cost depends on size, height, texture, and condition. Repair work, stain blocking, and priming add cost. A professional can quote the job accurately after seeing the ceiling.
How Much Paint Does a Ceiling Need?
A gallon of ceiling paint covers a certain area, but texture, porosity, and color change affect coverage. Ceilings with texture or repairs may need more. Buying a little extra helps you finish in one session and avoids a visible color difference from a second batch.
Working Around Fans, Lights, and Fixtures
Turn off power and remove or mask fixtures before painting. Fans can be lowered or covered, and light covers removed. Careful cutting around fixtures produces crisp edges. Make sure fixtures are fully dry before reinstalling or turning them on.
Smoke and Nicotine Stains
Smoke residue can bleed through regular paint and leave yellow stains. Clean the ceiling thoroughly and seal it with a stain-blocking, odor-blocking primer before painting. In severe cases, multiple coats of primer may be necessary. Without sealing, stains reappear.
Order of Work: Ceiling First or Walls First?
Most painters paint the ceiling first, then the walls. Drips and splatter from the ceiling land on surfaces that will be painted afterward. If the walls are already painted and you're repainting only the ceiling, mask carefully and protect the walls.
Crown Molding and Medallions
Crown molding and ceiling medallions need careful cutting in and sometimes a different sheen. Painting the crown the same color as the ceiling creates a seamless look, while contrasting crown adds detail. Take time to fill gaps and caulk joints before painting.
Keep Notes for Touch-Ups
Record the paint brand, color, and sheen, and keep a small amount for touch-ups. Ceilings are difficult to touch up invisibly, but having the same paint helps. Stir thoroughly and apply it to the whole affected area, not just a spot.
Ceiling Colors in Rooms With Low Light
In dim rooms, a bright white ceiling bounces whatever light there is back into the space. In bright rooms, a soft tinted ceiling can calm glare. Test the color in the actual room, and look at it at different times of day before committing.
Painting Ceilings in Open Floor Plans
In open spaces, ceilings run across multiple zones, and breaks in color or sheen look odd. Painting the whole ceiling the same way creates a unified look. Plan breaks at architectural transitions such as beams or soffits.
Why Professionals Often Spray Ceilings
Spraying lets painters cover large ceilings evenly in a fraction of the time and works well on texture. It requires thorough masking and ventilation, but it reduces the risk of lap marks. For large, textured, or high ceilings, spraying is often the most efficient choice.

A flawless ceiling takes the right prep, the right paint, and a steady hand. Our painters clean, repair, and prime your ceilings, seal stains properly, cut in cleanly, and roll or spray with a wet edge so the finish looks even from every angle. Request your free interior painting estimate today.

Karter & Co


