

Hardwood Floor Refinishing: Sanding, Staining, and Finish Options Explained
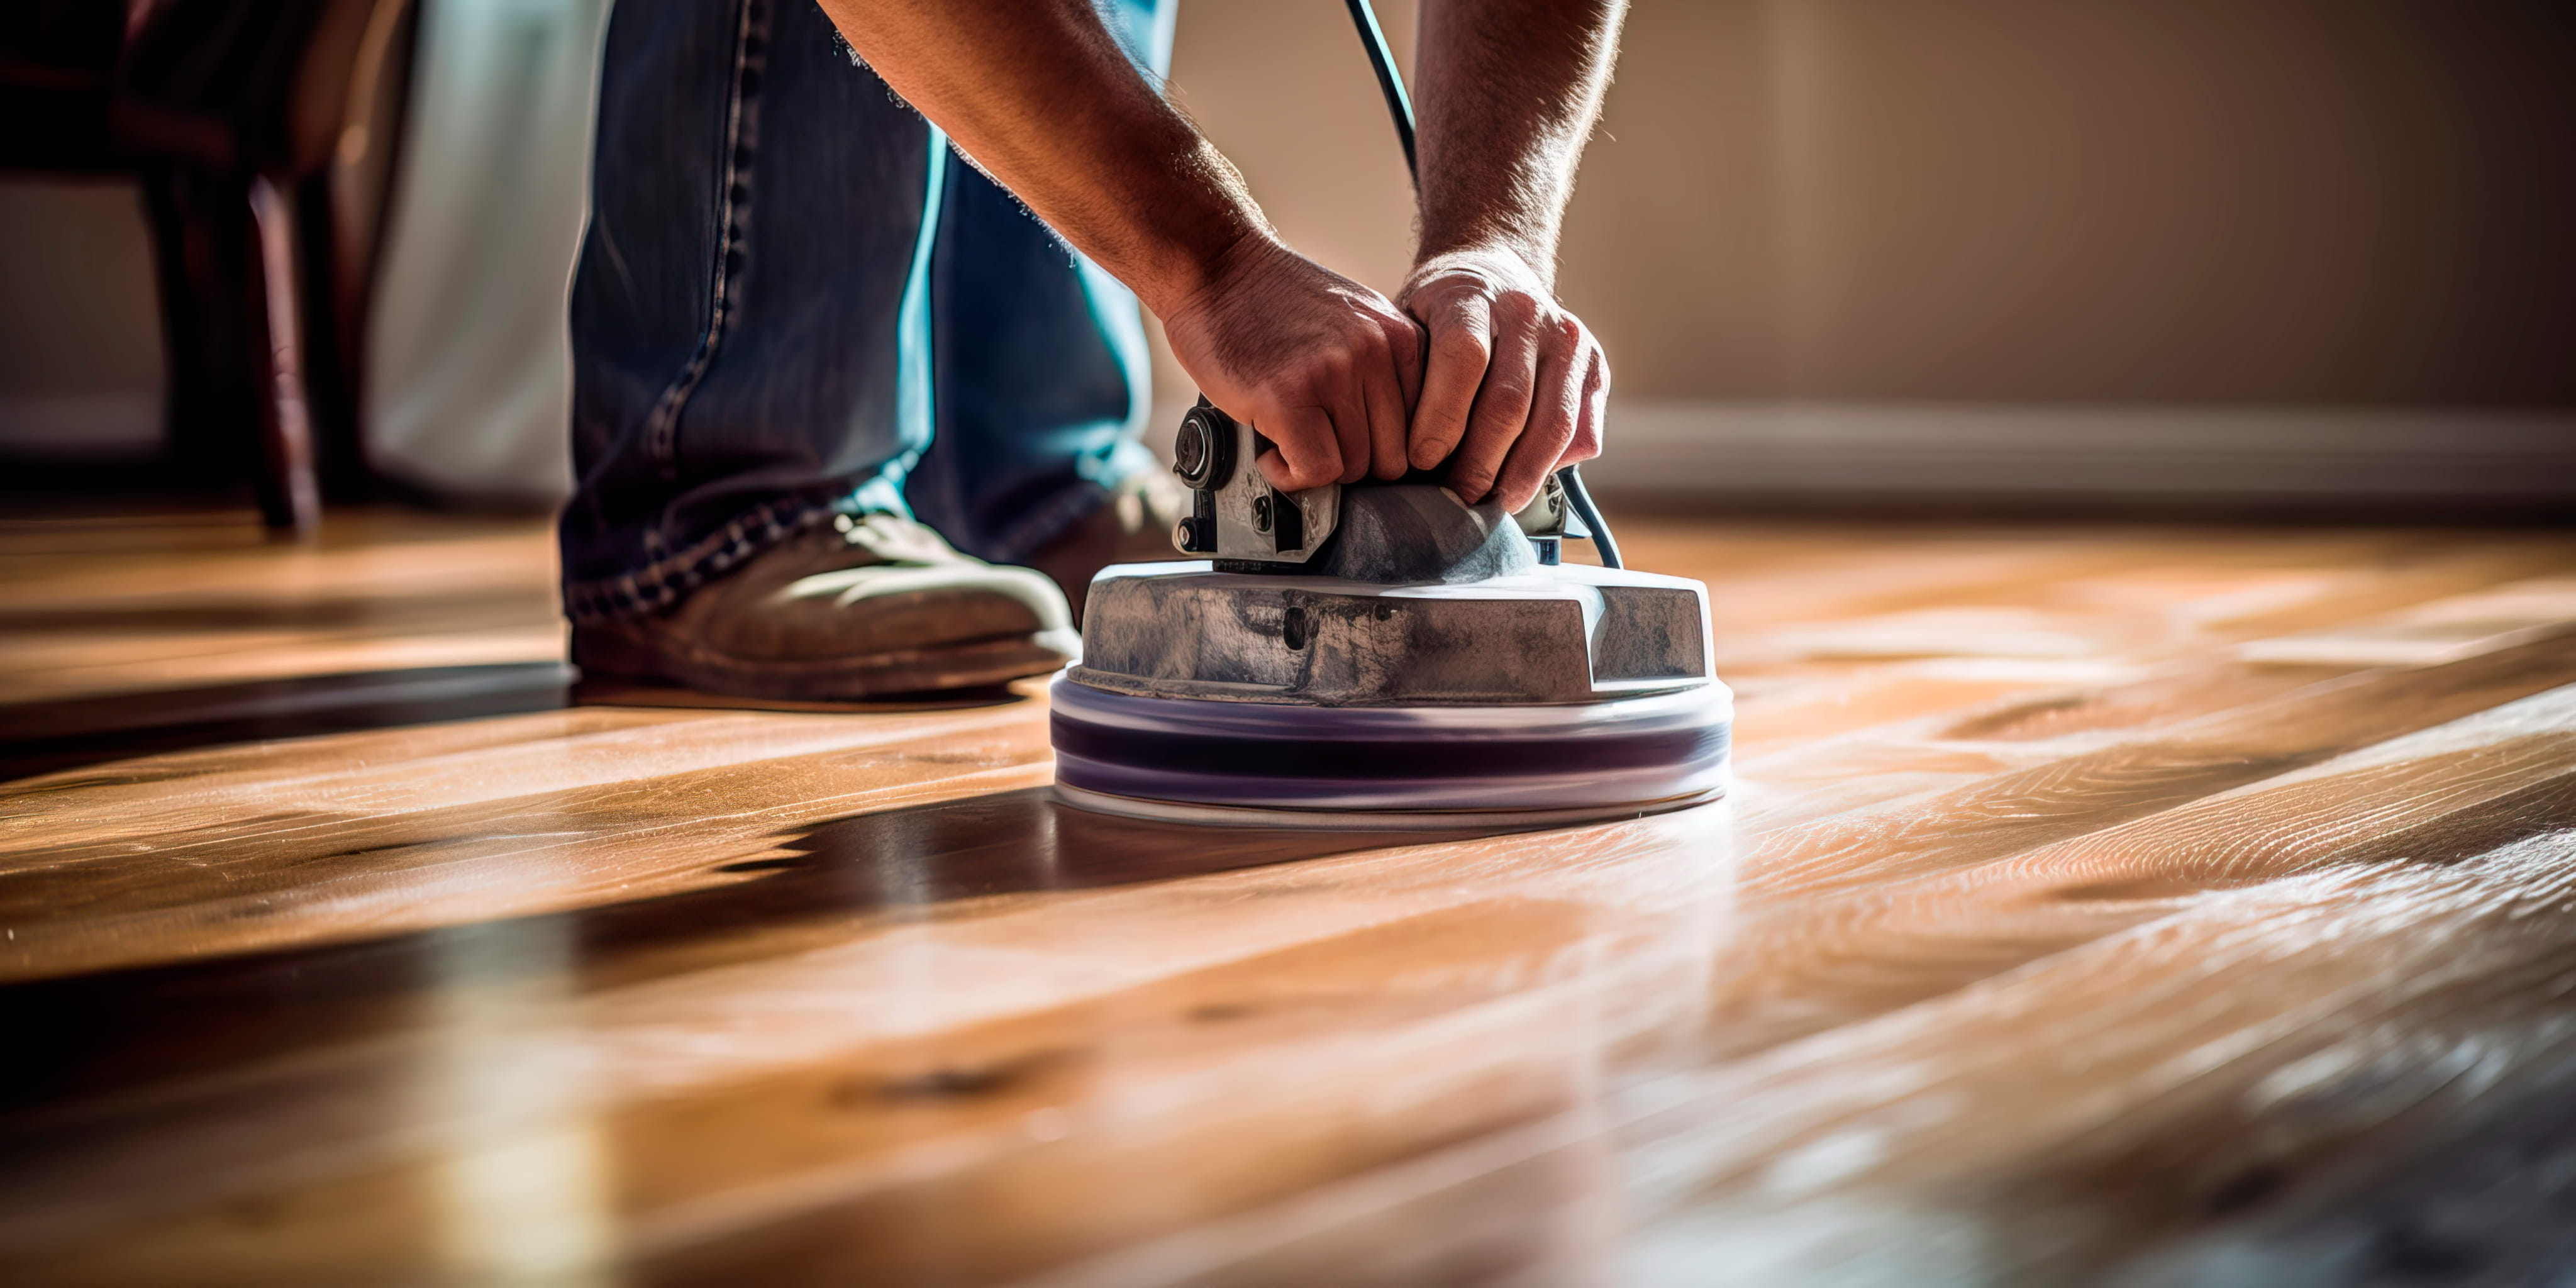
Hardwood floors are one of the few flooring materials that can be renewed rather than replaced. Scratches, dull spots, worn finish, and faded color can often be sanded away and refinished, giving a floor that looks new for a fraction of the cost of replacement. But refinishing isn't a single process. Depending on the condition of the floor, the work can range from a light screen-and-recoat to a full sanding down to bare wood, followed by staining and multiple coats of finish. The choices you make about sanding, stain color, and topcoat affect appearance, durability, and how much disruption you'll live through. Understanding the options helps you set expectations and choose wisely.
Is Your Floor a Candidate?
Solid hardwood can usually be refinished multiple times over its life. Engineered hardwood can be refinished depending on the thickness of its wear layer. Floors with severe damage, deep pet stains, water damage, or thin wood may need repair or replacement instead. A professional inspection tells you what's possible.
Solid vs. Engineered Hardwood
Solid wood is the same material throughout and tolerates repeated sanding. Engineered wood has a thin top layer of real wood over a core, and sanding removes some of that layer. Thin wear layers may allow only a light recoat or one gentle sanding. Check the specifications of your floor.
Signs It's Time to Refinish
Dull, worn finish, scratches that expose bare wood, gray or discolored areas, water marks, and fading near windows are all signs. If water soaks into the wood in worn areas instead of beading, the protective finish has failed. Refinishing before the finish is completely gone is easier and less costly.
Screen and Recoat
A screen and recoat lightly abrades the existing finish, cleans the floor, and applies a fresh topcoat. It refreshes the shine and protects the wood without removing the color or sanding deeply. It works when the floor has surface wear but the wood itself is in good condition and the finish hasn't peeled.
Full Sand and Refinish
A full refinish sands the floor down to bare wood, removing old finish, stains, and scratches, then applies stain if desired and new finish. It gives a completely fresh result and allows you to change the color. It's more involved and involves more dust, time, and cost.
How Sanding Works
Professionals use drum sanders or orbital machines on the main areas, edgers along walls, and hand tools in corners. Sanding proceeds through progressively finer grits to remove old finish and smooth the surface. Skilled operation is important, since aggressive sanding can leave gouges or waves.
Why DIY Sanding Is Risky
Rental drum sanders are powerful and unforgiving. Pausing in one spot, tilting the machine, or using the wrong grit can gouge the floor, leaving marks that are difficult to fix. Many homeowners end up hiring a professional to repair a DIY attempt.
Dust Control
Sanding creates a lot of fine dust. Modern professionals use dust containment systems that capture most of it, reducing mess. Seal doorways, cover vents, and remove or cover belongings. Even with containment, expect some cleanup.
Repairs Before Refinishing
Loose boards, protruding nails, gaps, and damaged sections should be repaired before sanding. Individual boards can be replaced and blended, and gaps can be filled or left depending on style. Repairs create a better foundation for the finish.
Dealing With Pet Stains and Water Damage
Dark stains from pet urine and water can penetrate deep into the wood. Light staining may sand out, while deep stains may need bleaching, board replacement, or accepting some discoloration. A professional can assess what can be saved.
Gaps Between Boards
Seasonal humidity changes cause gaps between boards. Some owners fill them with flexible filler or wood slivers, while others leave them. Filling too rigidly can cause cracking when the wood moves. Discuss your preferences with your refinisher.
Choosing a Stain Color
You can keep the natural color, darken it, or in some cases lighten it. Stain results depend on the wood species and the sanding. Test samples on the actual floor, because lighting and wood tone change the result. Popular choices include natural tones, warm browns, and gray-leaning finishes.
Natural and Clear Finishes
Many homeowners choose to leave the wood's natural color and apply a clear finish. This showcases the grain and keeps the look timeless. Oil-based finishes add warmth and amber tone, while water-based finishes stay clearer.
Oil-Based Polyurethane
Oil-based polyurethane is durable, rich in color, and has been the traditional choice. It takes longer to dry, has strong odor, and tends to amber over time. Multiple coats are applied with long drying times between them.
Water-Based Polyurethane
Water-based finishes dry quickly, have lower odor, and stay clear, which keeps light woods looking light. They can be very durable, and quality products perform well. They cost more per coat but may reduce total project time.
Hardwax Oils and Penetrating Finishes
Hardwax oils soak into the wood and give a natural, low-sheen look. They're easy to spot repair but may require more frequent maintenance. They're popular for modern, natural aesthetics.
Choosing a Sheen
Matte and satin finishes hide scratches and dust better, while glossy finishes show more wear and reflect light. Many homes use satin or semi-gloss for a balance of beauty and practicality. View samples in your lighting.
How Many Coats
Most refinishing projects include two to three coats of finish, sanded lightly between coats for smoothness. More coats mean more protection but also more drying time. Follow the product's instructions and your refinisher's plan.
Drying and Cure Times
Floors can be walked on in socks after a day or so, but finishes take days or weeks to cure fully. Furniture and rugs should wait until the finish is hard enough. Heavy traffic too soon can leave marks. Ask your refinisher for specific timing.
Living Through the Project
Refinishing typically takes several days, during which you may not be able to use the rooms, and odors can linger with some products. Plan for pets, children, and furniture. Consider staying elsewhere if you're sensitive to fumes.
Moving Furniture
Everything must come out of the work area, and appliances and heavy pieces may need careful handling. Some refinishers include furniture moving, while others don't. Plan storage and access in advance.
Humidity and Seasonal Considerations
Wood moves with humidity, and finishes cure best under stable conditions. Extreme humidity or dryness can affect results. Maintaining stable indoor conditions before and after refinishing helps the floor look its best.
Lead Paint and Old Finishes
In homes built before the late 1970s, older finishes and nearby painted surfaces may contain lead. Sanding can create hazardous dust. Contractors should follow lead-safe practices when required, and testing may be advisable.
Cost Factors
Cost depends on floor area, condition, repairs, stain choice, finish type, and number of coats. Screen and recoat is the least expensive, and full refinishing costs more. It typically costs far less than replacing hardwood.
Maintaining a Refinished Floor
Use felt pads under furniture, keep pet nails trimmed, sweep regularly, and clean with products recommended for hardwood. Avoid excess water. Rugs in high-traffic areas reduce wear. Good care extends the time between refinishes.
Choosing a Refinisher
Ask about experience, dust control, products, number of coats, and warranty. Look at examples of previous work, and ask how they handle edges and corners. A clear written scope helps compare quotes.
Dealing With Old Finish Types
Older floors may have wax, oil, or multiple layers of finish. Waxed floors need thorough cleaning or sanding before a new finish can bond. Testing helps determine what's on the floor and how to proceed.
Edges, Stairs, and Closets
Edges along walls, stair treads, and closets need hand sanding or edge sanders, which take more time. Quality refinishing includes these areas so the whole floor looks uniform. Ask about them in your quote.
Matching New Boards to Old Floors
If boards were replaced or added, new wood may stain differently from old wood. Skilled refinishers blend repairs through careful sanding and stain selection. Test the stain on the new wood and the old.
Protecting Your Home During the Project
Seal off doorways, cover vents, and protect nearby walls and trim. Remove HVAC filters or cover returns. A good crew keeps dust and fumes contained as much as possible and cleans up thoroughly.
Timing the Project
Schedule refinishing before painting walls if you plan to do both, or protect the floors carefully if painting first. Humid seasons can slow drying, so mild, dry conditions are ideal. Ask your refinisher about the best timing.
Why Maintenance Between Refinishes Matters
Regular cleaning, quick spill cleanup, and protective pads keep finish intact longer. Refinishing is far less frequent when the surface is cared for. A few simple habits can stretch the time between projects by years.

Want your hardwood to look new without replacing it? Our team inspects your floor, repairs damaged boards, sands with dust containment, and applies the stain and durable finish you choose, with clear cure times so you know exactly when to move back in. Request your free flooring estimate today.

Karter & Co


