

Flooring Transitions and Thresholds: How to Choose the Right Strip for Every Doorway
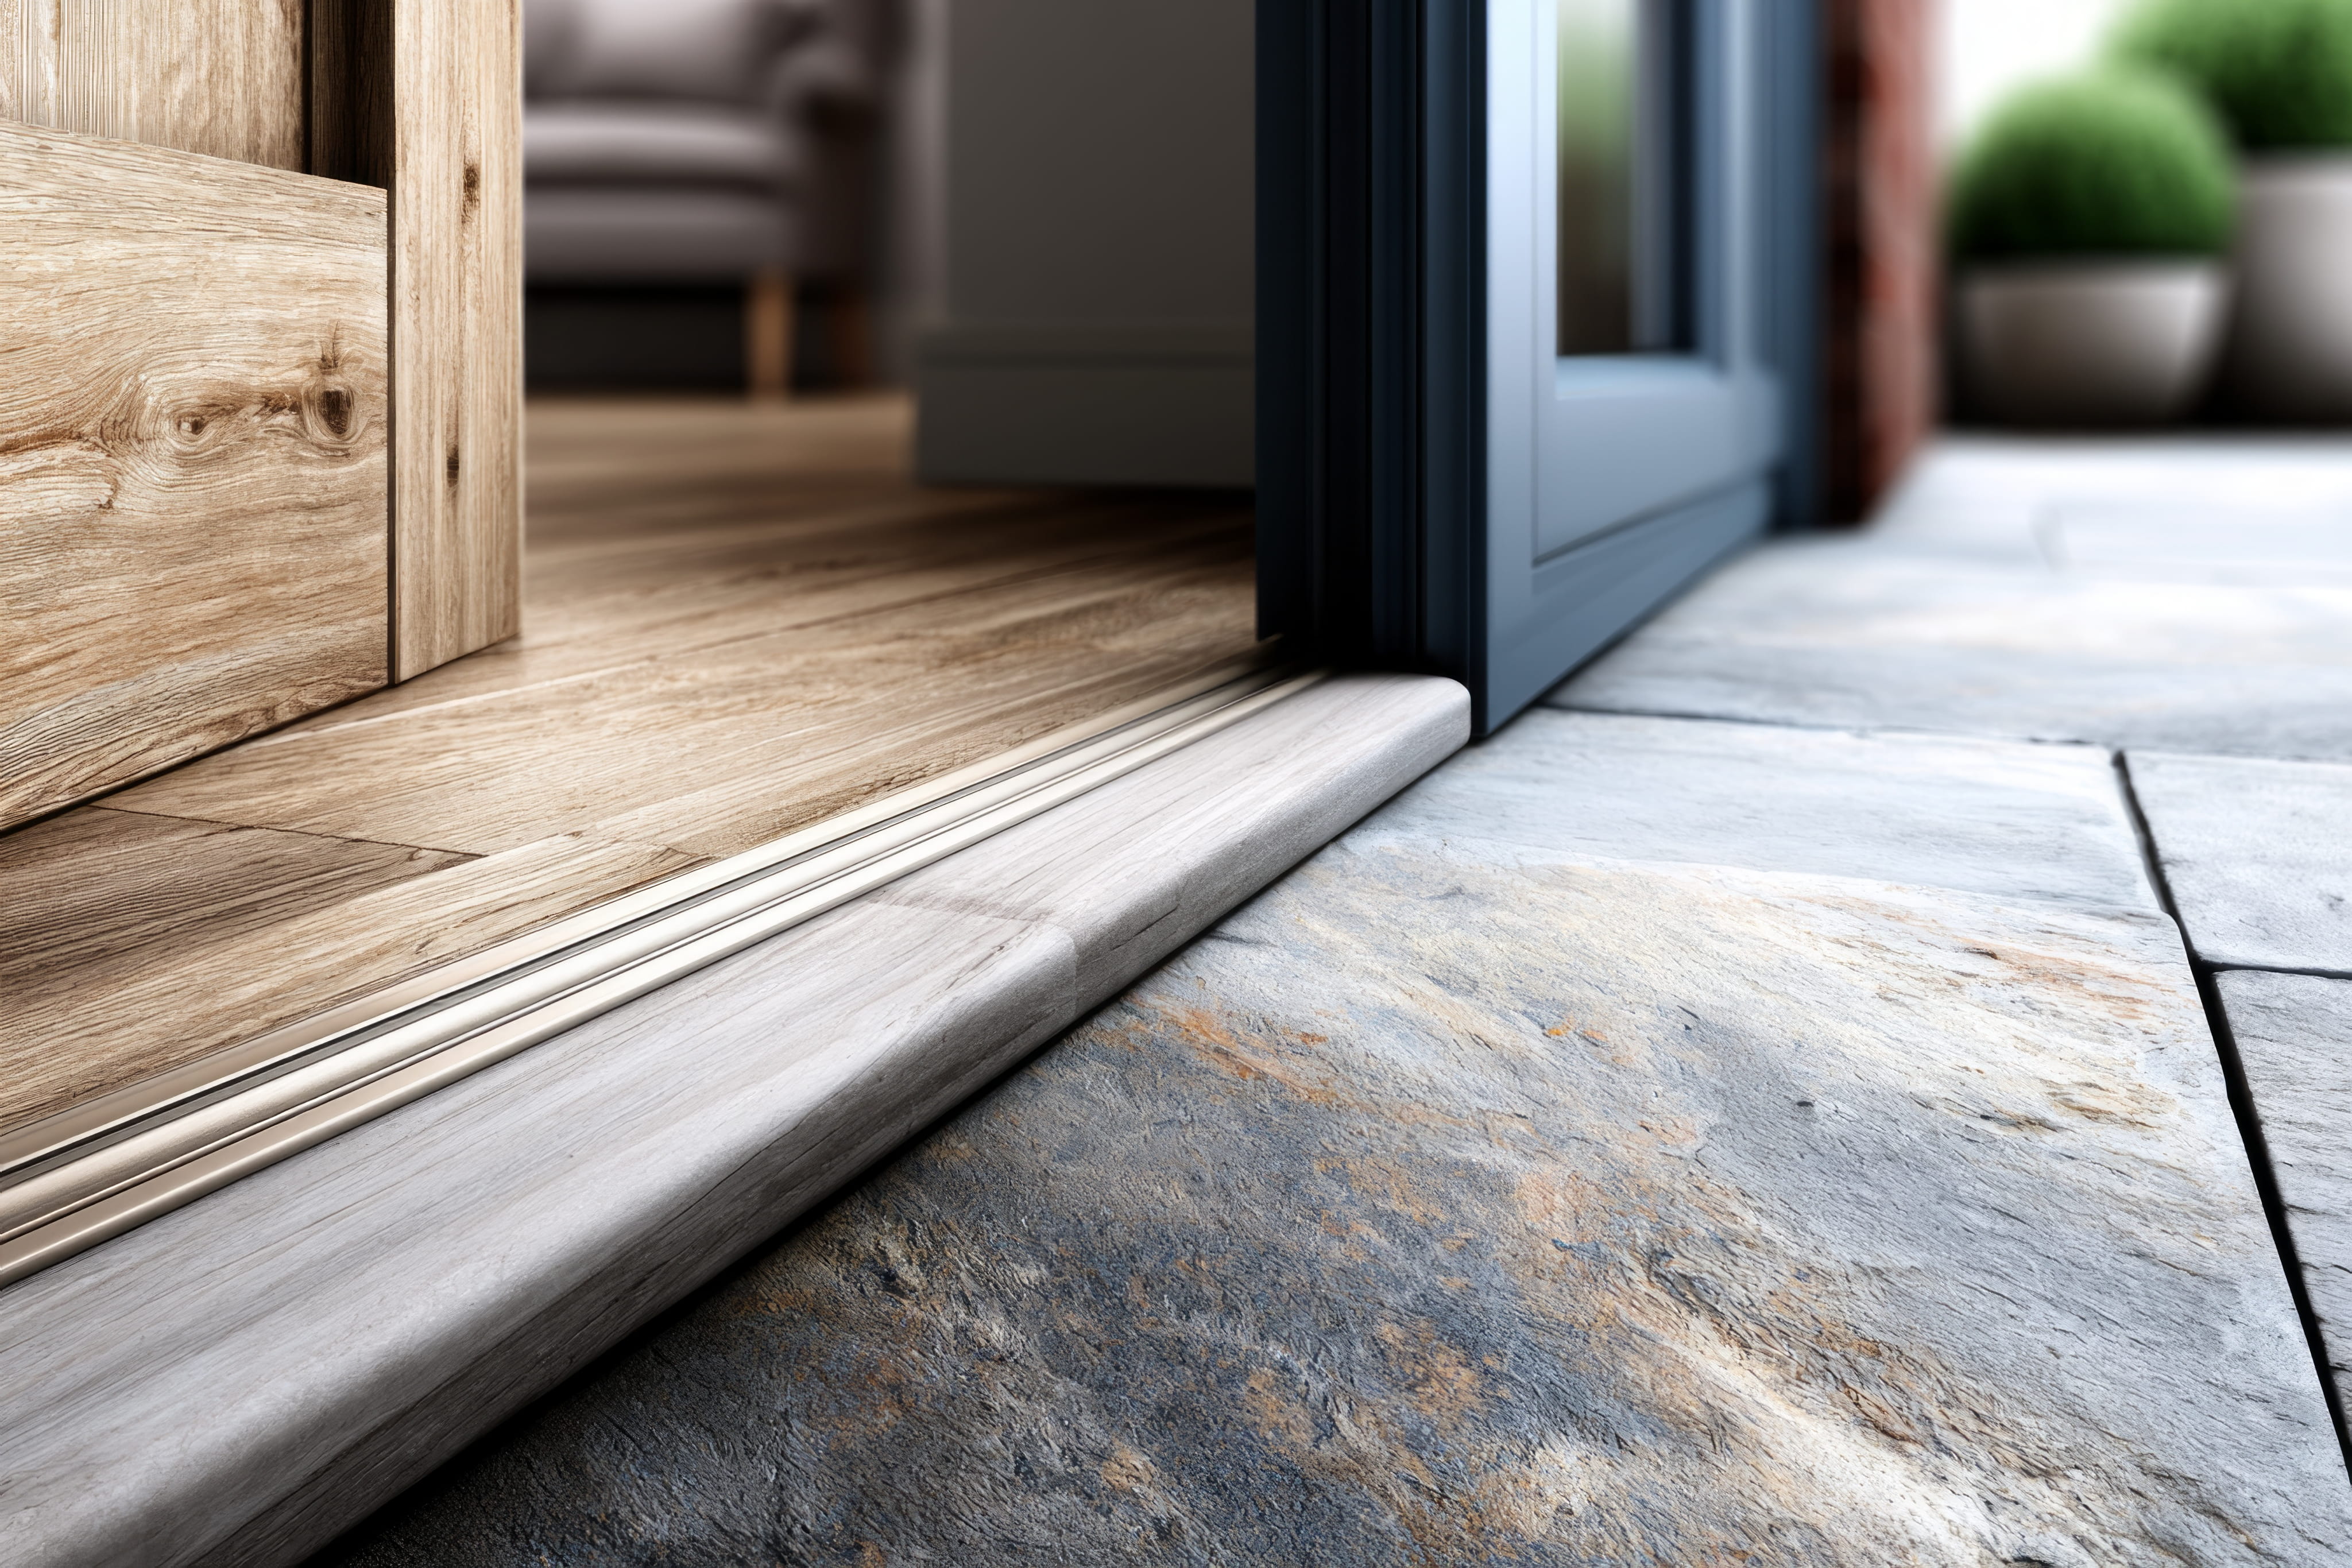
Transitions are the small pieces that join one floor to another, and they're among the most overlooked details in a flooring project. A great new floor can be undermined by an awkward strip, a trip hazard at a doorway, or a gap where two materials meet. Choosing the right transition depends on the materials, the height difference, the expansion needs of the flooring, and the look you want. Understanding the common types helps you plan ahead, avoid surprises, and get a finished result that looks intentional and works safely.
What a Transition Does
A transition strip bridges the gap between two flooring surfaces, covering the seam, protecting edges, accommodating height differences, and allowing for expansion. It creates a smooth, safe passage from one room to another, and it can serve as a visual boundary between different materials or colors.
Why Transitions Matter
Poor transitions cause tripping, edge damage, and gaps that collect dirt. They can also cause floors to buckle if expansion room is blocked. A thoughtful transition improves safety, protects the floor, and finishes the look.
T-Molding
T-molding has a T-shaped profile, with the stem sitting in the gap between two floors of similar height and the top covering the seam. It's commonly used between rooms with hard flooring at the same level, such as laminate to vinyl plank. It allows for expansion and creates a clean, even line.
Reducers
A reducer is a sloped strip that smooths the change from a higher floor to a lower one. It's used where thicker flooring, like hardwood, meets thinner flooring, like vinyl or tile. The gentle slope reduces tripping and protects the edge of the higher floor.
Thresholds
Thresholds are wider, flatter pieces typically installed at doorways, especially exterior doors and where flooring meets a different surface like tile or concrete. They cover larger gaps and can handle bigger height differences. Thresholds are available in wood, metal, and composite materials.
End Caps
End caps finish the edge of flooring where it meets a vertical surface, such as a sliding door track or a fireplace hearth. They cover the exposed edge and leave room for expansion. They're also used where flooring ends against a step-down.
Stair Nosing
Stair nosing finishes the edge of a stair tread and provides a protective, slip-resistant edge. It also serves as a transition where flooring meets the stairs. Properly installed nosing improves safety and durability, and it needs to be matched to the flooring thickness.
Flush and Seamless Transitions
Some installations use no visible strip, such as when two floors of the same height meet with a small, tight gap filled with sealant or a thin profile. This gives a clean look but requires matching heights and careful planning. It works best with similar materials and when expansion needs are minimal.
Carpet-to-Hard-Floor Transitions
Where carpet meets hard flooring, a transition strip secures the carpet edge and covers the seam. Options include metal strips, wood strips, and carpet reducers. The strip must hold the carpet firmly and sit at the right height.
Tile-to-Wood Transitions
Tile is often thicker and more rigid than wood, so a reducer or threshold bridges the height difference. The transition also needs to allow for the wood's seasonal movement. Choose a strip that complements the finish of both floors.
Matching Wood Species and Color
Wood flooring transitions can be matched to the floor in species and stain, or chosen to contrast. A matching strip blends in, while a contrasting strip becomes a deliberate design element. Keep finishes consistent between rooms for a cohesive look.
Metal vs. Wood vs. Vinyl
Metal strips are durable and slim, and they come in finishes like brushed nickel, brass, and black. Wood strips match wood floors and are stained to coordinate. Vinyl and rubber strips are flexible and suited to utility areas. The right choice depends on traffic and style.
Expansion Gaps
Floating floors and wood floors need space to expand and contract. Transitions must allow movement rather than lock the floor in place. Gluing or screwing a floor tightly to a transition can cause buckling. Following manufacturer instructions on expansion gaps is critical.
Long Runs and Doorway Breaks
Some floating floor manufacturers limit how long a continuous run can be, and transitions at doorways create breaks that relieve pressure. Planning where to place breaks, such as at door openings and room divisions, supports both performance and appearance.
Height Differences
Measure the height difference between floors at the transition. A difference of a fraction of an inch needs a reducer or sloped strip, while a larger difference may require a threshold or a step. Large height differences are tripping hazards and need careful design.
Door Clearances
New flooring can raise the floor height, causing doors to rub or fail to close. Doors may need trimming, and transitions must be placed to avoid interference. Plan door clearance before flooring is installed.
Exterior Doors and Weatherproofing
Transitions at exterior doors face moisture, temperature changes, and heavy traffic. Use durable, weather-resistant thresholds and seal gaps to prevent water entry. Choose a threshold that can handle the wear of daily use.
Wet Areas
In bathrooms and kitchens, transitions must tolerate moisture. Metal, composite, and sealed stone thresholds hold up better than untreated wood. Sealing edges prevents water from seeping beneath the floor.
Accessibility
For households with mobility needs, low-profile transitions and gentle slopes make passage easier. Avoid raised thresholds that catch wheels or shoes. Planning for accessibility improves safety for everyone.
Installation Methods
Transitions may be glued, nailed, screwed, or snapped into a track, depending on the type. Track systems hold the strip in place without penetrating the floor, which preserves expansion. A professional chooses the method that suits your flooring.
Common Mistakes
Using the wrong height, locking floating floors tightly, ignoring door clearance, choosing mismatched finishes, and leaving gaps that collect dirt are common problems. Each can be avoided by planning transitions as part of the flooring design.
Planning Transitions Early
Decide where floors will change before ordering material, and choose transition types and finishes in advance. Ask your installer to show samples. Early planning ensures that the right pieces are available and that the project goes smoothly.
Floors of Different Species or Colors
When wood species or stain colors differ between rooms, a transition can either blend or contrast. Matching the strip to one floor can look unbalanced. A neutral or contrasting strip, such as a metal profile, can create a clean visual break. Look at samples against both floors before choosing.
Placing Transitions Under the Door
Many transitions sit directly beneath a closed door, hiding the seam and giving a clean line. This works when the door swing and clearance allow it. Placing the strip at the opening instead, such as in a wide archway, may suit open layouts better. Decide where the visual break should happen.
Radiant Heated Floors
Floors with radiant heat need transitions that allow for heat-related movement and don't trap heat. Some metal and wood strips conduct or react differently. Follow manufacturer guidance for both the heating system and the flooring.
Stairs, Landings, and Step-Downs
Where a floor meets a step-down, such as a sunken living room, specific nosing and trim are needed to protect edges and prevent trips. A secure, slip-resistant edge matters. Raised or sunken spaces need extra planning.
Repairing Existing Transitions
Loose, cracked, or worn transitions can often be repaired or replaced without redoing the floor. Replacing an outdated strip can instantly improve appearance. Match the profile and height, and make sure it still allows for expansion.
Pets, Children, and Safety
Low-profile transitions are easier for small children and pets to cross, and they reduce tripping. Avoid strips with sharp edges or loose parts. In homes with older adults, smooth transitions without raised lips are especially valuable.
Sample Doorway Scenarios
Between a hardwood hallway and a tile bathroom, a reducer or threshold in a coordinating finish bridges the height. Between two rooms of vinyl plank at the same height, a slim T-molding or even a flush joint may work. At a sliding glass door, an end cap or threshold protects the edge. Thinking through each doorway prevents surprises.
Choosing Transition Material to Match Traffic
Entryways and kitchen doorways see heavy traffic, so durable metal or solid wood strips hold up better than thin plastic. Low-traffic bedrooms can use lighter options. Matching durability to use prevents early wear and loose pieces.
Fastening Without Locking the Floor
Floating floors must be able to move beneath a transition. Track systems and carefully placed fasteners hold the strip without pinning the flooring. If a strip must be fastened into the subfloor, it should not touch the flooring edge in a way that restricts movement.
Cleaning and Maintaining Transitions
Grit collects in the gaps beside transition strips. Vacuum along them regularly, wipe metal strips with a damp cloth, and tighten loose screws. Check wood strips for wear and refinish or replace them as needed. Good maintenance keeps transitions looking sharp.

Great floors deserve clean transitions. We plan every doorway and threshold up front, choose strips that match your flooring and allow for movement, and install them so they're safe, tight, and good-looking, with no surprises on installation day. You'll see samples before we order anything. Request your free flooring estimate and finish the details right

Karter & Co


