

Drywall Texture Types Explained: How Repairs Are Matched So They Disappear
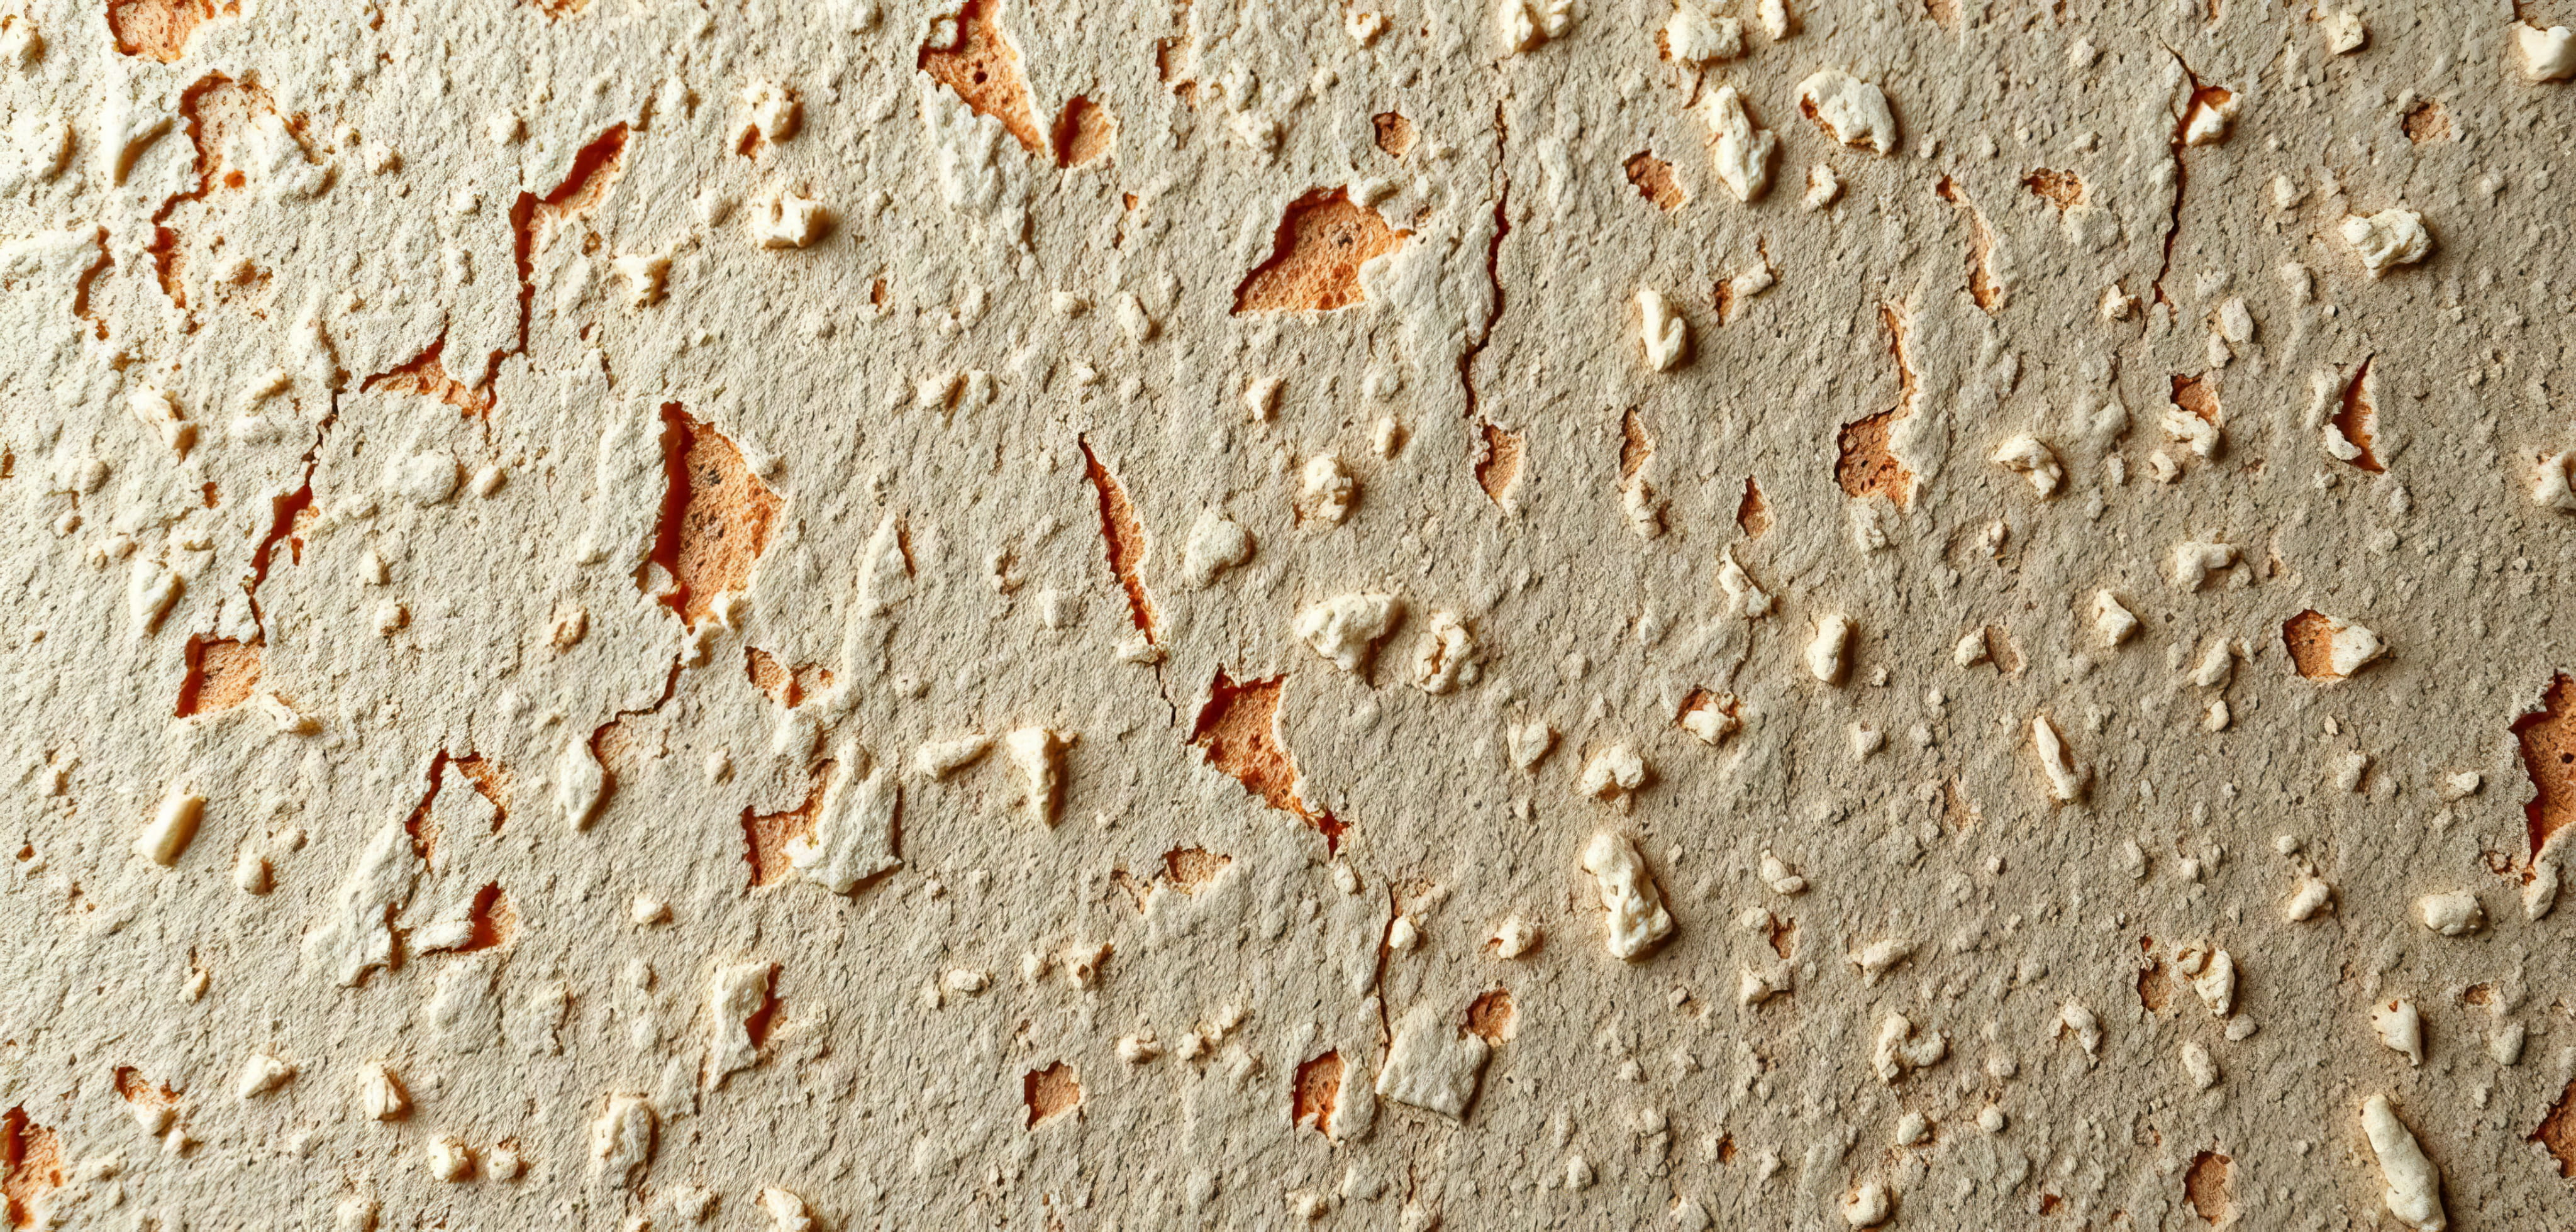
A drywall patch can be flawless underneath and still look terrible if the texture doesn't match. That's the part of the repair that homeowners underestimate most, and the part that separates a repair that disappears from one that shows up every time the light hits the wall. Texture is the finishing detail that ties a repair into the surface around it, and different textures require different techniques. Understanding the common types helps you identify yours, talk to a contractor knowledgeably, and understand why matching takes skill.
Why Texture Exists
Walls and ceilings are textured for several reasons. Texture hides small imperfections in the drywall finishing, reduces the labor of perfectly smooth finishing, and adds visual interest. It also helps hide seams and fasteners. Many homes have some form of texture on ceilings and walls, and the style varies by region, age, and builder.
Smooth Walls
Smooth walls have no texture, and they show every flaw, which means the drywall must be finished to a very high standard. Repairs on smooth walls require careful feathering of joint compound, sanding, and priming so that the patch isn't visible, especially in raking light. Because there's nothing to hide behind, smooth walls demand the most skill to repair invisibly.
Orange Peel
Orange peel is a fine, bumpy texture that resembles the skin of an orange. It's applied by spraying thinned joint compound onto the wall, producing small, evenly spaced bumps. It's common on walls in many homes. Repairs are usually blended with a spray hopper or an aerosol product, adjusting the pattern to match the density and size of the existing texture.
Knockdown
Knockdown starts as a splattered texture that is lightly flattened with a trowel or knife, leaving a pattern of flattened peaks with valleys between them. The look varies from fine and subtle to heavy and rustic. Matching knockdown requires reproducing the splatter and timing the flattening so that the pattern looks the same as the surrounding area.
Skip Trowel
Skip trowel is applied by hand with a trowel in sweeping motions, leaving a layered, hand-finished appearance that resembles plaster. It's popular in some regions and in custom homes. Matching skip trowel is among the hardest texture repairs, because it depends on the individual style of the person who applied it.
Popcorn and Acoustic Ceilings
Popcorn texture, also called acoustic or cottage cheese texture, was widely used on ceilings in homes built in the mid-twentieth century. It hides imperfections and dampens sound, but it collects dust and is difficult to repair. In older homes, popcorn texture may contain asbestos, so it should be tested by a qualified professional before it is scraped, sanded, or disturbed.
Slap Brush, Sand Swirl, and Other Patterns
Other patterns include slap brush, where a stiff brush is pressed and lifted to create peaks, and sand swirl, where a brush creates overlapping arcs. These textures are less common but still found in many homes. Each requires a technique tailored to the original method.
How to Identify Your Texture
Look at the wall in raking light, from a low angle with a lamp or flashlight. Notice the size of the bumps, how they are spaced, whether they are flattened, and whether there is a direction to the pattern. Take close-up photos from several angles to share with a contractor. A good painter or drywall finisher can often identify the texture from a photograph.
Why Matching Texture Is Hard
Texture depends on the mix of the compound, the tool used, the pressure, the speed, and even the humidity of the day it was applied. Recreating it means experimenting on scrap until the pattern matches. A skilled finisher will test a sample before applying it to the wall.
The Basic Repair Sequence
A typical repair follows a series of steps: cut out the damaged section, install new drywall or a patch, tape the seams, apply several thin coats of joint compound with feathering, sand smooth, apply texture, prime, and paint. Each step affects the final result, and skipping any one of them shows up later.
Feathering the Edges
Feathering means spreading joint compound in thin layers that gradually taper into the surrounding wall. A wide, gentle feather makes the repair blend invisibly. A narrow, thick patch creates a visible hump. Patience in this step is one of the clearest signs of quality.
Applying Texture to the Repair
Texture can be applied with a spray hopper, an aerosol can, a brush, a sponge, a roller, or a trowel, depending on the pattern. The key is to blend the new texture into the old, extending slightly beyond the patch and feathering the edges. Too much or too little texture will stand out.
Aerosol Texture vs. Hopper Spraying
Aerosol cans are convenient for small repairs, but they offer limited control and can produce an uneven pattern. Hopper sprayers provide more control and can match many textures more accurately, especially over larger areas. Professionals choose the method that fits the repair size and pattern.
Priming Before Painting
Fresh joint compound and texture are more porous than the surrounding painted wall, so they absorb paint differently. Without primer, repairs can show up as dull or blotchy spots, an effect called flashing. A good primer seals the repair so the finish coat looks uniform.
Painting the Repair
Even a perfect texture match can be undone by poor painting. Match the paint color and sheen, and consider repainting the entire wall, from corner to corner, rather than just the patch. Paint ages and fades, so a spot repaint often looks different from the surrounding wall.
Ceiling Repairs
Ceiling repairs are challenging because they're viewed under strong light and from below, and because overhead work is physically demanding. Water stains must be sealed with a stain-blocking primer before painting, and the source of the leak must be fixed first. Textured ceilings add another layer of complexity.
Large Repairs and Whole-Wall Refinishing
If damage covers a large area, or if matching an old texture is nearly impossible, a better solution may be to re-texture the entire wall or ceiling, or to skim coat it smooth. This can produce a more uniform result than a patch that tries to blend into a texture that varies across the surface.
Skim Coating for a Fresh Start
Skim coating involves applying a thin layer of joint compound over the entire wall to create a smooth surface. It can erase old texture, hide damage, and prepare the wall for a new texture or a smooth finish. It's labor-intensive, but it can transform a worn wall.
Mistakes That Make Repairs Show
Using too much compound, skipping sanding, failing to feather, applying texture that doesn't match, skipping primer, and painting only the patch are the most common mistakes. Each is avoidable with care and experience.
Can You DIY a Texture Repair?
Small patches in simple textures like orange peel can be handled by a patient homeowner with the right products. Complex textures, large areas, and visible locations are better left to professionals. A failed DIY repair can cost more to fix than a professional repair would have cost initially.
What to Ask a Contractor
How will you match my texture? Will you make a sample first? What primer and paint will you use? Will you repaint the whole wall? Do you test for asbestos in older homes? Clear answers indicate a professional who understands texture.
Lighting Reveals Texture Differences
A repair that looks perfect in daylight can become obvious under raking light from a window or a lamp. Professionals check their work from several angles and under different lighting before they call it done. If you see a patch only at certain times of day, the texture or the paint sheen likely doesn't match.
Water Stains and Ceiling Repairs
Water-stained ceilings need two things: the leak must be fixed, and the stain must be sealed with a stain-blocking primer before painting. Texture then needs to be reapplied to match the rest of the ceiling. Painting over a stain without sealing it often lets the stain bleed through again.
Keep Leftover Paint and Texture Information
After a repair, keep a labeled can of the wall paint and write down the sheen and color. If you know what texture your walls have, note it too. Having this information makes future repairs easier and more consistent.
Repairs After Plumbing, Electrical, or HVAC Work
Other trades often cut into walls and ceilings and leave openings behind. Plan for drywall repair, texture, and paint as a separate step, and coordinate the timing so repairs happen after the other work is finished and inspected. A single coordinated repair avoids repeated patching.
Matching Repairs on Different Sides of a Wall
If both sides of a wall are textured, repairs that go through the wall need matching texture on each side. Plan the work so both sides are finished, primed, and painted together. Coordinating the two sides keeps the result consistent and avoids visible differences from room to room.

A repair should disappear once it's painted. Our team identifies your texture, builds the patch in thin, feathered layers, matches the pattern with a test sample first, then primes and paints so the wall looks untouched. You'll see the sample before we finish. Request your free drywall repair estimate and make the damage vanish.

Karter & Co


