

Drywall Finish Levels Explained: Level 0 to Level 5 and Which One You Need
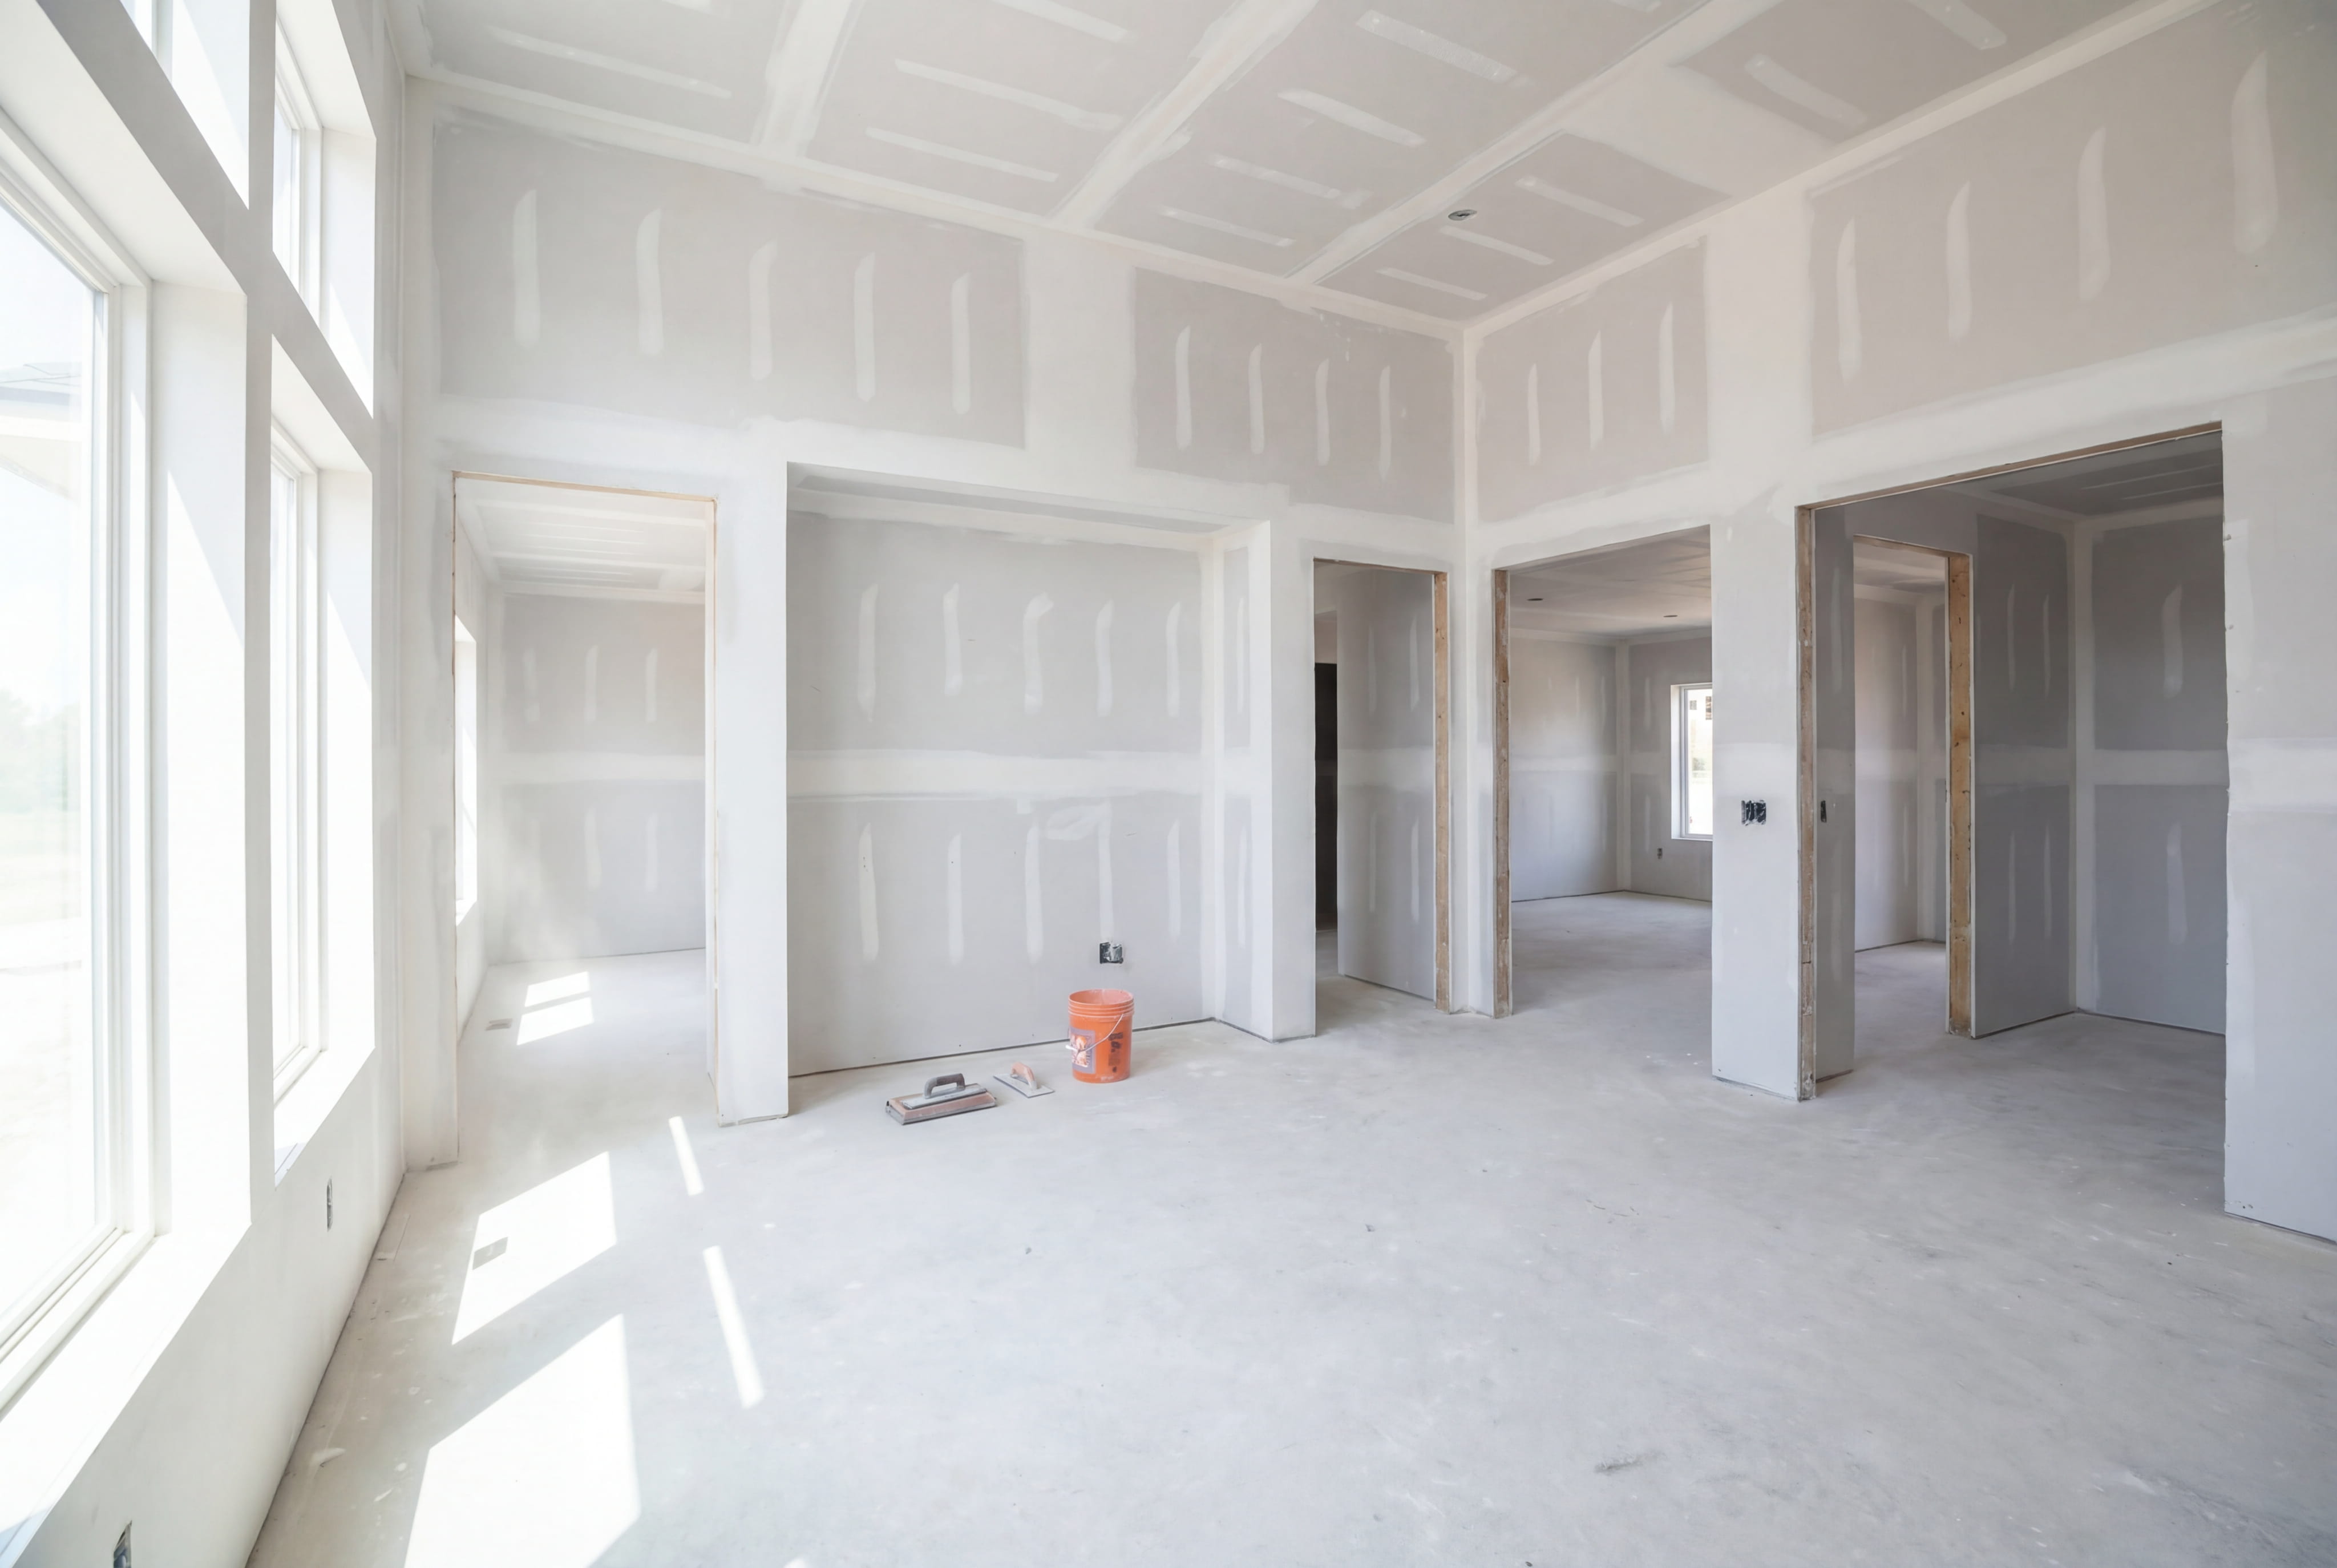
When two drywall contractors give you very different prices for the same room, the difference is often hidden in a phrase most homeowners never hear: finish level. Drywall can be finished to several standard levels, from just hung and taped to a perfectly smooth, skim-coated surface. Each level involves a different amount of labor and produces a different result, and picking the wrong one can mean paying for more than you need or being disappointed by walls that show every seam under a window light. Understanding the finish levels helps you compare quotes fairly and get the quality you want where it matters.
Why Finish Levels Exist
Drywall installation isn't finished when the sheets are screwed up. Seams, screw heads, and corners must be taped and covered with joint compound, sanded, and smoothed. How much compound is applied, and how smooth the result is, depends on what the surface will become: a hidden attic wall, a tiled bathroom, or a living room with glossy paint. Industry standards describe levels from zero to five to set expectations.
Level 0: No Taping or Finishing
Level 0 is drywall that has been hung but not taped or finished. It's used for temporary construction, or areas that will be covered later. It isn't a finished surface, and it won't be paint-ready.
Level 1: Tape Embedded in Compound
At level 1, joints and interior angles have tape embedded in a coat of joint compound, and surplus compound is removed. Tool marks and ridges are acceptable. It's used in areas not open to view, such as above ceilings, in attics, and in some garages or utility spaces, where fire taping is needed.
Level 2: One Coat Over Tape
Level 2 adds a thin coat of compound over the tape, plus a coat over screw heads. Some tool marks are acceptable. It's typically used as a base for tile or in areas such as garages and warehouses where appearance isn't critical.
Level 3: Two Coats Over Tape
Level 3 has two separate coats of compound over tape and a coat on fasteners, with the surface free of ridges and tool marks as much as possible. It's commonly used for surfaces that will receive heavy or medium textures, or heavy wall coverings, where small imperfections will be hidden.
Level 4: Three Coats
Level 4 adds a third coat and is the standard for walls and ceilings that will be painted with flat paint or light textures. Joints and fasteners are covered with three coats, then sanded smooth. It's a common residential standard, but it can show flaws under bright, raking light or with higher-sheen paint.
Level 5: Skim Coat
Level 5 includes a thin skim coat of joint compound over the entire surface, in addition to the work of level 4. It creates a uniform surface with consistent texture and porosity, which minimizes the chance of joints showing through paint. It's recommended for smooth walls with gloss or semi-gloss paint, or under critical lighting.
Why Level 5 Costs More
Skim coating the whole surface takes significant time and skill, and it adds material and sanding. The result is the smoothest, most uniform wall. It's often worth it in rooms with large windows, dramatic lighting, high-sheen paint, or very smooth, modern designs.
Lighting Matters More Than You Think
Light that strikes a wall at a shallow angle, such as from a window at the end of a hallway, reveals every ripple and seam. A level 4 finish might look perfect with soft light but show flaws under raking light. If a wall gets intense side lighting, consider level 5.
Paint Sheen and Finish Level
Flat paint hides minor flaws, while satin, semi-gloss, and gloss highlight them. A smooth wall with high-sheen paint calls for a higher finish level. Matching sheen and finish level prevents disappointment.
Texture and Finish Levels
Textured walls can hide minor imperfections, so a lower finish level may suffice. Heavy textures such as knockdown and skip trowel are often applied over level 3 or 4. Smooth, untextured walls need higher levels.
Choosing Levels by Room
Garages, attics, and utility rooms can often use level 1 or 2, depending on code and use. Living areas, bedrooms, and hallways usually need level 4. Spaces with large windows, high-gloss paint, or modern minimalist styling may benefit from level 5. Bathrooms and kitchens with tile need a good base, but the tile area itself requires a different substrate.
Ceilings and Walls
Ceilings often receive raking light from windows and fixtures, so smooth ceilings may need higher finish levels than walls. Textured ceilings, such as knockdown, can hide imperfections. Think about lighting direction for each surface.
Corners and Edges
Corner bead, trim, and inside corners need careful finishing, regardless of level. Poorly finished corners crack and chip. Quality work at the details separates good drywall from mediocre.
What the Standards Say
Industry documents describe the finish levels in detail, including the coats, sanding, and acceptable tool marks. Contractors may refer to them in specifications. Asking your contractor which level they're bidding clarifies the scope.
How to Compare Quotes
When bids differ, ask each contractor what finish level they're quoting. A lower price may reflect level 3 when you need level 4 or 5. Make sure the quote states the level in writing so you're comparing equal scopes.
Specifying the Level in Your Contract
Include the finish level in the contract or scope of work. If you're hiring a painter separately, they may expect a specific level. Clear expectations prevent disputes about whether walls are "ready for paint."
Painter and Drywall Contractor Coordination
Painters and drywall finishers should agree on the finish level and priming. A good painter will inspect the walls under work lights before painting and flag any flaws. Fixing flaws before paint is far easier than after.
Using Work Lights to Inspect
A bright work light held at a low angle along the wall exposes ridges, pits, and missed spots. Professionals use these lights before priming and painting. Doing a walk-through with a light before final sign-off is a smart habit.
Priming Drywall
Primer seals joint compound and paper so that paint absorbs evenly. Without it, joints can show as dull or shiny bands, an issue called flashing. A quality drywall primer is essential for a uniform finish.
Repairs and Matching Levels
When patching an existing wall, the repair should match the surrounding finish level and texture. A level 3 patch on a level 5 wall will show. Matching requires skill, including feathering the edges and blending the texture.
Dust Control
Higher finish levels mean more sanding and dust. Professionals use dust containment, dustless sanders, and cleanup to protect your home. Discuss dust control, particularly if you're living in the home during the project.
Time and Schedule
Each level adds drying time between coats. A level 4 or 5 finish takes several days, including drying and sanding. Plan schedules for painting and flooring around these steps, and don't rush the drying.
Cost Differences
Cost rises with each level because of additional materials and labor. The difference between levels 3 and 4 is modest, while level 5 may add substantially because of the skim coat. Ask for options priced separately so you can decide where to invest.
Questions to Ask Your Contractor
What finish level are you bidding? Will you skim coat? How will you inspect the walls? What primer will you use? How will you control dust? Clear answers show a contractor who understands standards.
Fire Taping Versus Finished Surfaces
Some assemblies, such as garage walls, require taped and finished joints for fire protection even if the surface isn't painted. This usually corresponds to a lower finish level. Make sure your contractor knows the code requirements for each location.
Tile and Wall Coverings
Walls that will receive tile typically need level 2 on the drywall behind the tile, since tile adhesive fills small imperfections. Heavy wall coverings may use level 3. Choosing the right level avoids overpaying for finishing that will be hidden.
Communicating Expectations With Your Painter
If you're hiring a painter after the drywall is finished, ask what finish level they expect. A painter who finds level 3 walls when they expected level 4 may need to charge extra for prep. Clear communication keeps the schedule and budget on track.
Sign-Off Walkthrough
Before approving drywall work, walk each room with a bright light and look at walls and ceilings from several angles. Mark any flaws with painter's tape for repair. A sign-off walkthrough catches problems when they're easy to fix.
Why Walls Sometimes Look Different After Painting
Joint compound absorbs paint differently than the surrounding paper facing, which is why poorly primed seams show as lines. Good priming and an appropriate finish level prevent this. If you can see seams after painting, the finish level or priming was likely inadequate.

Want walls that look flawless under every light? We tell you which finish level each room needs, put it in writing, inspect the work with raking light before paint, and prime properly so seams stay invisible. You'll compare quotes with confidence. Request your free drywall estimate today.

Karter & Co


