

DIY Trim Installation vs. Hiring a Pro: What to Know
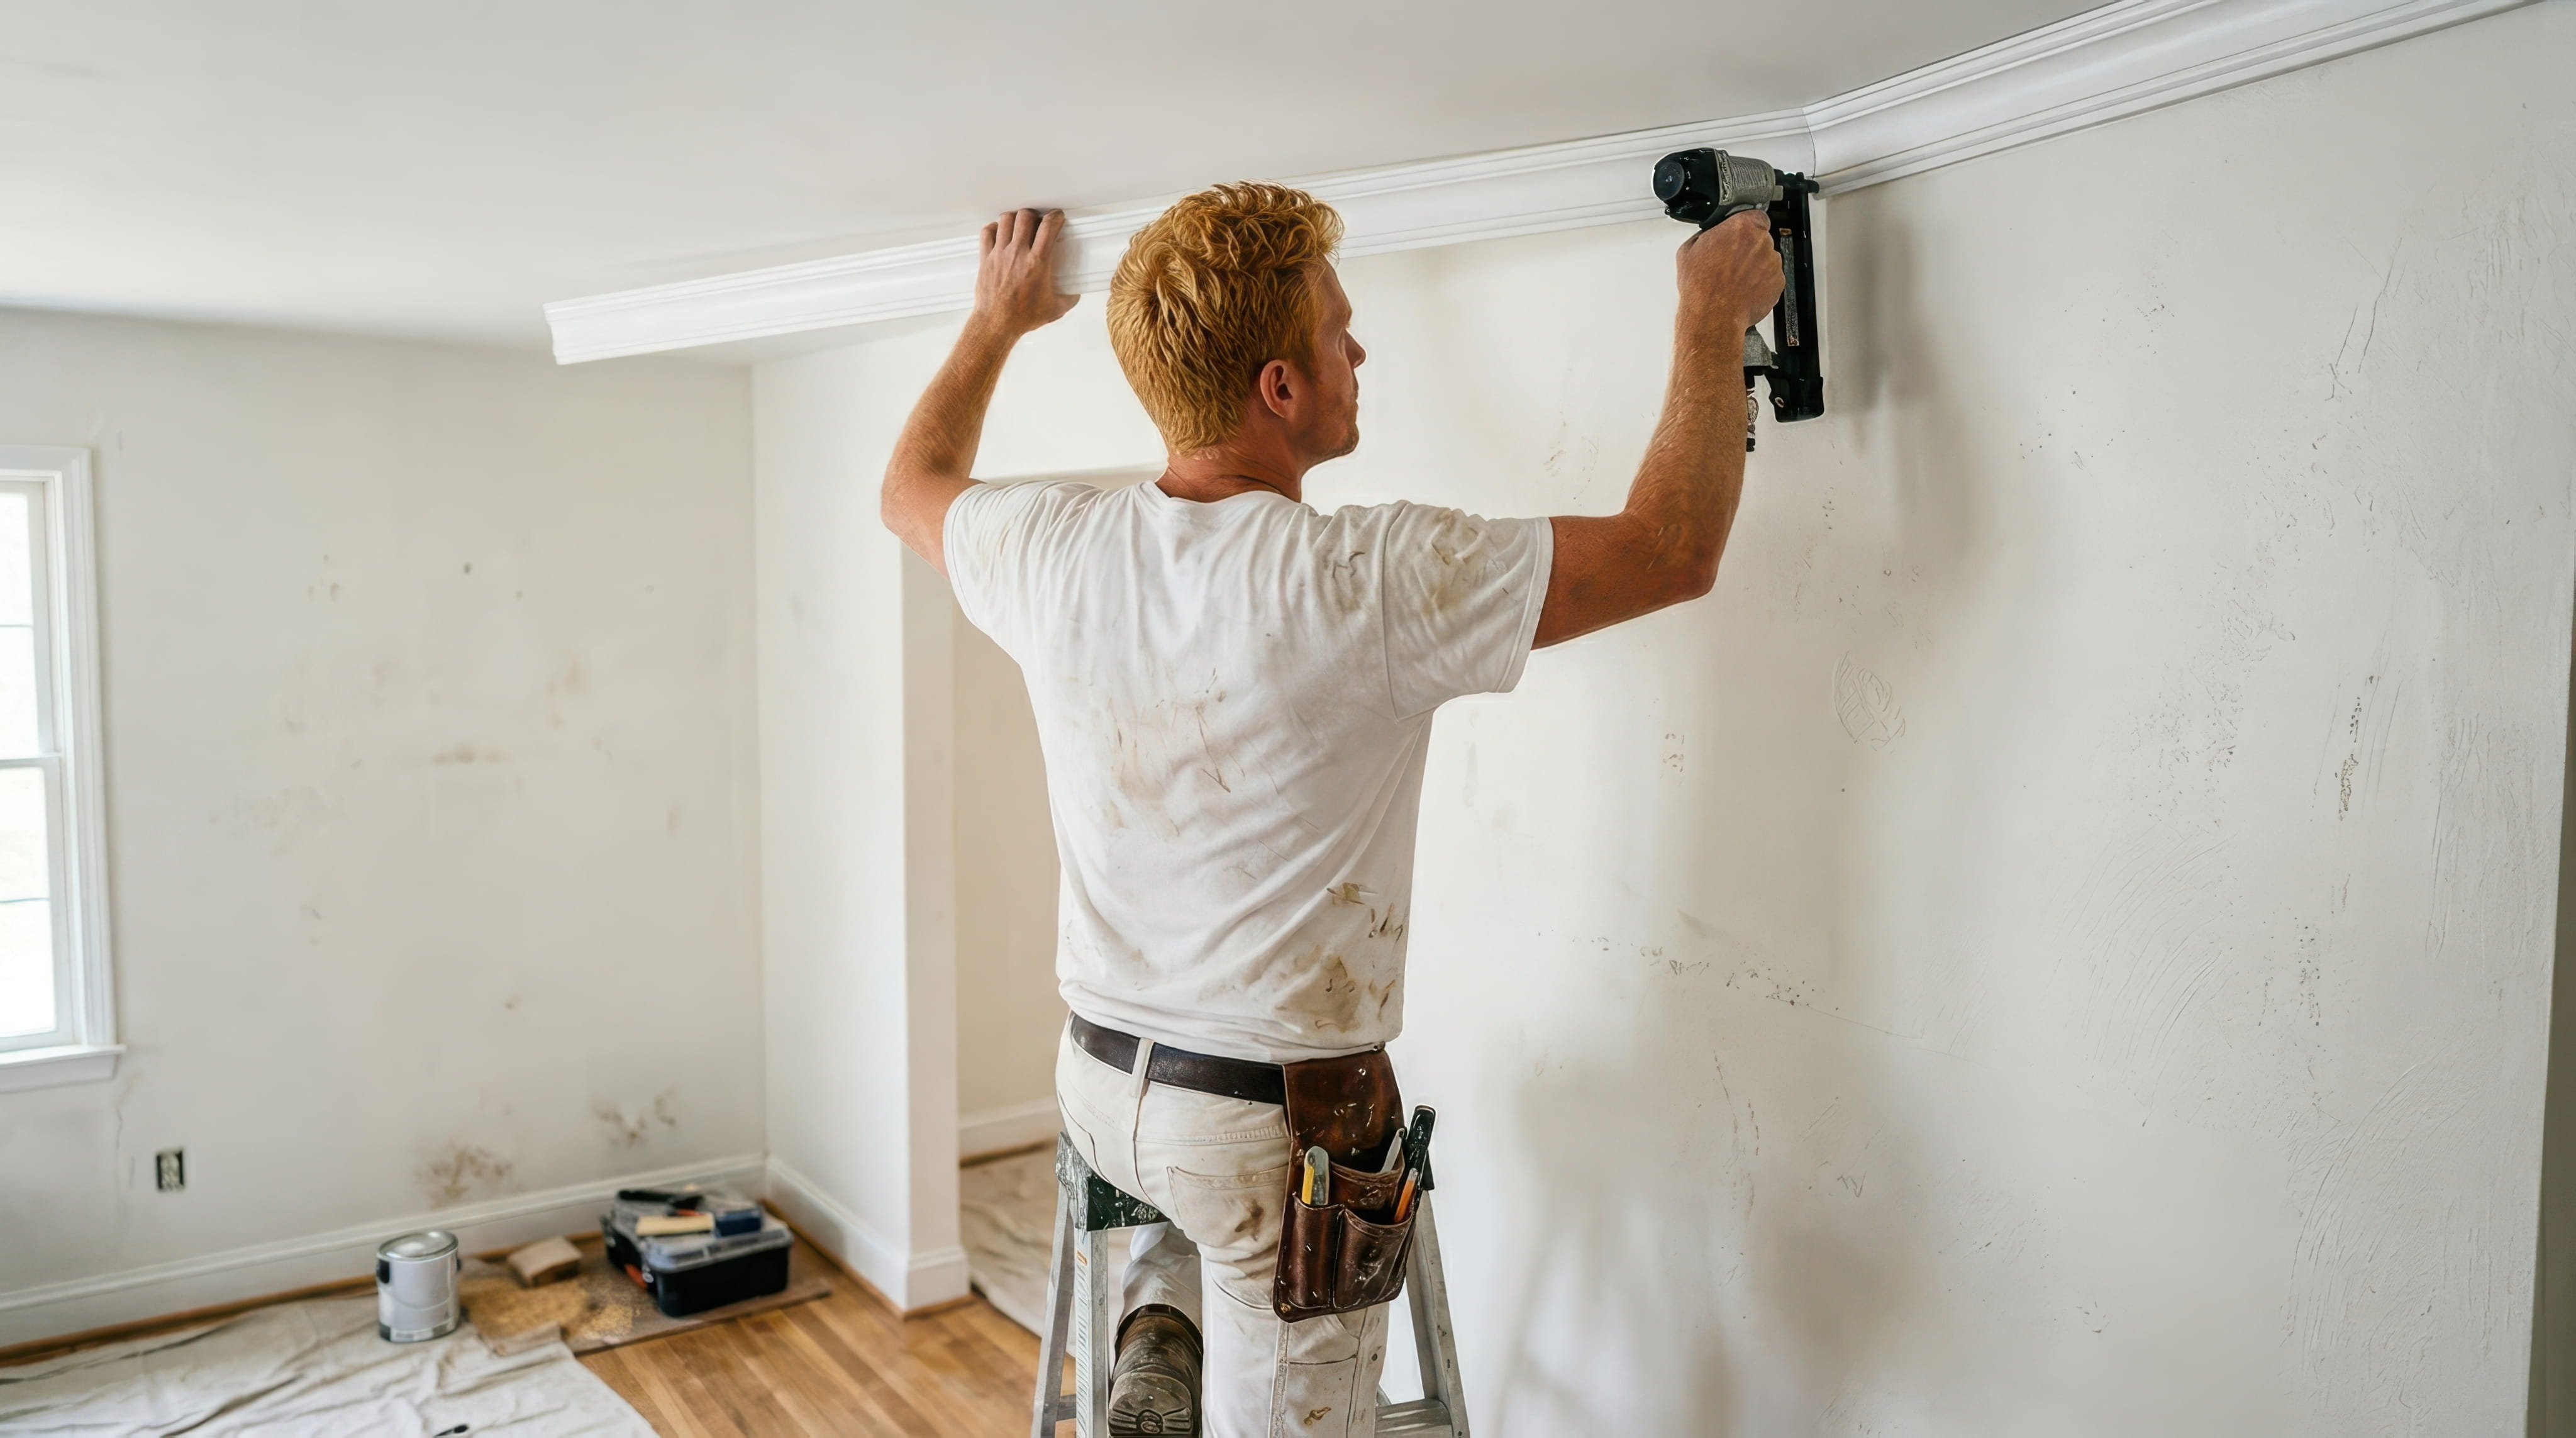
Trim installation looks approachable. A few cuts, a nail gun, some caulk, and a coat of paint seems manageable on a weekend. For simple, straight runs, that can be true. But trim is one of those jobs where small errors are visible forever, and the gap between a passable job and a professional-looking one is wider than most people expect.
What DIY Trim Work Requires
You'll need a miter saw, a finish nailer and compressor, a stud finder, a level, measuring and marking tools, a coping saw for inside corners, caulk, wood filler, sandpaper, primer, and paint. Many of these are tools a homeowner doesn't already own, so cost and learning curve both factor in.
Where Beginners Struggle Most
Inside corners are a common trouble spot. Walls rarely meet at perfect right angles, so simple miters leave gaps. Cutting and coping a joint cleanly takes practice. Outside corners, long runs that need seamless joints, and consistent reveals around doors also demand skill.
Walls and Floors Are Never Perfect
Real homes have uneven floors, bowed walls, and out-of-square corners. A professional adjusts to these conditions by scribing, shimming, and adapting cuts. A beginner often discovers gaps that caulk alone can't fix.
Measuring and Cutting Accuracy
Trim cuts must be precise. A small measuring error can ruin an expensive piece, and waste adds up quickly. Pros measure carefully, cut slightly long, and fine-tune. They also plan cuts to minimize joints and waste.
Fastening Correctly
Trim must be fastened into studs or solid framing where possible, with appropriate nail length and spacing. Nailing into drywall alone leads to loose trim. Overdriving nails or splitting wood creates visible damage that must be repaired.
Finishing Is Half the Work
Filling nail holes, caulking seams, sanding, priming, and painting turn raw trim into a finished look. Rushing this stage is one of the most common reasons DIY trim looks amateur. Caulk lines that are uneven, paint that's streaky, or fills that show through can undo careful installation.
Time Commitment
A project that a pro completes in a day or two can easily take a homeowner several weekends, especially when learning technique. Furniture needs to be moved, rooms are messy, and finishing steps have waiting times between coats.
Cost Comparison
DIY saves labor cost but requires tool purchases or rentals, extra material for mistakes, and your time. If errors lead to replacing pieces or hiring someone to fix the work, savings shrink. For small, simple projects, DIY can still be worthwhile.
When DIY Makes Sense
Replacing a short run of baseboard in a straightforward room, adding simple trim to a closet, or finishing a small project where perfection isn't critical can be good DIY tasks. If you enjoy learning and have patience, it can be rewarding.
When to Hire a Pro
Crown molding, wainscoting, stain-grade work, large whole-house projects, and anything involving complex angles or high visibility are better handled by experienced carpenters. If you want crisp, tight joints and consistent lines throughout, a professional is worth the investment.
Hybrid Approaches
Some homeowners do the painting themselves while hiring a pro to install the trim, or install simple baseboards and hire out the crown. This balances cost and quality.
Safety Considerations
Power saws and nail guns carry injury risk. Working on ladders overhead adds fall risk. Dust from cutting MDF is irritating and should be controlled with proper protection.
What a Professional Brings
Beyond skill, professionals bring efficient workflows, specialized tools, and experience solving problems. They know how to handle unexpected conditions and deliver a clean, consistent look.

Not sure whether your project is a good DIY candidate? We'll tell you honestly, and for bigger projects we'll quote clean, professional work. Get a free trim carpentry estimate and compare your options.

Karter & Co


