

Cased Openings, Column Wraps, and Faux Beams: Architectural Trim That Adds Character
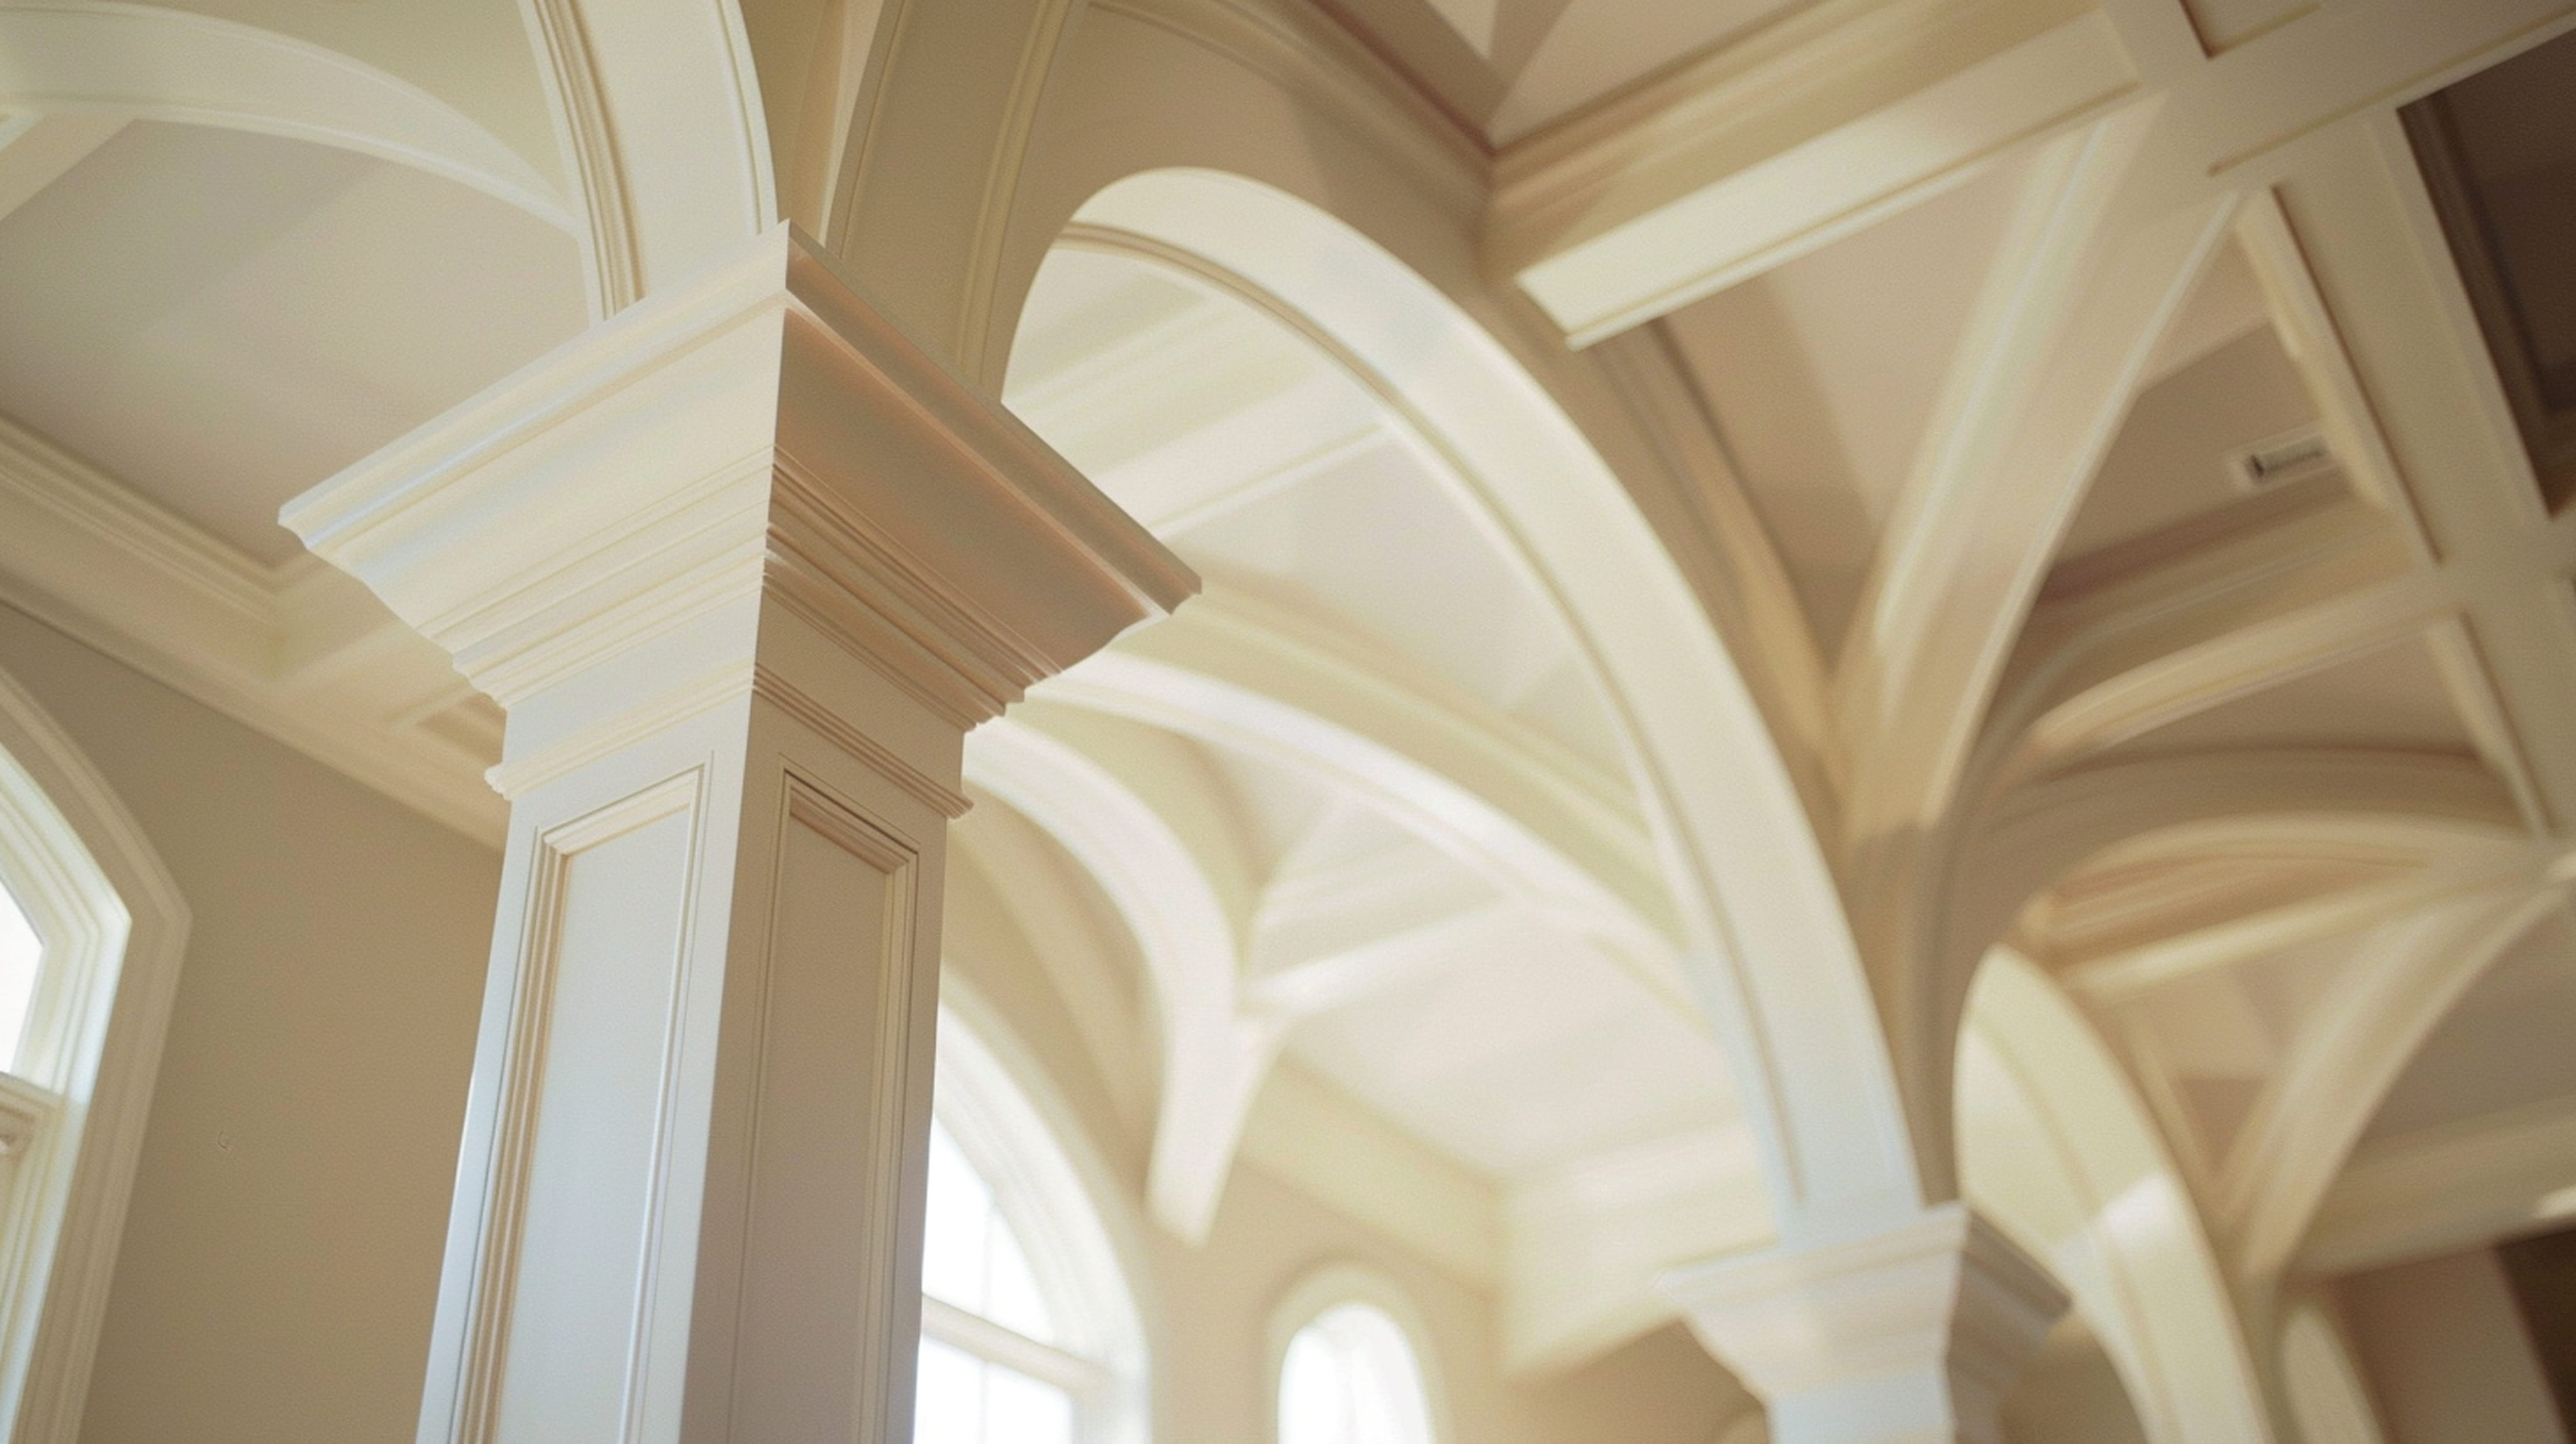
Baseboards and crown molding get most of the attention in trim carpentry, but some of the most dramatic upgrades come from larger architectural details: a wide cased opening between rooms, a column wrapped in classic millwork, a ceiling beam that gives a flat ceiling depth and warmth. These elements define spaces, hide awkward structure, and add a sense of craftsmanship that flat walls and plain openings lack. Because they're highly visible and involve proportion and structure, they reward careful planning and skilled carpentry. Here's how they work and what to consider.
What Architectural Trim Does
Trim details create visual structure. A well-proportioned cased opening frames the view between rooms, a column suggests support and separation, and a beam breaks up a ceiling and adds scale. They can make a builder-grade home feel custom, and they can hide posts, ducts, and uneven openings.
Cased Openings Explained
A cased opening is a wall opening without a door, finished with trim around the perimeter, called casing. Cased openings connect rooms while defining them. They range from simple, flat-trimmed openings to wide, elegant ones with deep returns, headers, and decorative caps.
Choosing the Opening Style
Simple openings suit modern and minimalist homes. Traditional and craftsman homes often use wide casing, plinth blocks, and headers. The style should match the rest of the home's trim and architecture, since mismatched trim looks disjointed.
Proportions Matter
Casing width, header height, and projection from the wall should be balanced with ceiling height and opening size. Too-thin trim around a large opening looks weak, while heavy trim on a small opening looks cramped. A carpenter can mock up proportions before cutting.
Jamb Extensions and Returns
Walls vary in thickness, and the opening's depth needs to be finished with jamb extensions so the casing sits correctly. Deep openings may be lined with wood or MDF jambs, then trimmed. Returns, where the trim wraps around the edge, finish the look.
Dealing With Uneven Walls
Walls and openings aren't perfectly straight. Carpenters scribe, shim, and adjust to keep the reveal consistent and the trim tight against the wall. Careful installation hides these imperfections.
Arched and Curved Openings
Arches add softness and elegance but require flexible materials or custom curved trim. Specialty products or kerf-cut pieces bend to follow the arch. These details demand experience, since poor curves are very visible.
Columns and Column Wraps
Columns are structural or decorative vertical elements. Many homes have posts that hold up beams, which can be wrapped in trim to look like classic columns. Wraps are built from wood, MDF, or PVC, with bases, shafts, and capitals.
Structural vs. Decorative
Decorative column wraps cover existing posts but don't carry load themselves. Removing or altering a structural post requires an engineer and permits. Never cut or move structural elements without professional evaluation.
Column Styles
Square columns with simple panels suit craftsman and farmhouse homes, tapered columns on pedestals suit craftsman and bungalow styles, and round or fluted columns suit classical architecture. The style should match the home's design.
Proportion and Taper
Column proportion matters: width relative to height, base and cap sizes, and taper shape. Poor proportions look awkward. A carpenter experienced with architectural trim can choose dimensions that look right.
Half Walls and Pony Walls
Columns often sit on half walls or pedestals that separate spaces while keeping them open. Trim and caps finish the top. These elements add definition to open floor plans.
Box Beams and Faux Beams
Faux beams are hollow, three-sided boxes made of wood or lightweight materials that mimic solid beams. They add rustic or traditional character to ceilings. They're lightweight and easier to install than solid timber.
Hiding Structure and Ductwork
Box beams can conceal ducts, wires, and uneven ceiling lines. They turn a problem into a feature. Make sure access to mechanicals is preserved, and consult a professional if modifications involve structure.
Materials for Beams
Options include real wood, reclaimed wood, hollow wood boxes, polyurethane beams, and wrapped MDF. Wood offers authenticity and can be stained, while lightweight materials are easier to install and cost less. Choose based on the look, weight, and budget.
Attaching Beams Safely
Beams must be securely attached to ceiling framing, since they're heavy overhead. Carpenters locate joists, use blocking or nailer boards, and choose proper fasteners. Never rely on drywall alone for support.
Coffered and Tray Ceilings
Beams can be arranged in grids to create coffered ceilings, which add depth to dining rooms and living rooms. These require careful layout so the grid is symmetrical and aligned with lighting and focal points.
Paint or Stain
Painted trim creates a crisp, traditional look, while stained wood brings warmth. Beams are often stained to resemble timber. Consistent finishes throughout the room look cohesive.
Lighting and Details
Recessed lights, pendants, and indirect lighting can be integrated with beams and trim. Plan wiring before installation, and coordinate with an electrician. Good lighting highlights the details.
Joinery and Finishing
Tight miters, clean corners, and well-finished joints distinguish quality work. Joints should be glued, nailed, filled, sanded, and caulked. Careful finishing makes the trim look like built-in architecture.
Cost Considerations
Cost depends on size, material, complexity, and finish. Simple cased openings are modest, while custom columns, beams, and arches cost more. Hidden structural issues can add cost. A detailed quote helps.
Working With a Designer or Carpenter
Photos, sketches, and measurements help communicate your vision. A skilled carpenter can suggest proportions, materials, and details that suit your home. Ask to see examples of similar work.
Permits and Structural Considerations
Decorative trim usually doesn't need permits, but structural changes do. If you're considering removing walls, adding beams, or modifying posts, consult an engineer and your local building department.
Plinth Blocks, Rosettes, and Corner Details
Plinth blocks at the base of casings and rosettes at the corners add a classic, furniture-like look. They also solve a practical problem: thick baseboards meet thick casings cleanly at the plinth. Choosing the right detail for your home's style keeps trim looking intentional.
Headers and Cornice Details
A header adds a shelf-like cap above a cased opening, creating a stronger architectural statement. The depth and style should be consistent with window and door trim elsewhere in the home. Matching details creates a cohesive look.
Wide Openings Between Great Rooms
Large openings between living and dining rooms can be framed with wide casing and substantial headers, or flanked by half walls and columns. This defines spaces while keeping sightlines open. Careful proportions keep large openings from feeling bare.
Built-Ins Around Openings
Bookcases and cabinets flanking a cased opening add storage and character. They must be planned with the trim so alignment and reveals are consistent. Built-ins are a larger project, but they can make a room.
Ceiling Height and Trim Scale
High ceilings call for taller casings, headers, and larger columns. Low ceilings need more restrained scale to avoid feeling cramped. Scale trim to the room rather than using standard sizes automatically.
Planning Paint and Finish
Architectural trim looks best with a crisp finish. Primers, caulk, and a durable enamel create a clean look, and stained beams benefit from a protective topcoat. Plan finishing as part of the carpentry schedule.
Protecting New Trim During Construction
Large trim pieces can be damaged by tools, ladders, and furniture moves. Protect corners and edges with blankets and corner guards, and schedule installation after heavy work. Careful protection keeps the finished details looking sharp.
Matching Existing Trim in Adjoining Rooms
If other rooms already have trim details, the new architectural elements should coordinate with them. Matching profiles, sheens, and colors creates a cohesive flow. A carpenter can take samples from existing trim to match.
Mockups and Visualization
Before building a column or beam, carpenters can create full-size mockups with cardboard or tape to preview proportions. Seeing the size in the room prevents costly mistakes and helps you decide on dimensions. It's a simple step that pays off.
Safety When Working Overhead
Installing beams and cornices involves overhead work and heavy materials. Professionals use stable scaffolding, lifts, and teams. Don't attempt heavy overhead installation without proper equipment.
Maintenance of Architectural Trim
Dust and clean trim regularly, touch up paint chips, and check caulk lines and fasteners for movement. Over time, seasonal movement may open small joints, which can be filled and painted. Light maintenance keeps trim looking custom for years.
Timelines for Architectural Trim Projects
Trim projects need time for measuring, ordering or milling materials, installing, filling, caulking, and painting. Custom columns and beams can take longer than simple cased openings. Ask your carpenter for a realistic schedule, and plan other work around it.
Creating a Cohesive Look Through the Home
Repeating a few architectural details, such as the same casing style, header profile, and column design, makes the whole house feel intentional. Avoid mixing too many styles. A trim plan for the whole home, even if you install it in phases, gives a more cohesive result.

Want details that make your home feel custom? Our carpenters trim cased openings, wrap posts in proportioned columns, and build and secure box beams, with tight joints and clean finishes, and we'll tell you honestly when a project needs an engineer. You'll see proportions before we build. Get your free trim carpentry estimate today.

Karter & Co


