

Cabinet Paint Types Compared: Enamel, Urethane, Chalk, and Milk Paint
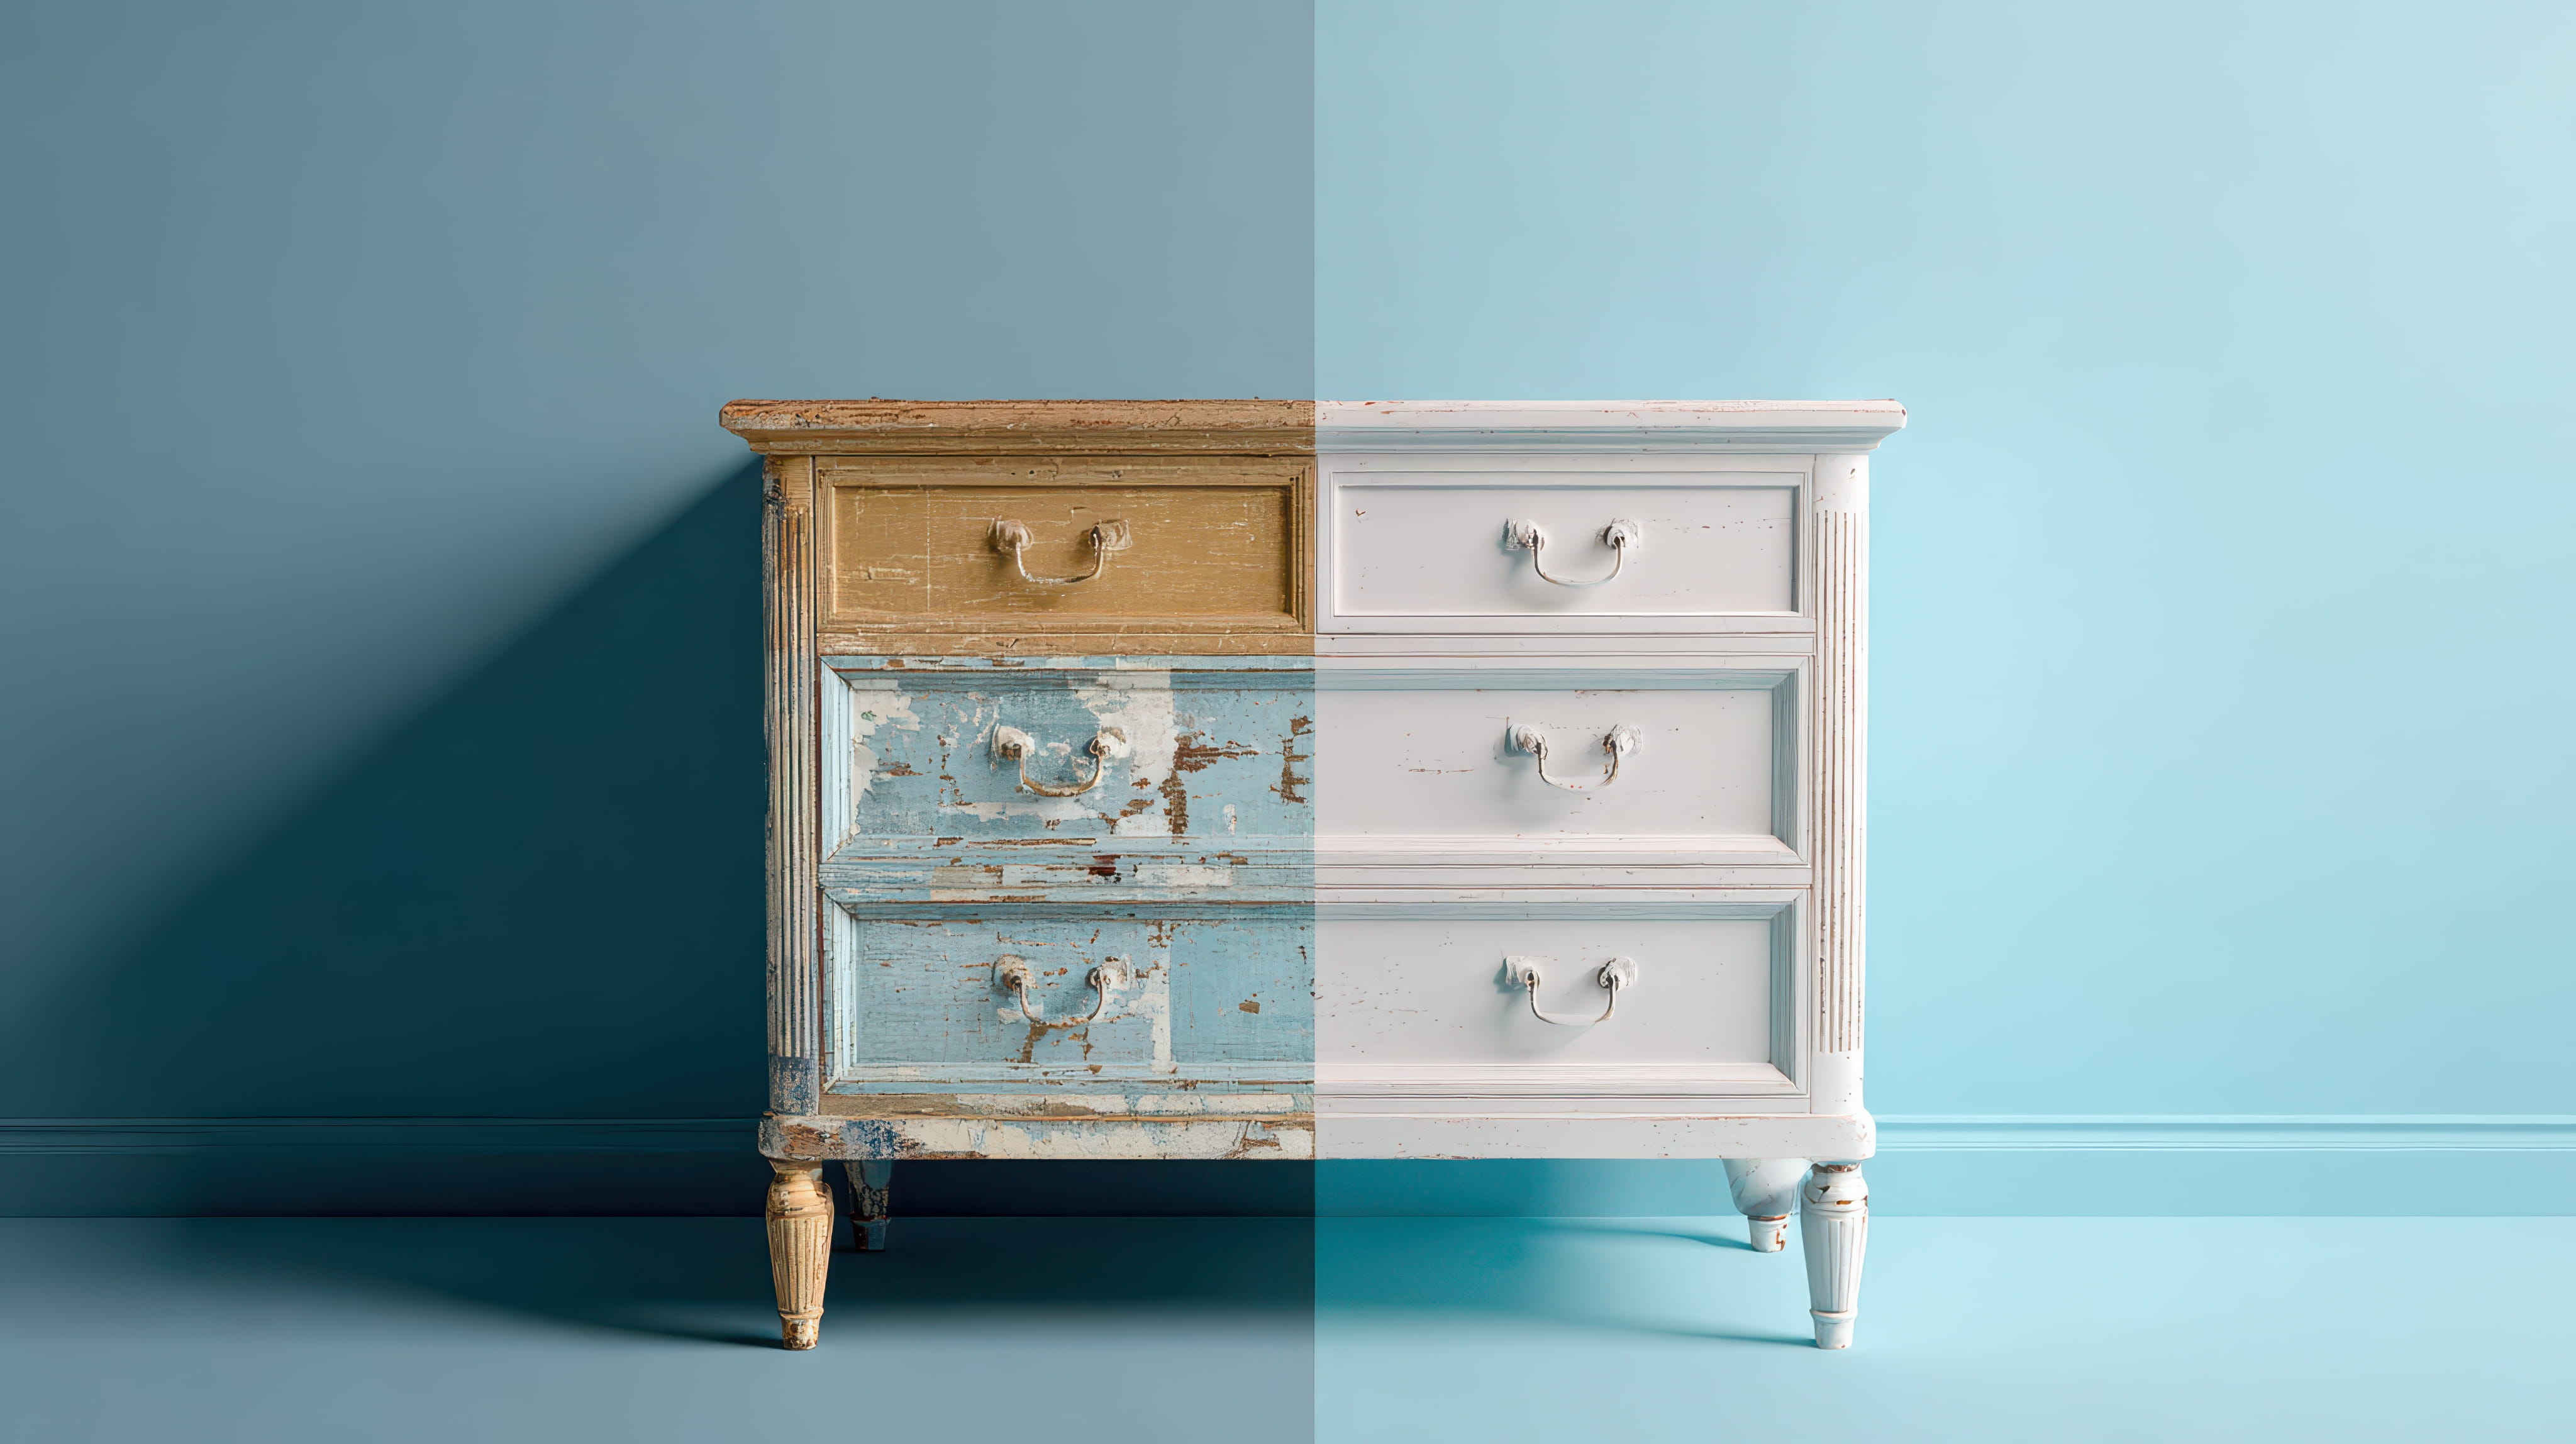
Cabinets are among the hardest-working surfaces in a home. They're opened and closed hundreds of times a week, touched with greasy hands, splashed with water, and wiped with cleaners. A paint that works on a wall may peel, chip, or stay tacky on a cabinet door, which is why the type of paint you choose matters as much as the color. The cabinet-painting aisle is full of confusing labels, from enamels and urethanes to chalk and milk paint. Understanding how each type performs helps you choose a finish that looks beautiful and survives daily kitchen life.
What Makes Cabinet Paint Different
Cabinet paints are formulated to cure to a hard, smooth, durable surface that resists scratches, moisture, and grease. They level well, which minimizes brush marks, and they're designed to bond to prepared surfaces with the right primer. Standard wall paint stays softer and can block, meaning doors stick together when closed.
Acrylic Enamel
Water-based acrylic enamels are popular for cabinets because they dry quickly, have low odor, clean up with water, and resist yellowing. Quality products cure to a durable finish suitable for most kitchens. They're versatile and widely available, making them a common choice for both professionals and DIYers.
Urethane-Modified Acrylics
Urethane-modified, or hybrid, acrylic paints add urethane resins for extra hardness and abrasion resistance. They combine the ease of water-based paint with a tougher finish. Many professional cabinet finishers prefer them because they level beautifully and cure to a hard surface.
Oil-Based and Alkyd Enamels
Traditional oil-based enamels dry to a very hard, smooth finish and level well, but they dry slowly, have strong odors, and tend to yellow over time, especially in white and light colors. Many regions limit their availability. Modern waterborne alkyds offer some of the same qualities with lower VOCs.
Conversion Varnish and Catalyzed Finishes
Professional shops use catalyzed finishes such as conversion varnish and two-part urethanes, which are extremely durable. They require spray equipment, ventilation, and training, and they're not suitable for DIY use. Some cabinet refinishing companies use them in controlled environments.
Lacquer
Lacquer dries fast and produces a smooth, factory-like finish, but it requires spray equipment and careful ventilation. It can be less resistant to moisture and chemicals than modern enamels. It's mainly used by professional shops.
Chalk Paint
Chalk paint has a matte, velvety look and sticks to many surfaces with minimal prep, which makes it popular for furniture. On kitchen cabinets, it's less durable than enamel and usually requires a protective topcoat such as wax or a clear sealer. Waxed finishes need regular maintenance and may not withstand heavy kitchen use.
Milk Paint
Milk paint is a traditional, matte finish with a natural, rustic look. It can chip and wear in a distressed style, which some people love. It typically requires a sealer for protection and isn't ideal for high-moisture, high-use cabinets unless carefully sealed.
Self-Leveling and Brush Marks
Good cabinet paints flow out as they dry, smoothing brush and roller marks. Products with conditioners and good leveling properties give a smoother result. Some paints dry too quickly to level, leaving texture. Sampling and proper technique matter.
Primer Is Part of the System
The right primer is as important as the paint. Bonding primers help paint stick to glossy or slick surfaces, and stain-blocking primers prevent tannin bleed-through from wood like oak. Using the primer recommended for your paint ensures compatibility and durability.
Wood Grain and Fillers
Oak and other open-grain woods show their texture through paint. Grain filler can smooth the surface for a flat, modern look, while leaving the grain gives a more traditional appearance. Decide before painting, since filling adds time.
Sheen Choices
Satin and semi-gloss are the most common cabinet sheens because they're easy to clean and durable. Matte finishes look modern but can show marks and burnish with wiping. Higher sheens highlight flaws, so surface prep must be excellent.
Curing vs. Drying
Paint feels dry long before it's fully cured. Many cabinet paints take days or weeks to reach full hardness. During that time, doors can stick, and finishes can scratch. Gentle handling, and avoiding heavy cleaning, helps the finish harden properly.
Brushing, Rolling, or Spraying
Spraying produces the smoothest finish and is common among professionals, but it requires masking, ventilation, and skill. Brushing and rolling with a quality brush and foam or microfiber roller can produce good results with careful technique. Thin, even coats are key.
Application Conditions
Temperature and humidity affect drying, leveling, and adhesion. Painting in the product's recommended range and avoiding extreme humidity prevents problems. Good ventilation helps cure and reduces odor.
Durability Expectations
Even the best paint will show wear over time, especially near handles, sinks, and dishwashers. Quality products and proper prep extend life, but touch-ups may be needed eventually. Realistic expectations help you enjoy the result.
Yellowing and Color Stability
Some oil-based finishes yellow, particularly in whites and in areas with little light. Water-based acrylics and urethanes tend to hold color better. If you choose a white or light color, ask about yellowing resistance.
VOCs and Odor
Water-based products have lower odor and VOCs than solvent-based ones. If you're painting in a lived-in home, or you're sensitive to fumes, low-VOC options are a good choice. Ventilate well regardless of product.
Cost Comparison
Cabinet-grade paints cost more than standard paint, and professional finishes cost more still because of labor and equipment. Cheaper products may need recoating sooner. Consider lifespan when comparing costs.
Why Professionals Choose Specific Products
Experienced finishers know which products level well, cure hard, and bond reliably. They match primer and paint as a system and know how to troubleshoot problems. Their experience reduces risk.
Mixing and Matching Products
Using a primer from one brand and paint from another can cause compatibility issues. Follow the manufacturer's recommended system, or use products that are known to work together. Test on a hidden area first.
Cleaning Painted Cabinets
Use a soft cloth and mild soap, and avoid abrasive pads and harsh cleaners. Wipe up spills promptly. Gentle care helps the finish last.
Questions to Ask a Painter
What primer and paint will you use, and why? How many coats will you apply? How long should the finish cure? Do you spray or brush? What warranty do you offer? Clear answers indicate a professional approach.
Why Cabinet Doors Stick to Each Other
Blocking happens when freshly painted surfaces stick together under pressure. Paints with good block resistance, adequate cure time, and bumpers on doors prevent it. Hanging doors too soon after painting is a common cause of damaged finishes.
Testing Adhesion
After the paint cures, a simple tape test on a hidden area shows whether it has bonded. Press tape firmly onto the surface and pull it off. If paint comes off with the tape, adhesion is poor and the system needs to be corrected before painting the rest.
Touch-Up Strategy
Save leftover paint in a sealed container, labeled with the color, sheen, and date. Touch up small chips with a fine brush, and let them cure. For bigger problems, repainting a full door often looks better than patching.
Matching Paint to Your Cooking Habits
Kitchens with heavy frying and steam need tougher finishes and regular cleaning. Light-use kitchens can get away with softer finishes. Telling your painter how you use your kitchen helps them choose the right product.
Questions About Warranties
Paint manufacturers usually don't warrant cabinet finishes against wear, so ask the painter about their workmanship warranty and what maintenance is expected. A clear, written warranty shows confidence in the products and process.
Considering Humidity and Steam
Kitchens near dishwashers and ranges see steam and moisture, which can soften weaker finishes over time. Using a range hood and wiping spills helps. Cabinets near sinks may need extra attention at the bottom edges, which are most exposed to splashes.
Testing Colors With Your Chosen Paint
Color looks different depending on sheen and base. Ask for a painted sample on a spare door or board in the exact paint you'll use. Seeing the real finish prevents surprises.
Avoiding Shortcuts
The paint itself is only one part of the system. Cleaning, degreasing, sanding, priming, and proper curing determine how long the finish lasts. A good product applied without good prep will fail, so look at the whole process when comparing quotes.
Spray Booths and On-Site Finishing
Some professionals remove doors and drawer fronts and spray them in a controlled shop or booth, then reinstall them on cured finishes. This reduces dust and produces a smooth result, though it requires planning for a kitchen without doors for a few days. Ask how your painter works and how long the job takes.

Wondering which paint will actually hold up in your kitchen? We match primers and cabinet-grade finishes to your wood and your habits, explain the tradeoffs in plain language, and apply them in thin, even coats so doors and drawers look smooth and wear well. Get your free cabinet painting estimate today.

Karter & Co


