

Cabinet Hardware, Hinges, and Soft-Close Upgrades: Finishing Touches That Change Everything
A fresh coat of paint transforms cabinets, but the hardware is what finishes the look. New pulls and knobs act like jewelry on a freshly refinished kitchen, and the hinges behind the doors determine how smoothly everything opens, closes, and lines up. Many homeowners treat hardware as an afterthought and end up with mismatched, too-small, or poorly placed pieces that undermine an otherwise beautiful project. Planning hardware alongside your cabinet painting gives you a cohesive result and prevents common headaches.
Why Hardware Deserves Attention
Cabinet hardware is touched dozens of times a day. It affects how comfortable your cabinets are to use, how they look, and how well they hold up. Choosing hardware thoughtfully, and installing it carefully, improves both function and appearance. It's also one of the most affordable ways to update a kitchen.
Knobs vs. Pulls
Knobs are small, round or square pieces mounted with a single screw. Pulls are longer handles mounted with two screws. Knobs are traditional and work well on doors, while pulls are easier to grip, especially for drawers and larger doors. Many kitchens use knobs on doors and pulls on drawers, or pulls throughout for a modern look.
Understanding Pull Sizes
Pulls are measured by center-to-center distance, the space between the two screw holes. Common sizes include three, three-and-three-quarter, four, five, and six inches, with larger sizes for big drawers. Choosing a size that matches existing holes saves work, while changing sizes requires filling and drilling new holes.
Matching Existing Holes
If your cabinets already have holes, buying hardware with the same center-to-center measurement avoids extra work. Measure carefully, because even a small difference can be a problem. If you want a different size, a professional can fill the old holes and drill new ones during the refinishing process.
Filling Old Holes
Old holes are filled with wood filler or epoxy, sanded smooth, primed, and painted. Done correctly, the filled holes are invisible. The best time to do this is before painting, so the repair is covered by the new finish. Attempting it after painting risks leaving visible marks.
Backplates and Cover Plates
Backplates are decorative pieces that sit behind knobs or pulls and cover old holes or add a design detail. They can be a practical solution when you want to change hardware style without repairing holes, or when you like the look. Choose finishes that match the hardware.
Choosing a Finish
Common finishes include matte black, brushed nickel, polished chrome, brushed brass, satin brass, bronze, and stainless steel. Match the finish to your faucets, light fixtures, and appliances for a cohesive look, or deliberately mix finishes with a plan. Matte black and warm brass are popular modern choices, while brushed nickel remains a classic.
Quality Matters
Inexpensive hardware may look fine at first but can loosen, tarnish, or flake over time. Look for solid construction, durable finishes, and screws that thread properly. Since hardware is handled constantly, quality is worth a modest premium.
Placement Conventions
Pulls and knobs are typically placed in consistent positions. Knobs on doors are often placed in the corner nearest the opposite edge, such as the lower corner on upper cabinets and the upper corner on base cabinets. Drawer pulls are usually centered. Using a template ensures consistent spacing, which makes a big visual difference.
The Importance of Templates
A hardware template allows every hole to be drilled in exactly the same place. Without one, small variations add up and the finished kitchen looks uneven. Professionals use jigs for accuracy. If you're installing hardware yourself, use a template and measure twice.
Drilling Into Finished Doors
Drilling into a freshly painted door requires care to avoid chipping the finish. Use a sharp bit, place tape over the drilling spot, and drill from the front with a backer board behind to prevent blowout. Better yet, drill before painting, then protect the holes during finishing.
Hinge Basics
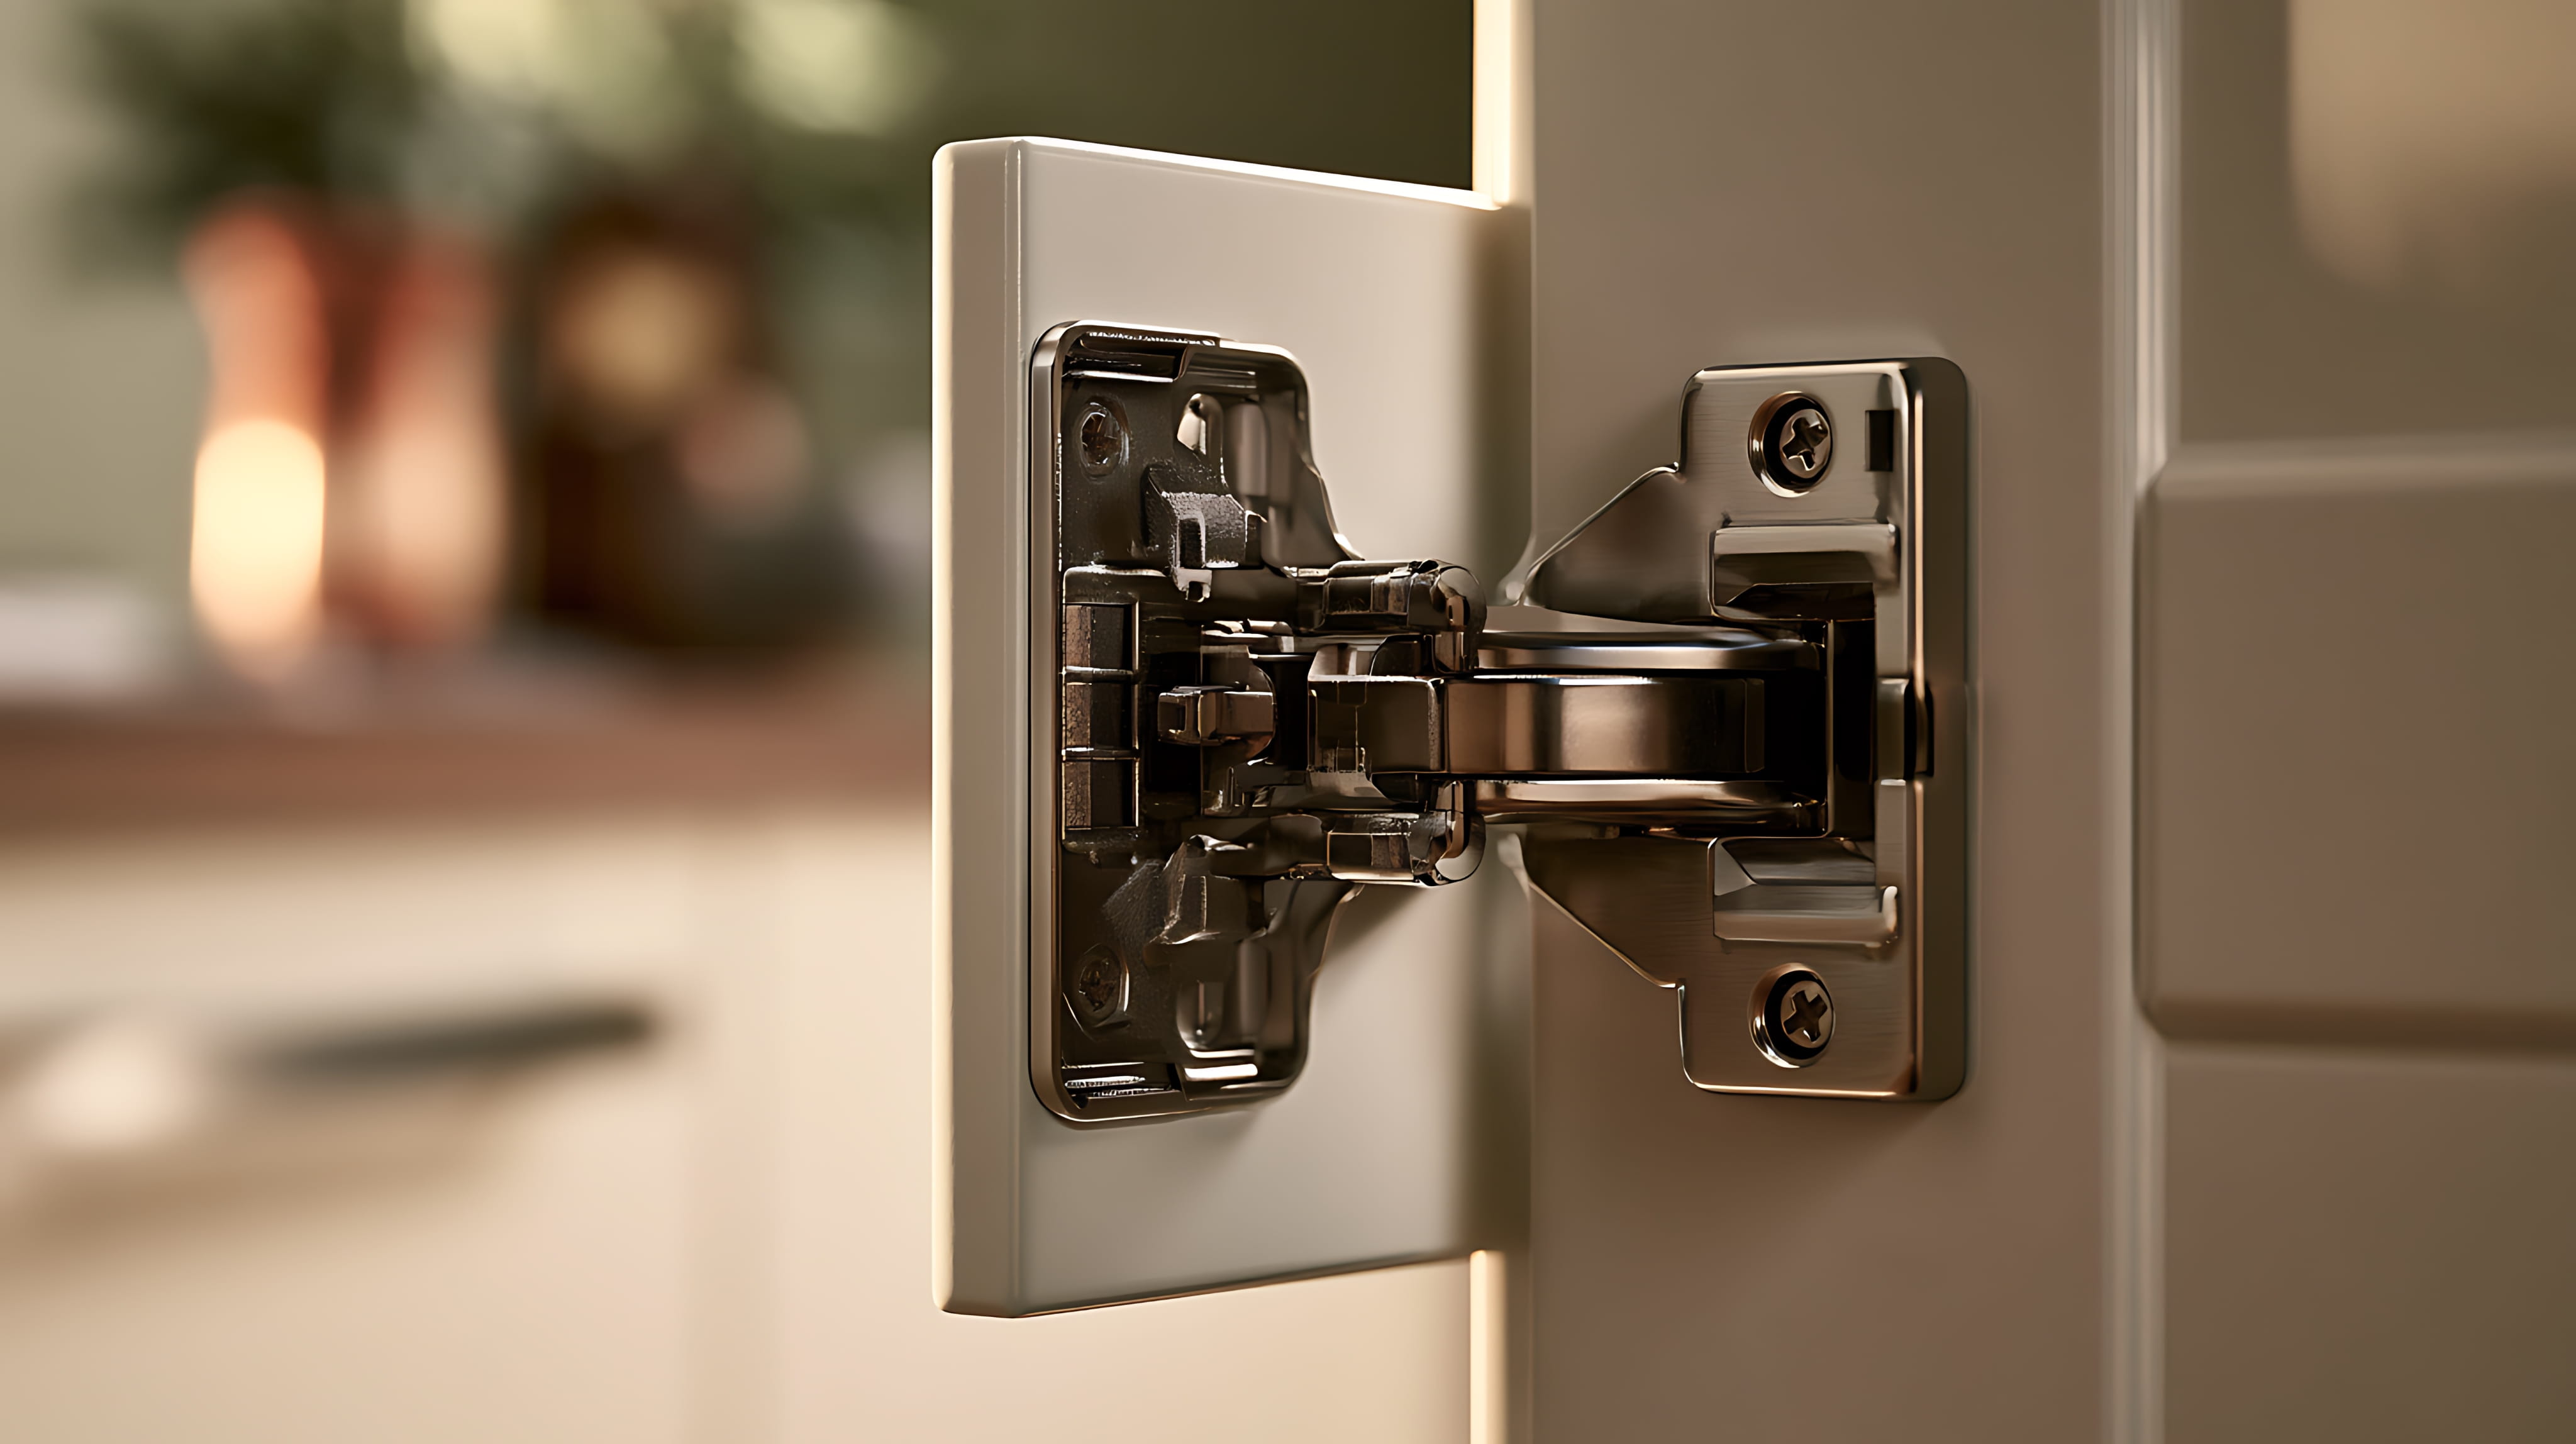
Hinges connect doors to cabinet frames, and they determine how doors hang, open, and close. The two main types are exposed hinges, which are visible on the outside, and concealed hinges, which hide behind the door. Concealed European-style hinges are adjustable in several directions, making it easy to align doors.
Adjusting Concealed Hinges
Concealed hinges typically have screws that adjust the door position up and down, left and right, and in and out. Small adjustments fix doors that are crooked, rub, or don't close flush. Because paint can add thickness to door edges, adjustment after refinishing is common and normal.
Replacing Old Hinges
Worn, rusted, or bent hinges can cause doors to sag and fail to close. Replacing them gives doors a new lease on life and ensures that the refinished cabinets operate smoothly. Match the hinge type and overlay to avoid problems, or have a professional help choose compatible replacements.
Understanding Door Overlay
Overlay describes how much of the cabinet frame the door covers when closed. Full overlay doors cover most of the frame, while inset doors sit inside the frame. Hinges must match the overlay type. Choosing the wrong hinge leads to doors that don't sit correctly.
Soft-Close Upgrades
Soft-close hinges and drawer slides use dampers to close gently and quietly, preventing slamming. They add a high-end feel and protect the cabinets from wear. Many hinges can be replaced with soft-close versions, and add-on dampers are available for existing hinges. Drawer slides can be upgraded as well, though that is a larger project.
Drawer Slides
Drawer slides determine how smoothly drawers open and how much weight they can carry. Older slides may be worn or noisy. Replacing them with full-extension, soft-close slides improves access and function. This is a good time to upgrade if you're already refinishing the cabinets.
Weight and Load Considerations
Large pulls on heavy drawers need strong fastening, and long pulls need secure mounting. Pot-and-pan drawers carry heavy loads and need quality slides. Make sure hardware and slides are rated for the weight they'll carry.
Ergonomics and Daily Use
Consider how hardware feels in the hand. Smooth finishes are comfortable, while sharp edges can be annoying. Pulls with enough space behind them let fingers fit. If you or family members have arthritis or limited grip, choose larger, easier-to-grip styles.
Style Coordination
Hardware style should match the cabinet style and your overall design. Shaker cabinets pair well with simple bar pulls or classic knobs, while flat-panel modern cabinets suit slim, linear pulls. Traditional kitchens often favor cup pulls and decorative knobs. Cohesion matters more than trend.
Installing Hardware After Painting
Allow the paint to cure properly before installing hardware, since early installation can cause marks or sticking. Cabinet-grade paints can take days or weeks to fully harden. A professional will schedule the hardware installation at the right time and handle fresh finishes carefully.
Protecting Your Finish
Hardware screws that are too long can poke through or interfere with drawers. Use the right length, and add clear bumpers to doors to prevent slamming and chipping. Small protective details help your finish last.
Budgeting for Hardware
Hardware costs range from inexpensive to expensive, and the quantity adds up in a large kitchen. Decide on a budget before shopping, and order a few extra pieces in case of defects or future repairs. Ordering all hardware at the same time ensures matching finishes.
Hardware for Different Door Styles
Shaker and flat-panel doors work with a wide range of pulls and knobs, while ornate or raised-panel doors often pair better with traditional hardware. Slab doors in modern kitchens suit slim, linear pulls. Consider the door's frame width, since a pull that is too long or too thick can look out of proportion.
Fixing Sagging or Misaligned Doors
A door that sags is usually caused by loose hinge screws, stripped holes, or worn hinges. Tightening screws, filling stripped holes with glue and wooden toothpicks or dowels, and re-drilling can restore them. If hinges are bent or worn, replacing them is the best fix. Aligning doors after painting makes the finished project look professional.
Special Cabinets: Corners and Lazy Susans
Corner cabinets, bi-fold doors, and lazy Susans use specialty hinges and hardware. These can be tricky to remove, refinish, and reinstall, so mention them during the estimate. A skilled installer knows how to reassemble them so they operate smoothly.
Caring for Hardware
Clean hardware with mild soap and water, and avoid harsh chemicals that can damage finishes. Some finishes, such as unlacquered brass, change over time, which many people enjoy. Tighten loose screws periodically to prevent wear on the cabinet surface.
Mixing Metals Thoughtfully
Mixing finishes can add interest, but it works best with a plan. Keep to two finishes, repeat each in several places, and make sure one dominates. Random mixing can look accidental. Seeing samples in your kitchen helps you decide.

Fresh paint deserves the right finishing touches. Our team helps you choose pulls and knobs, fills and repairs old holes, installs hardware with templates for perfect alignment, and adjusts or upgrades hinges so every door hangs and closes like new. Get your free cabinet painting estimate and finish your kitchen right.

Karter & Co


